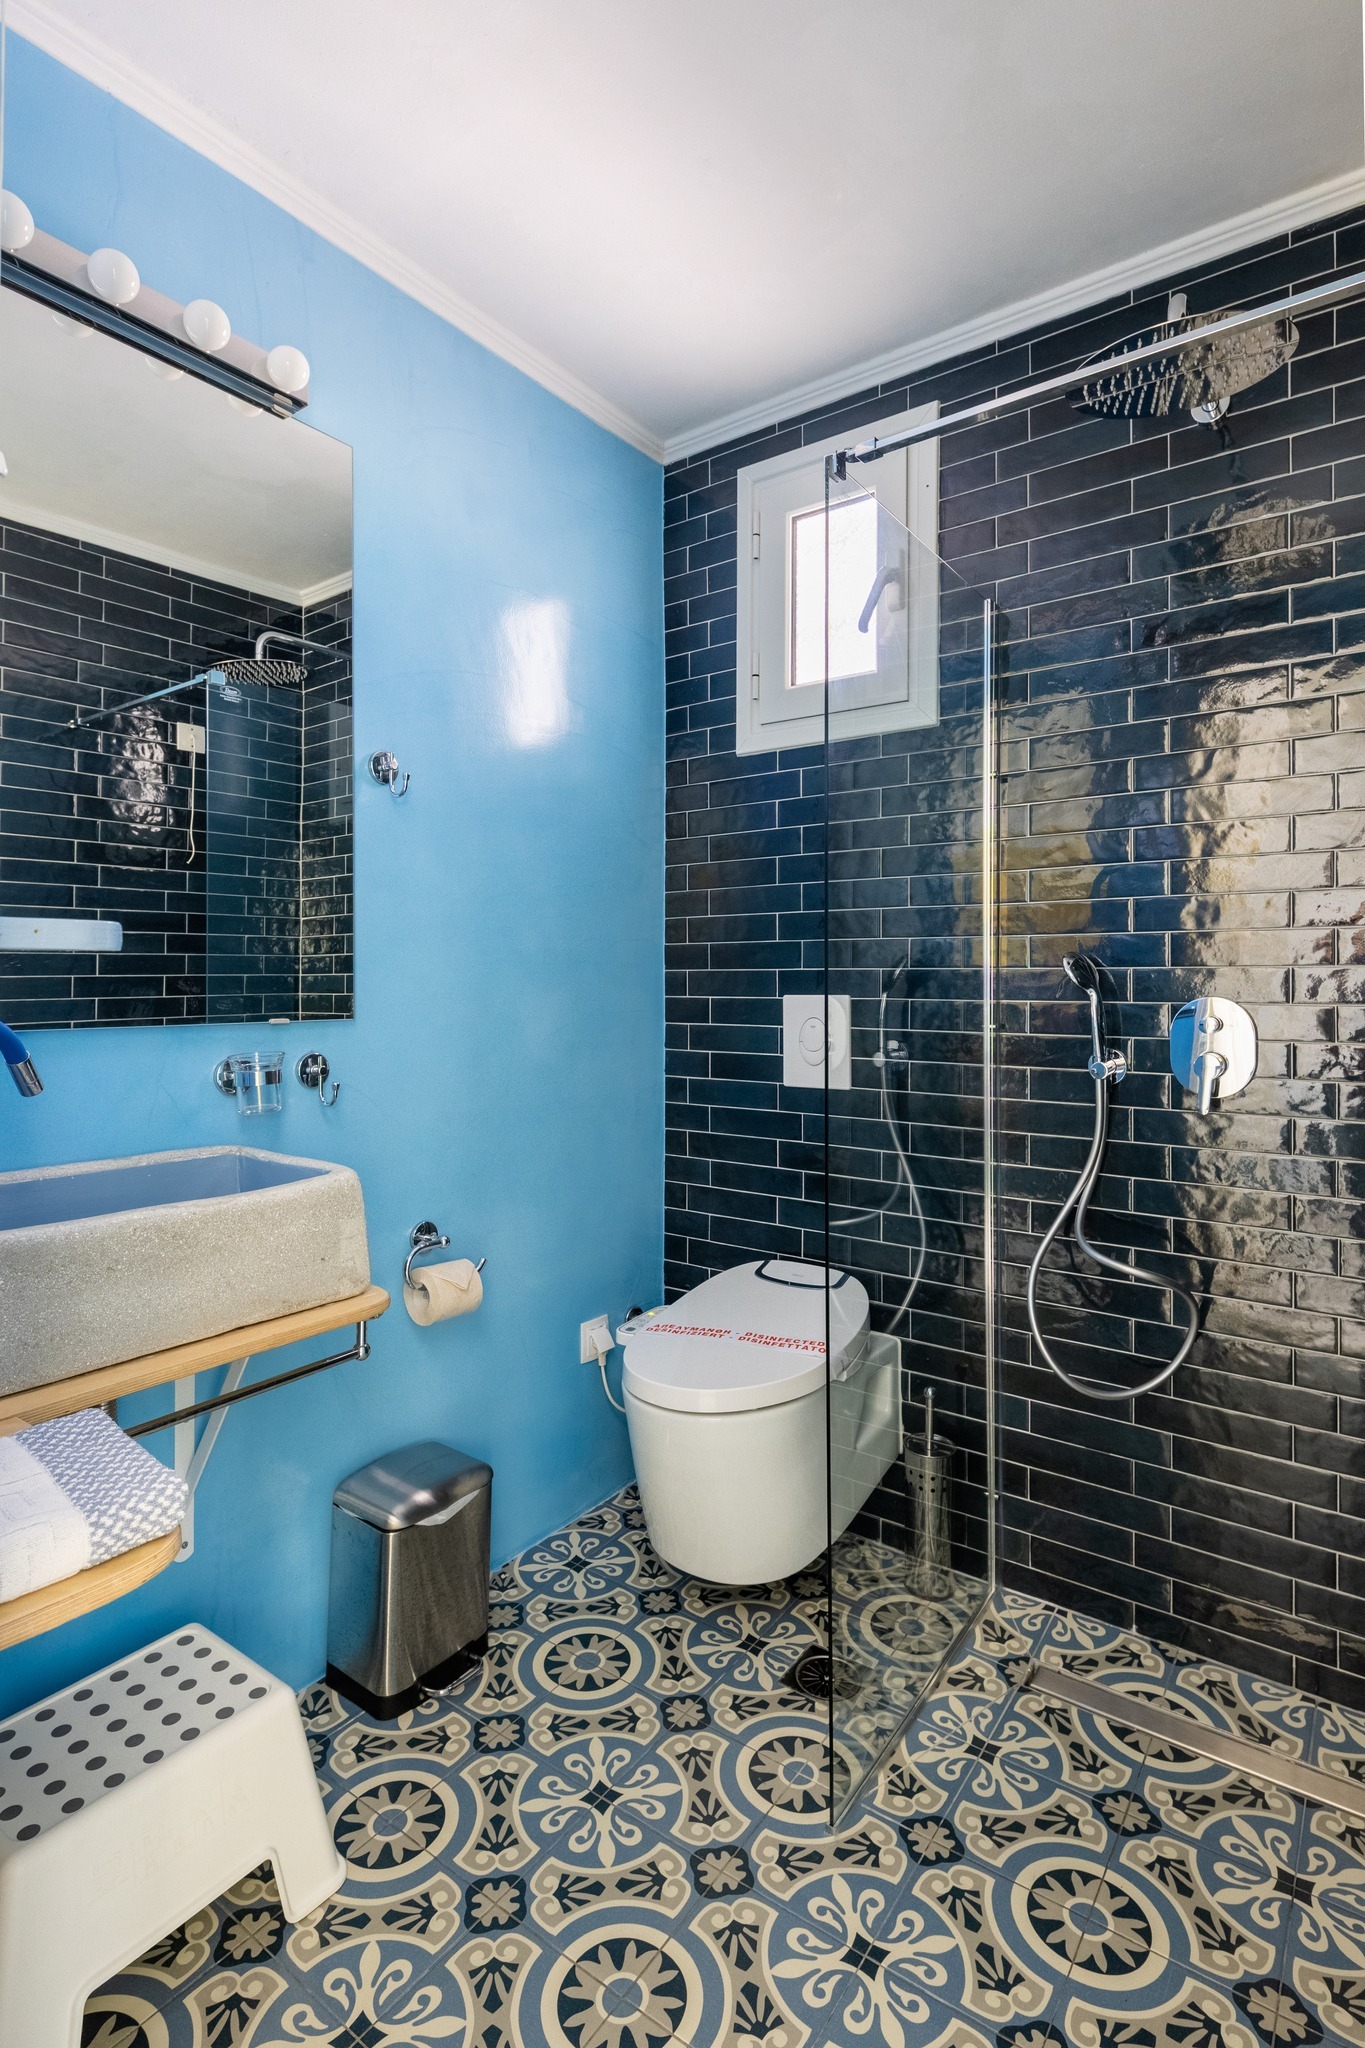
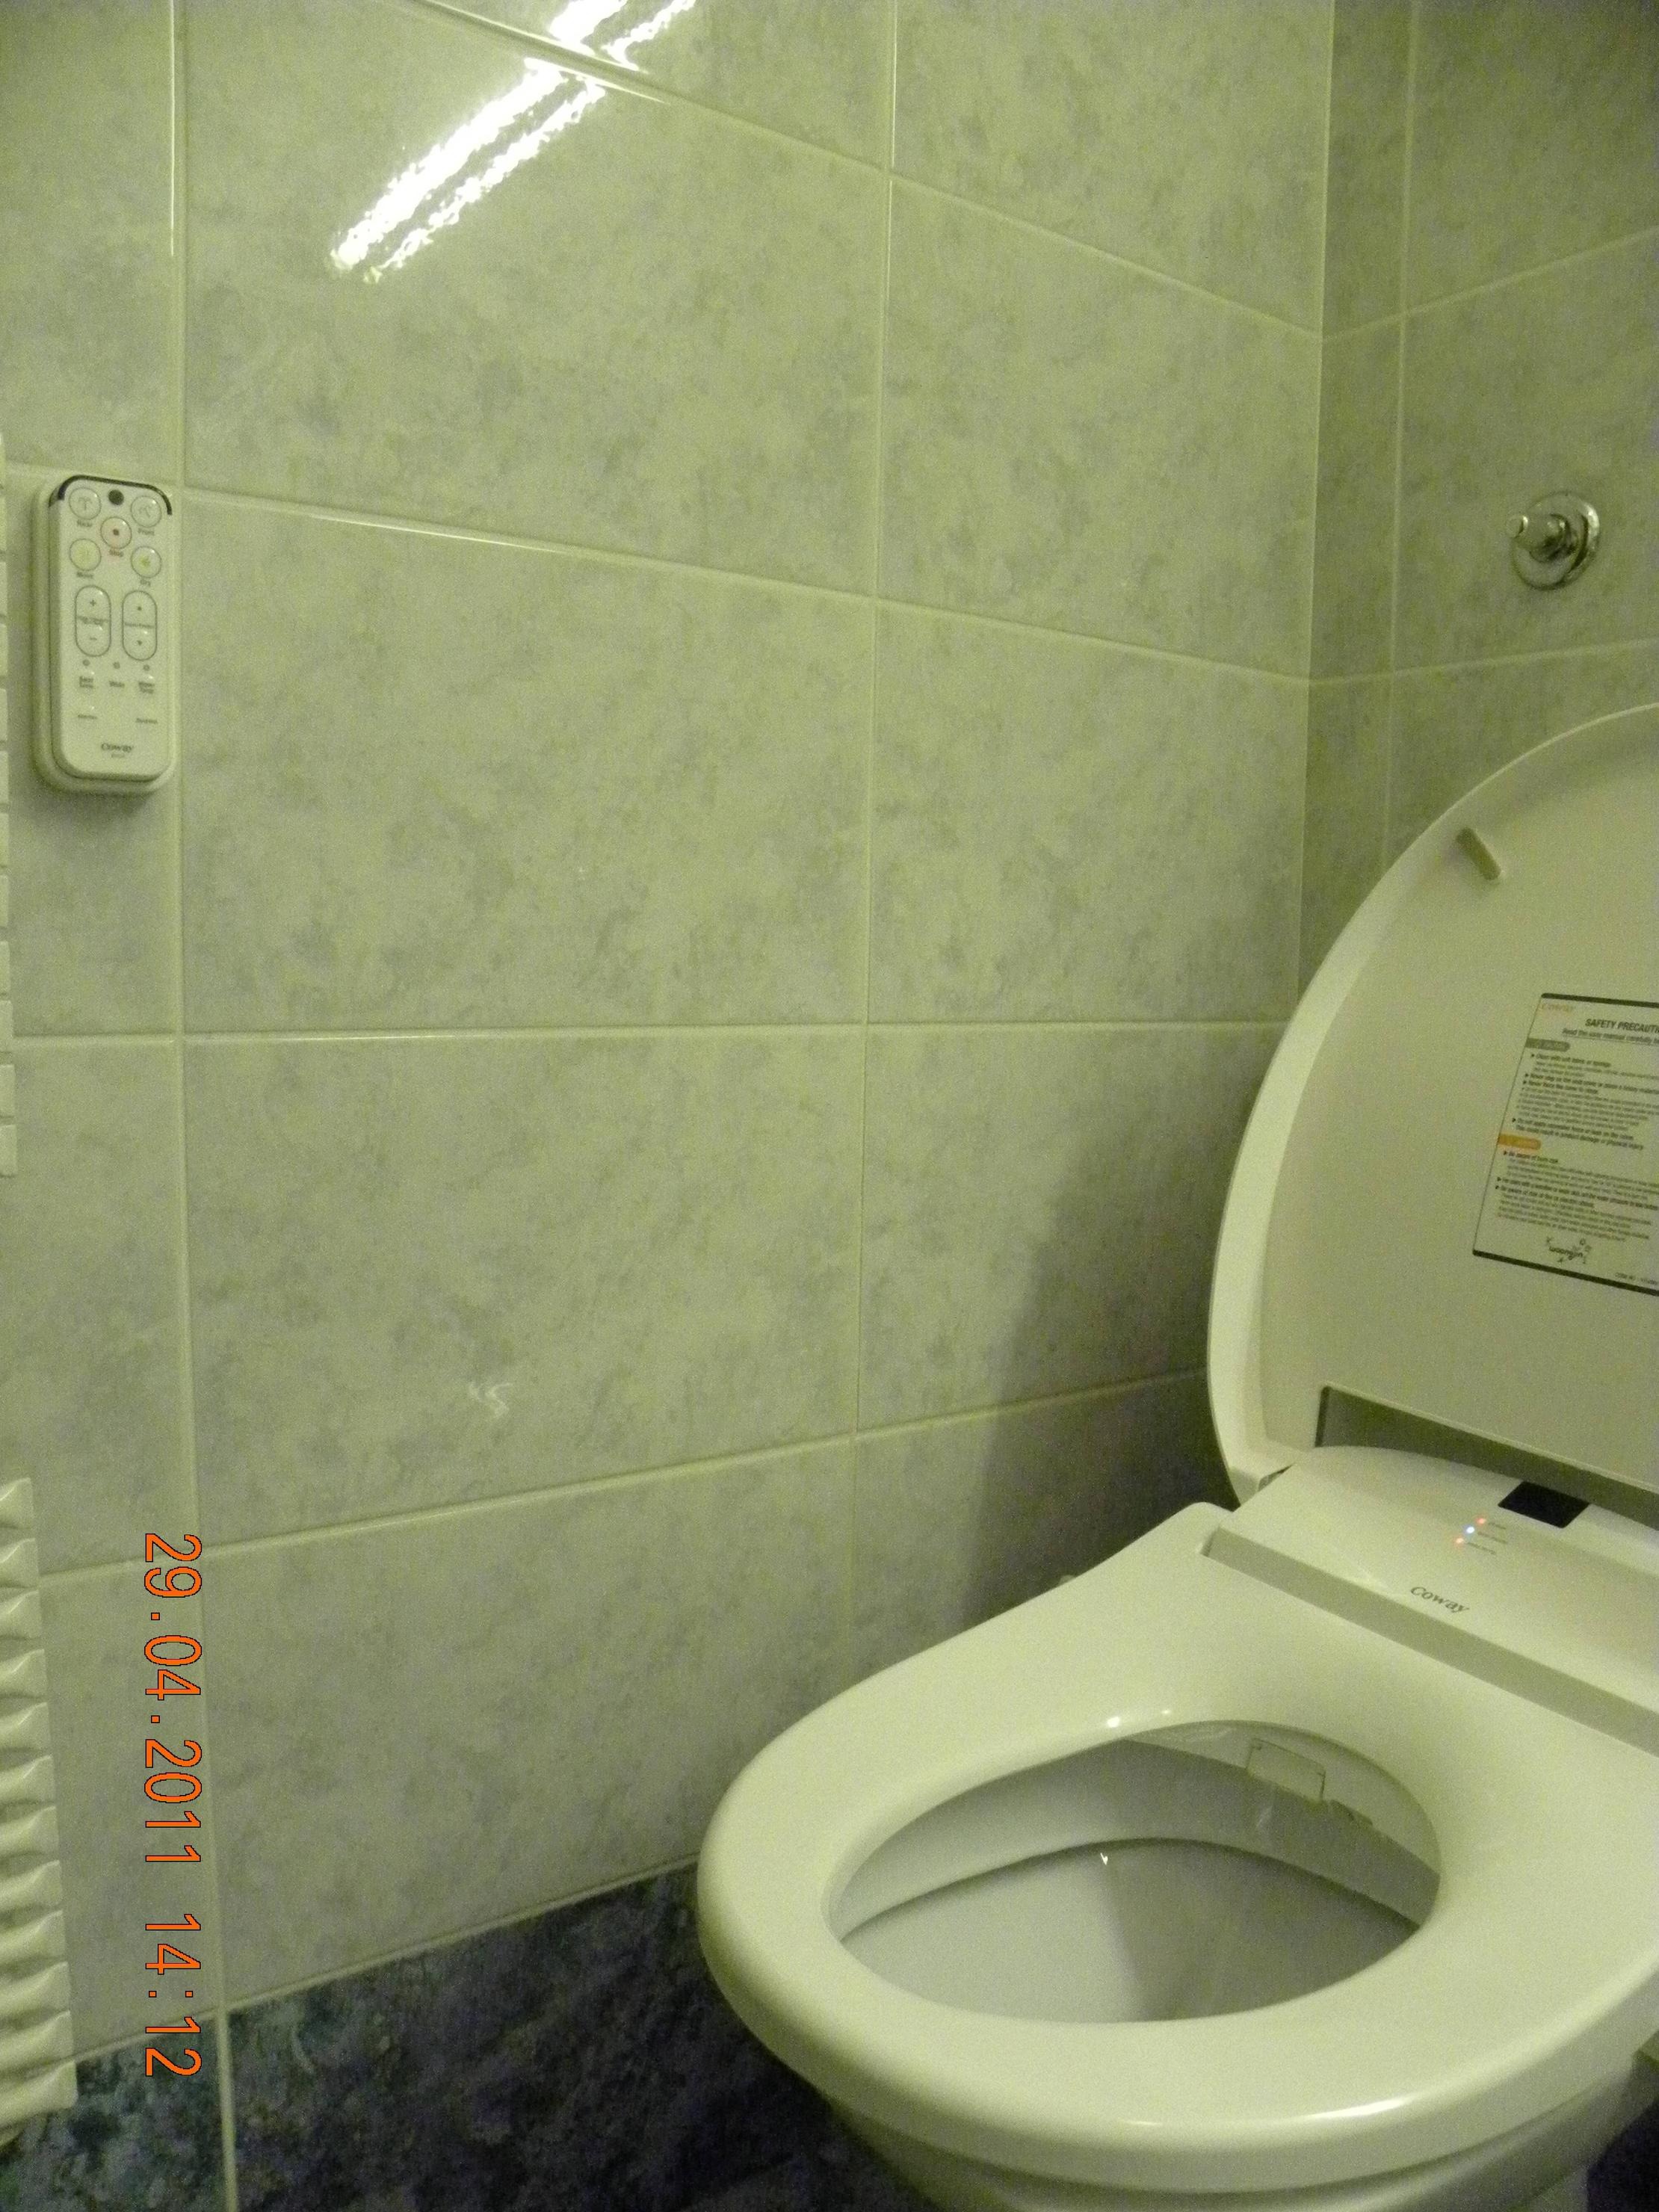
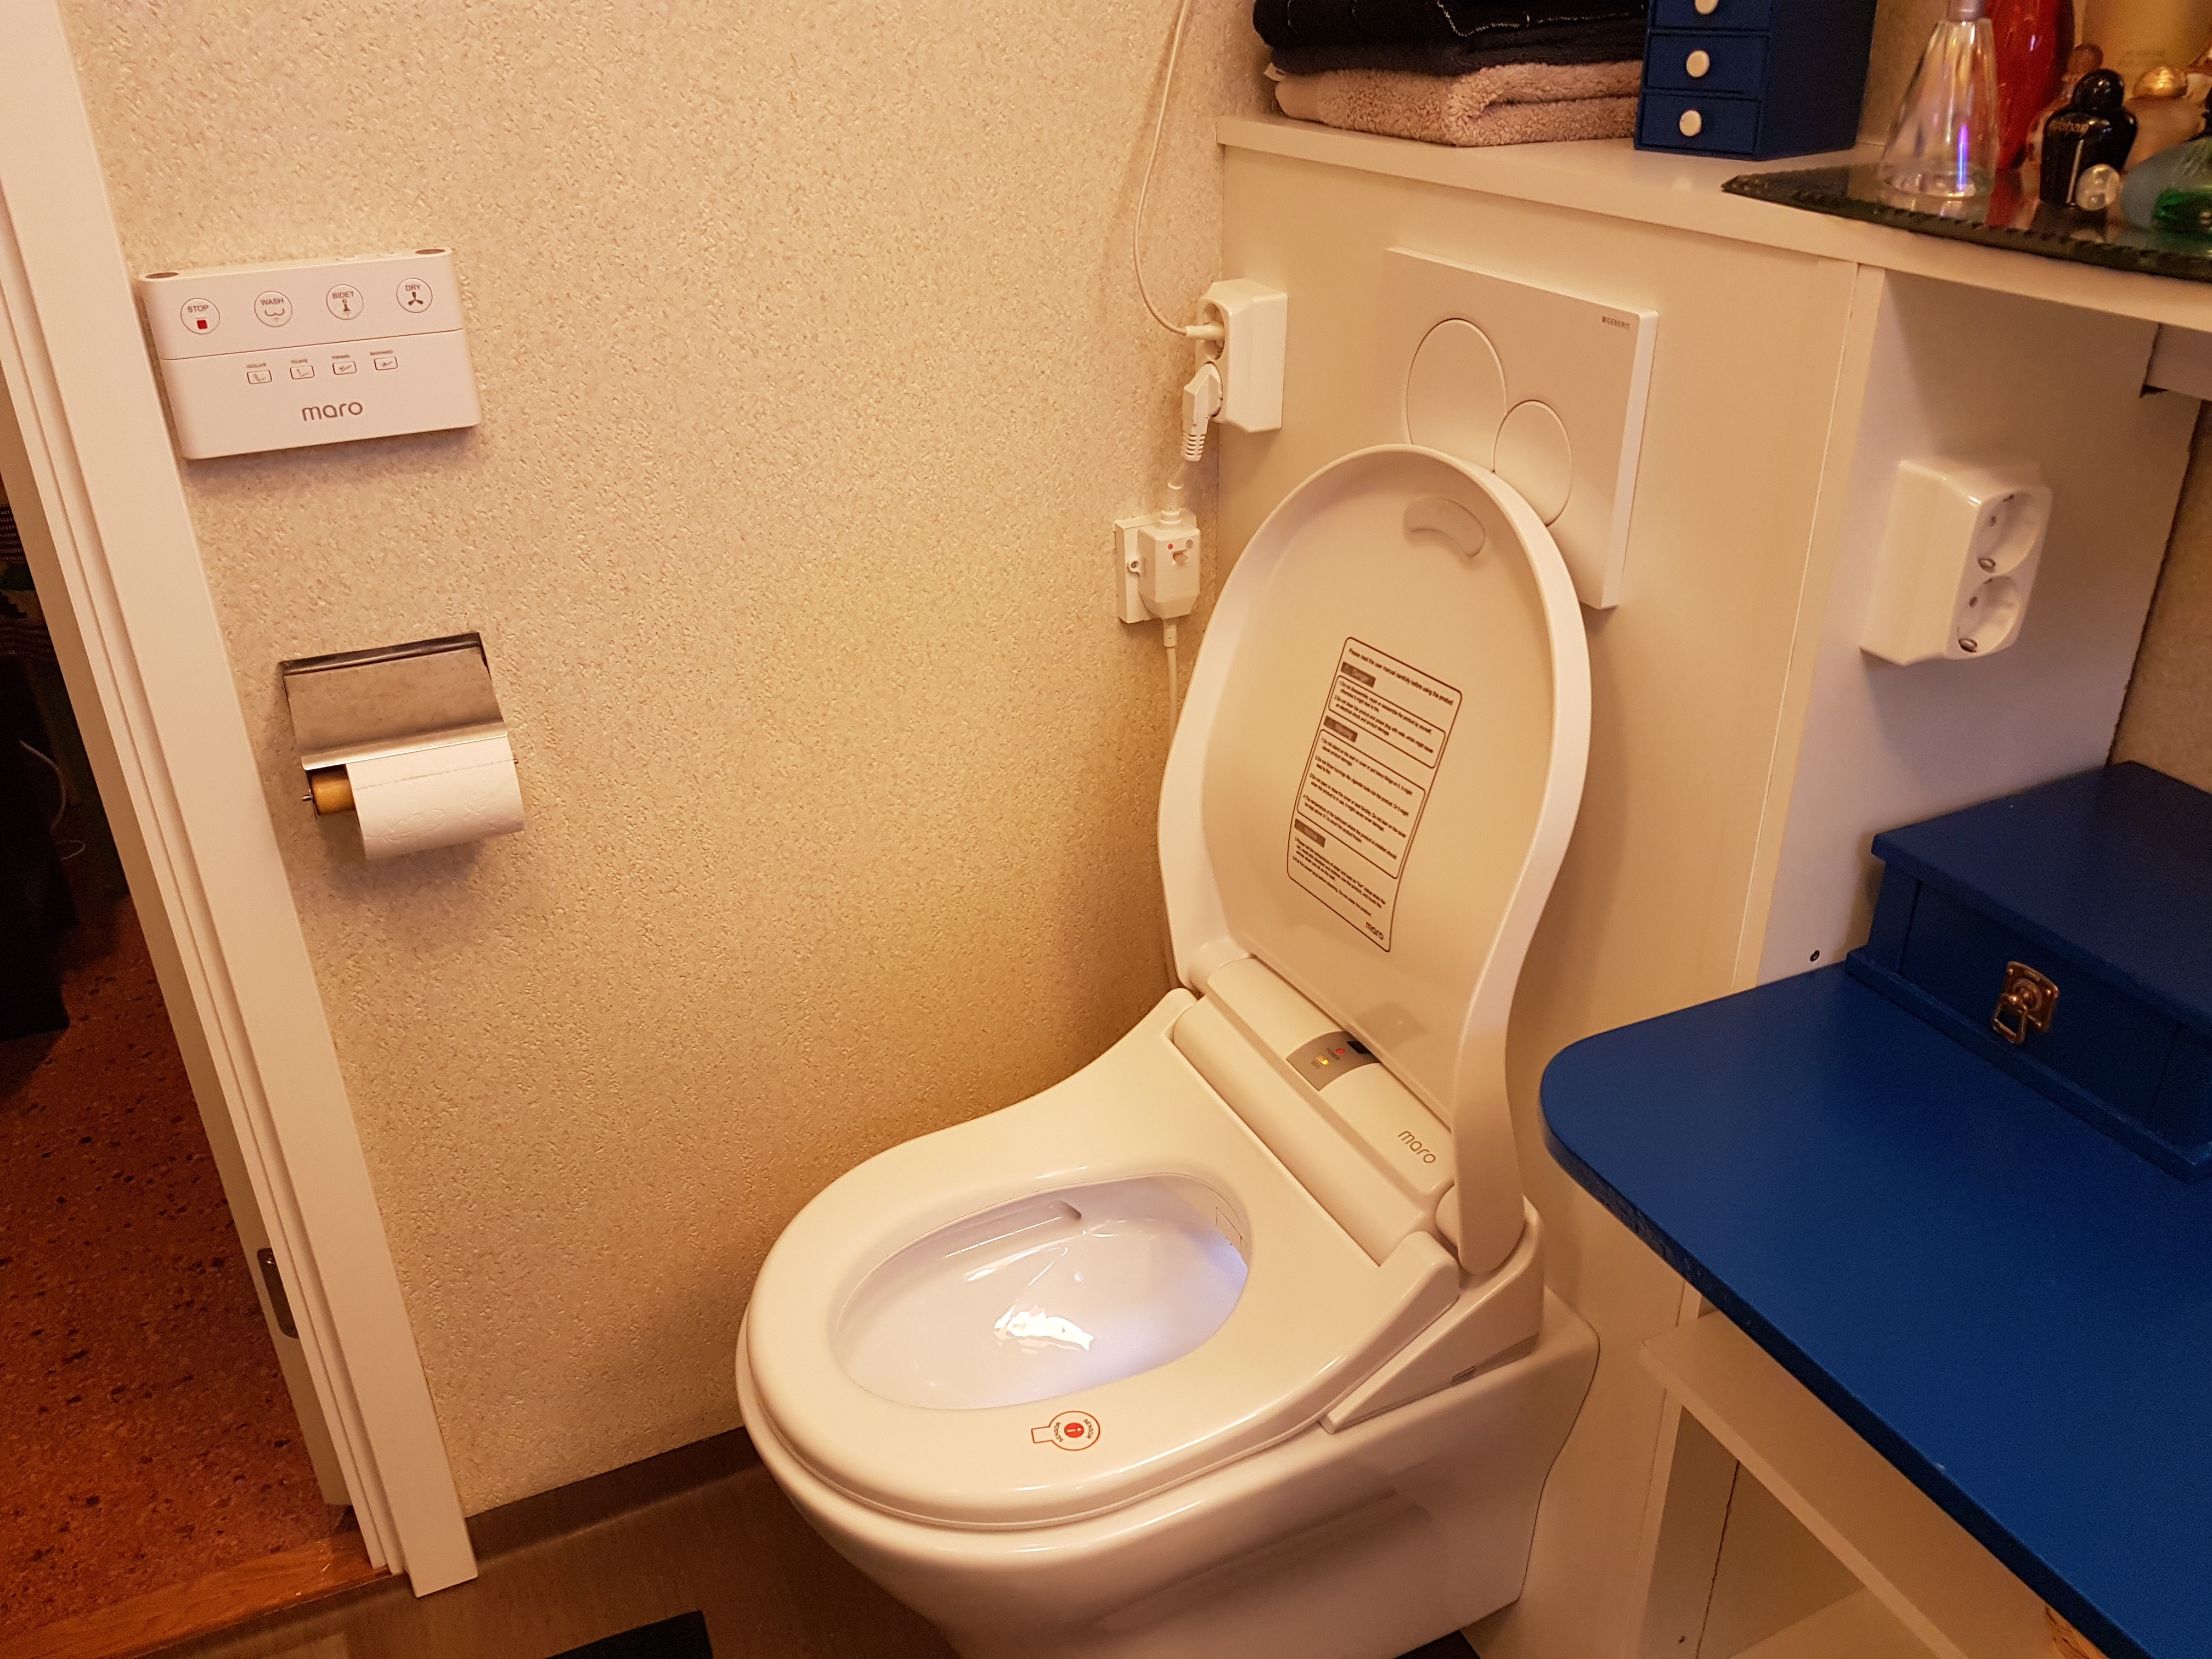
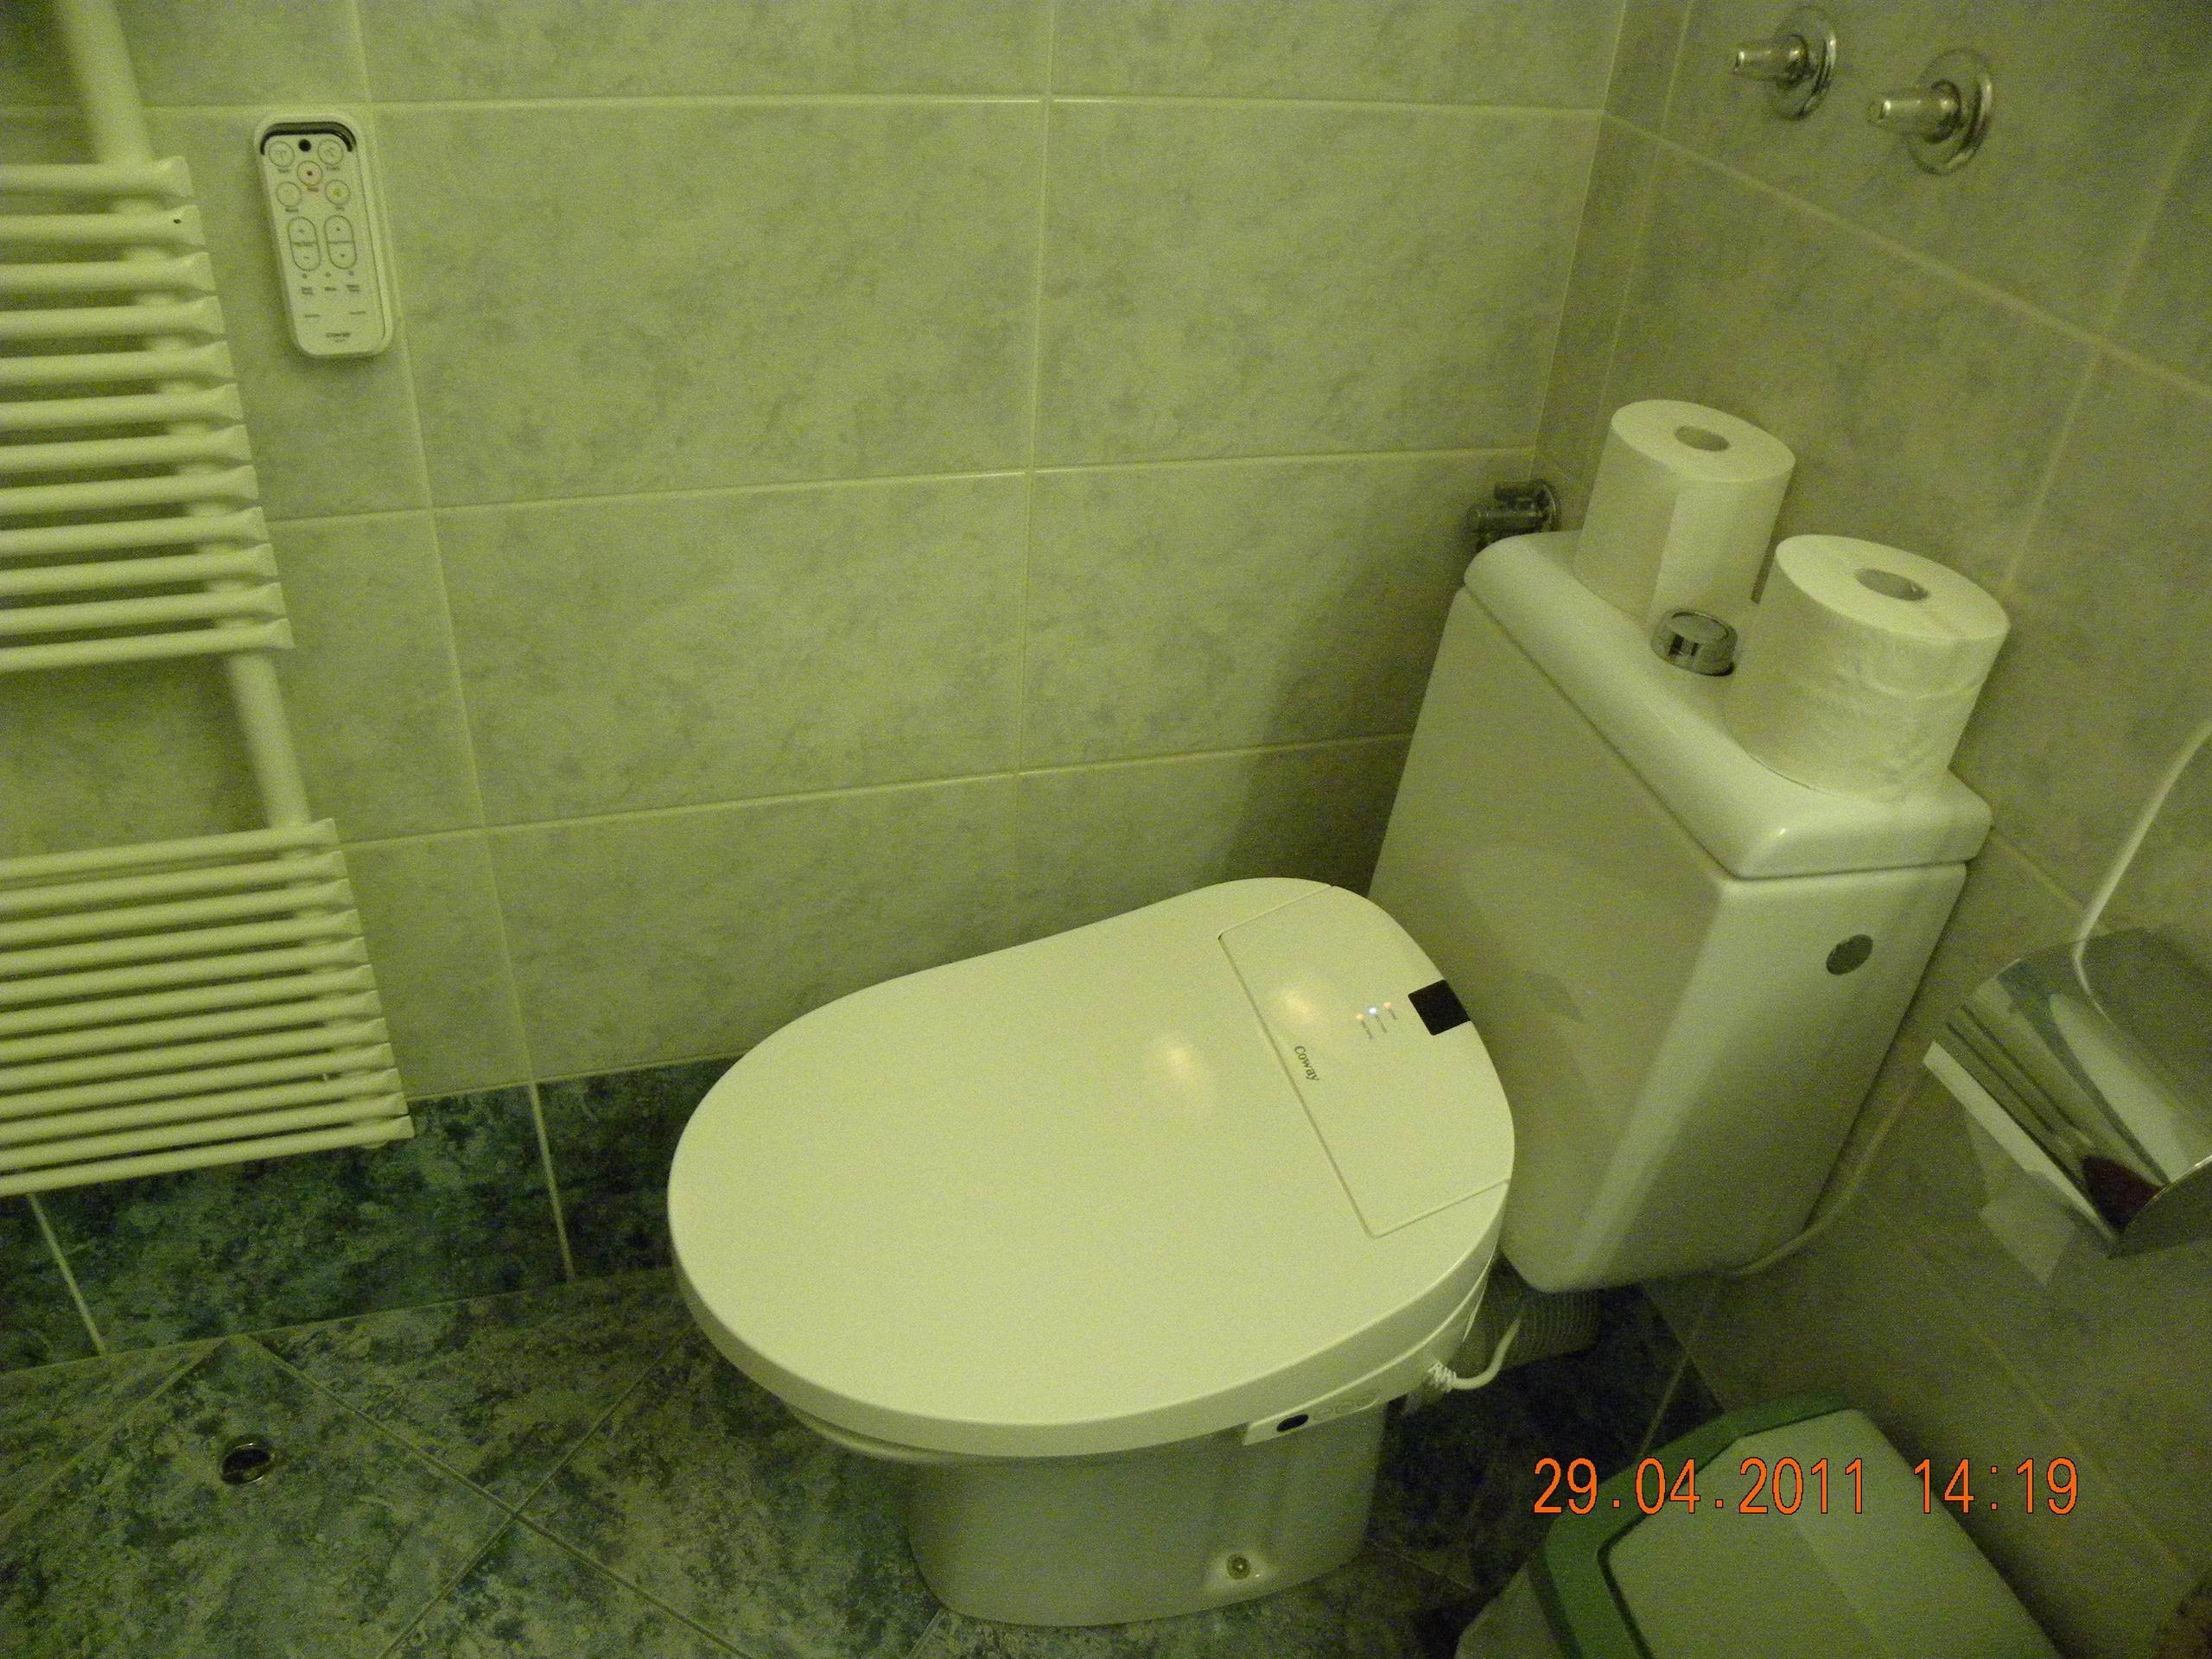
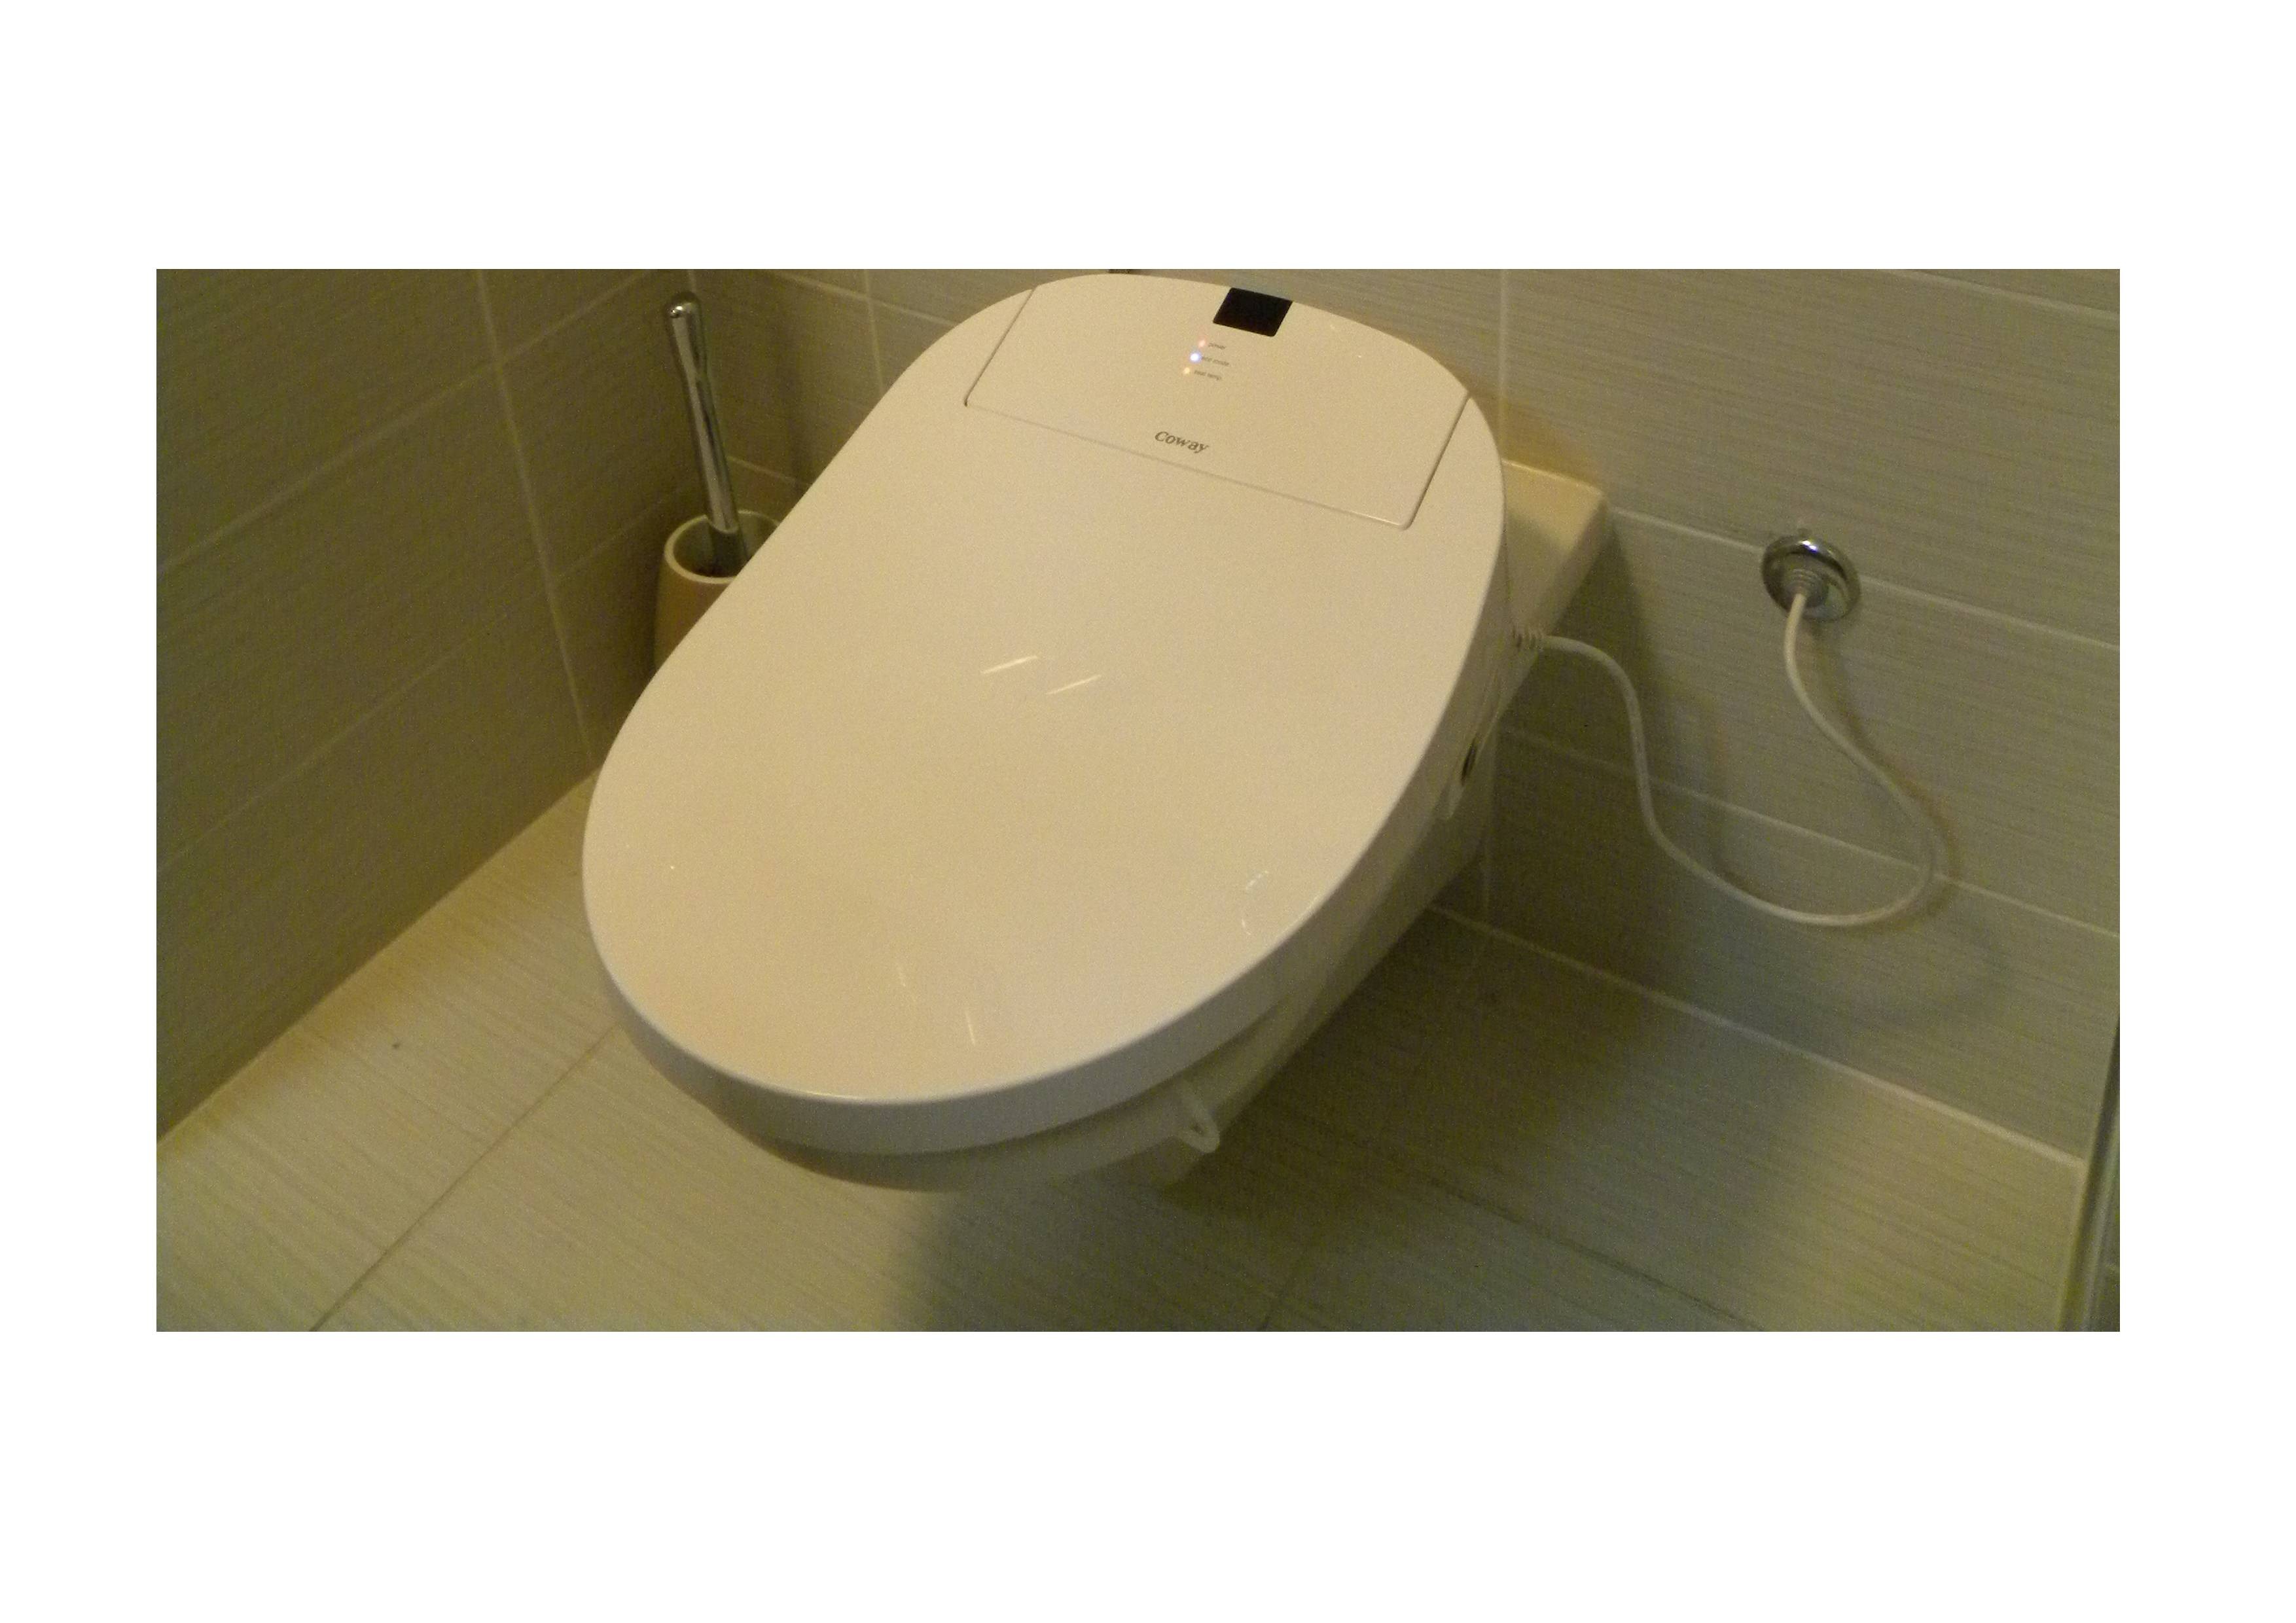
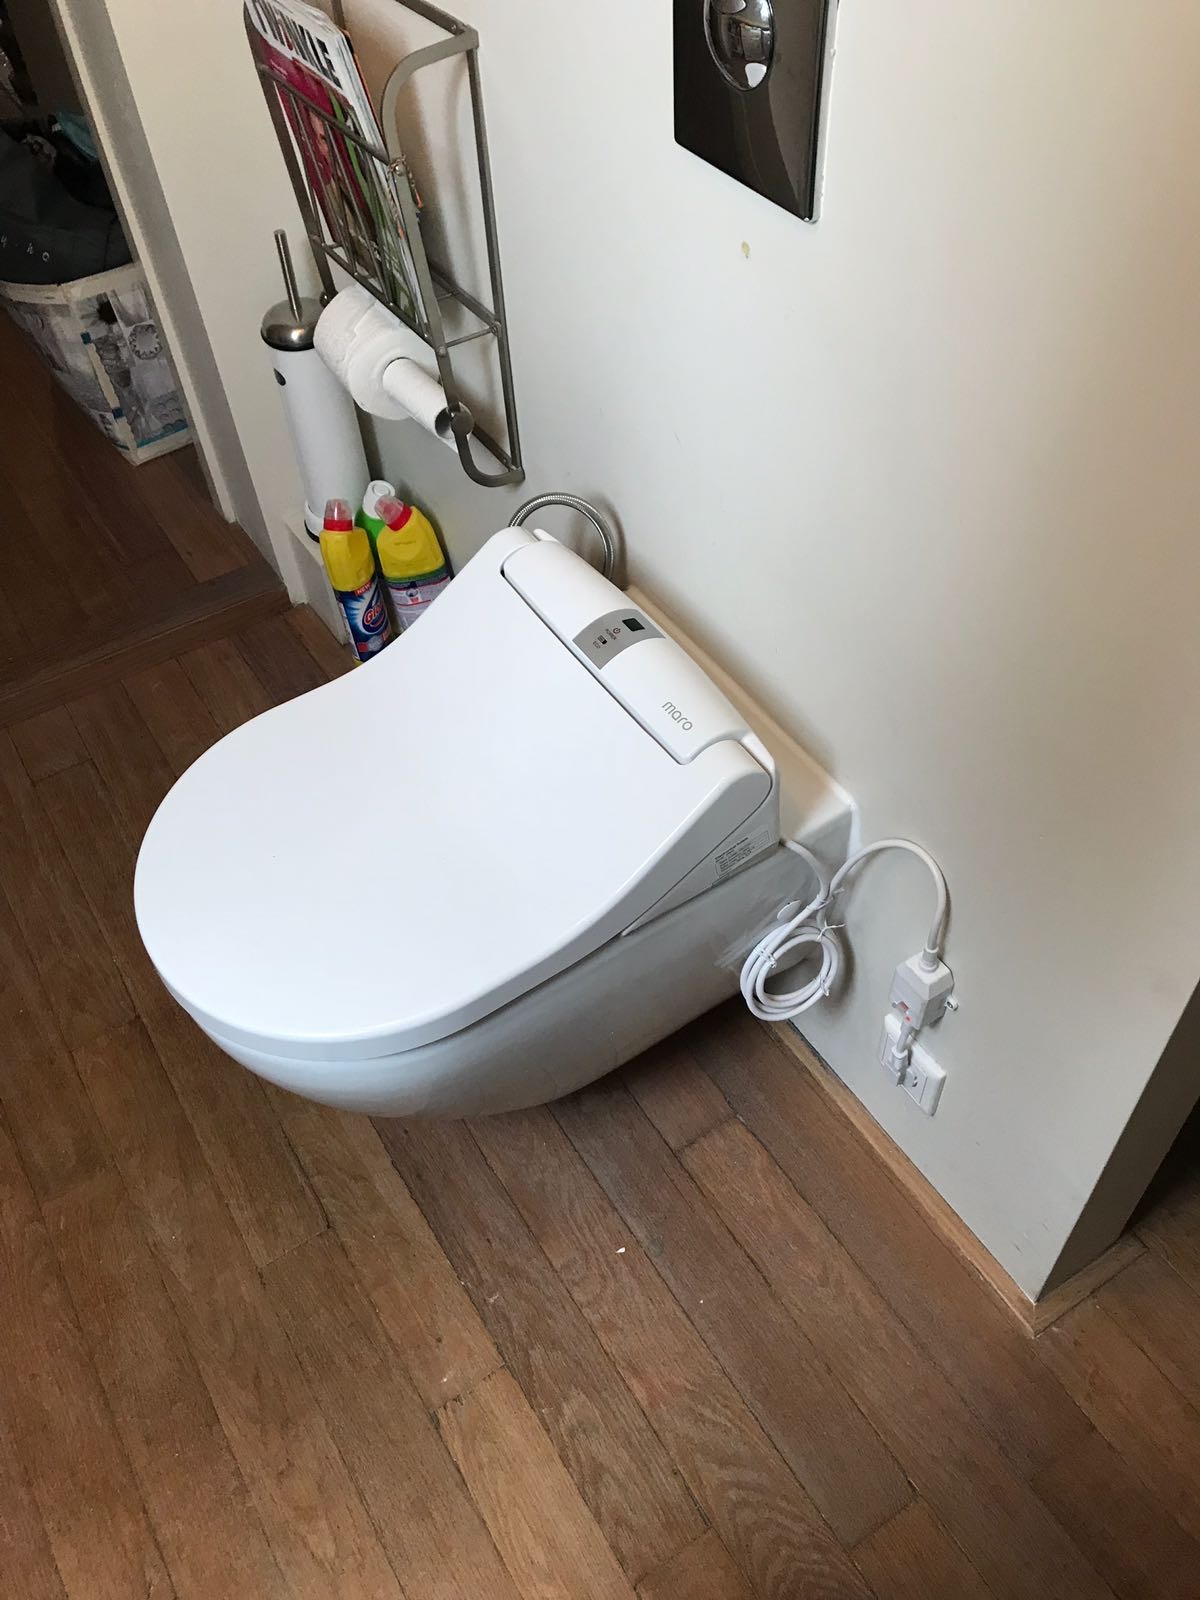
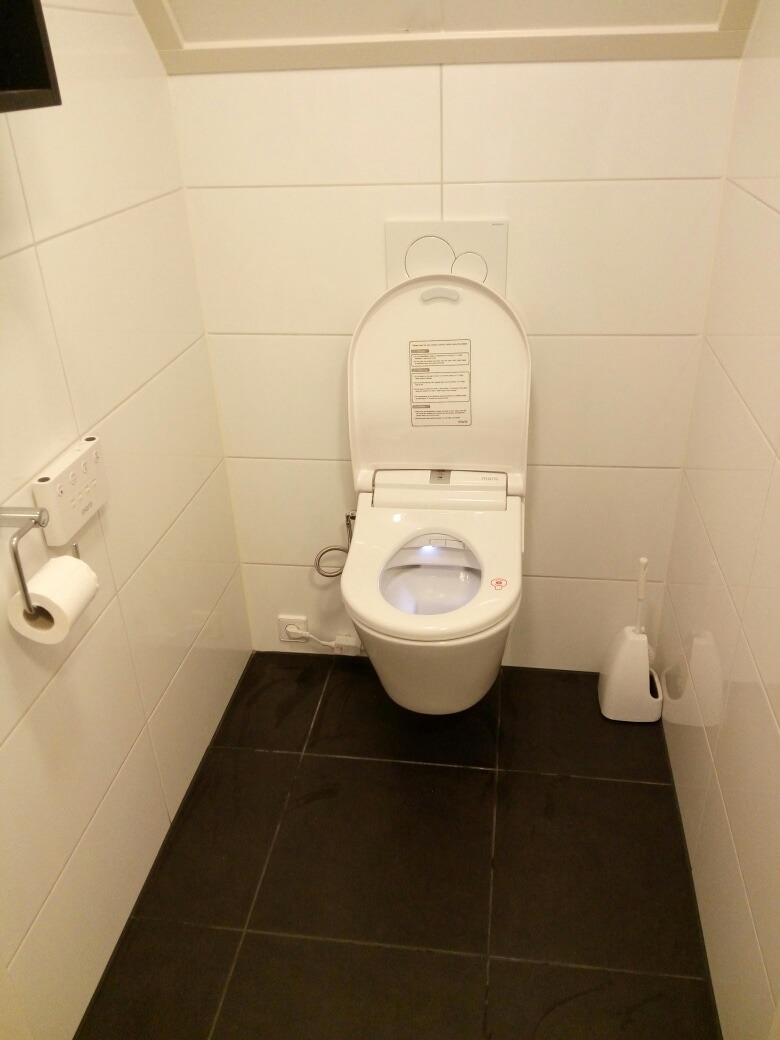
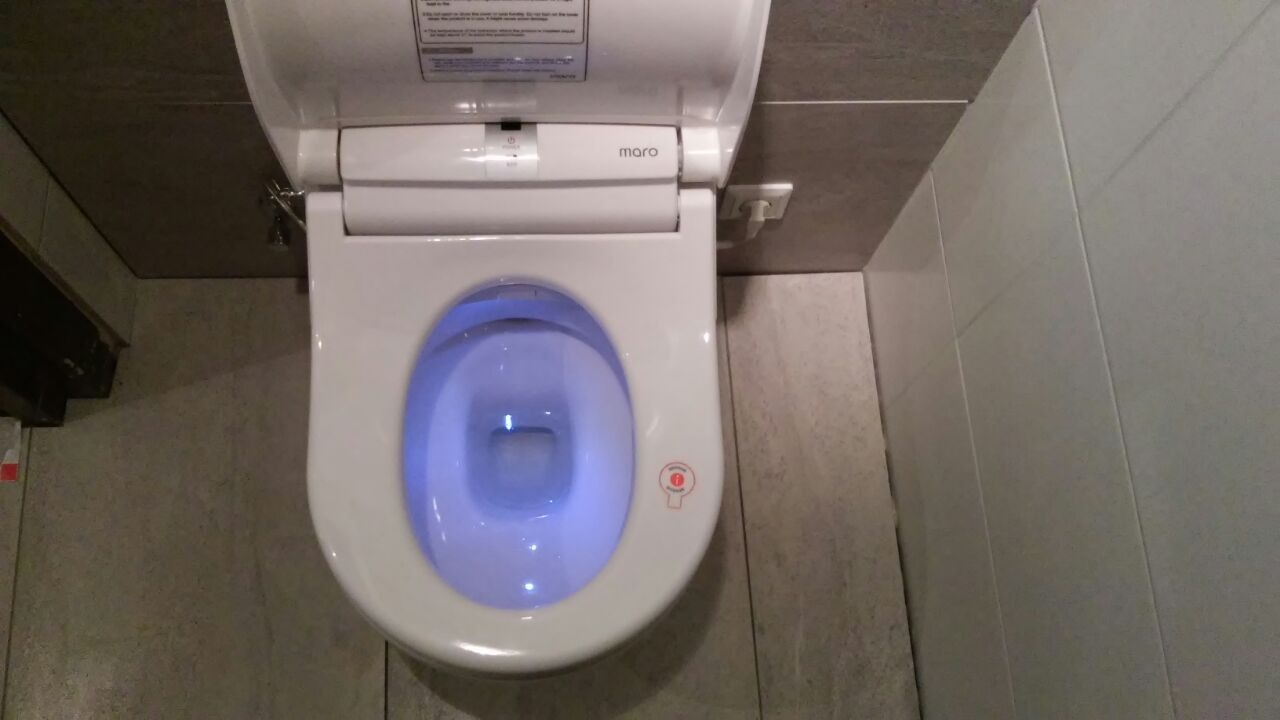
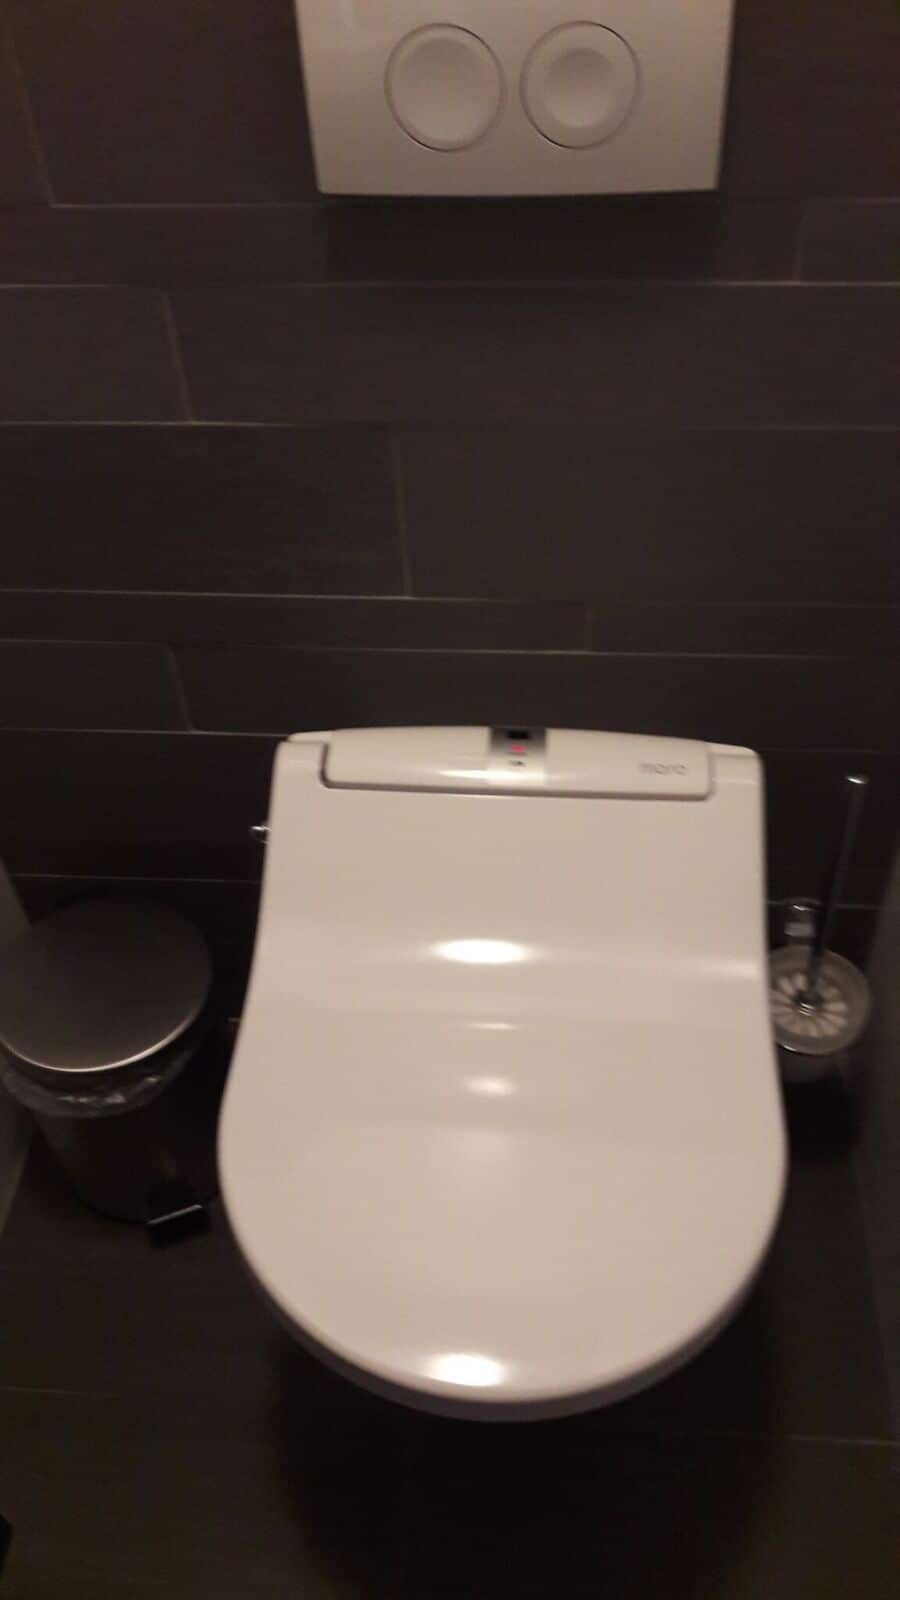
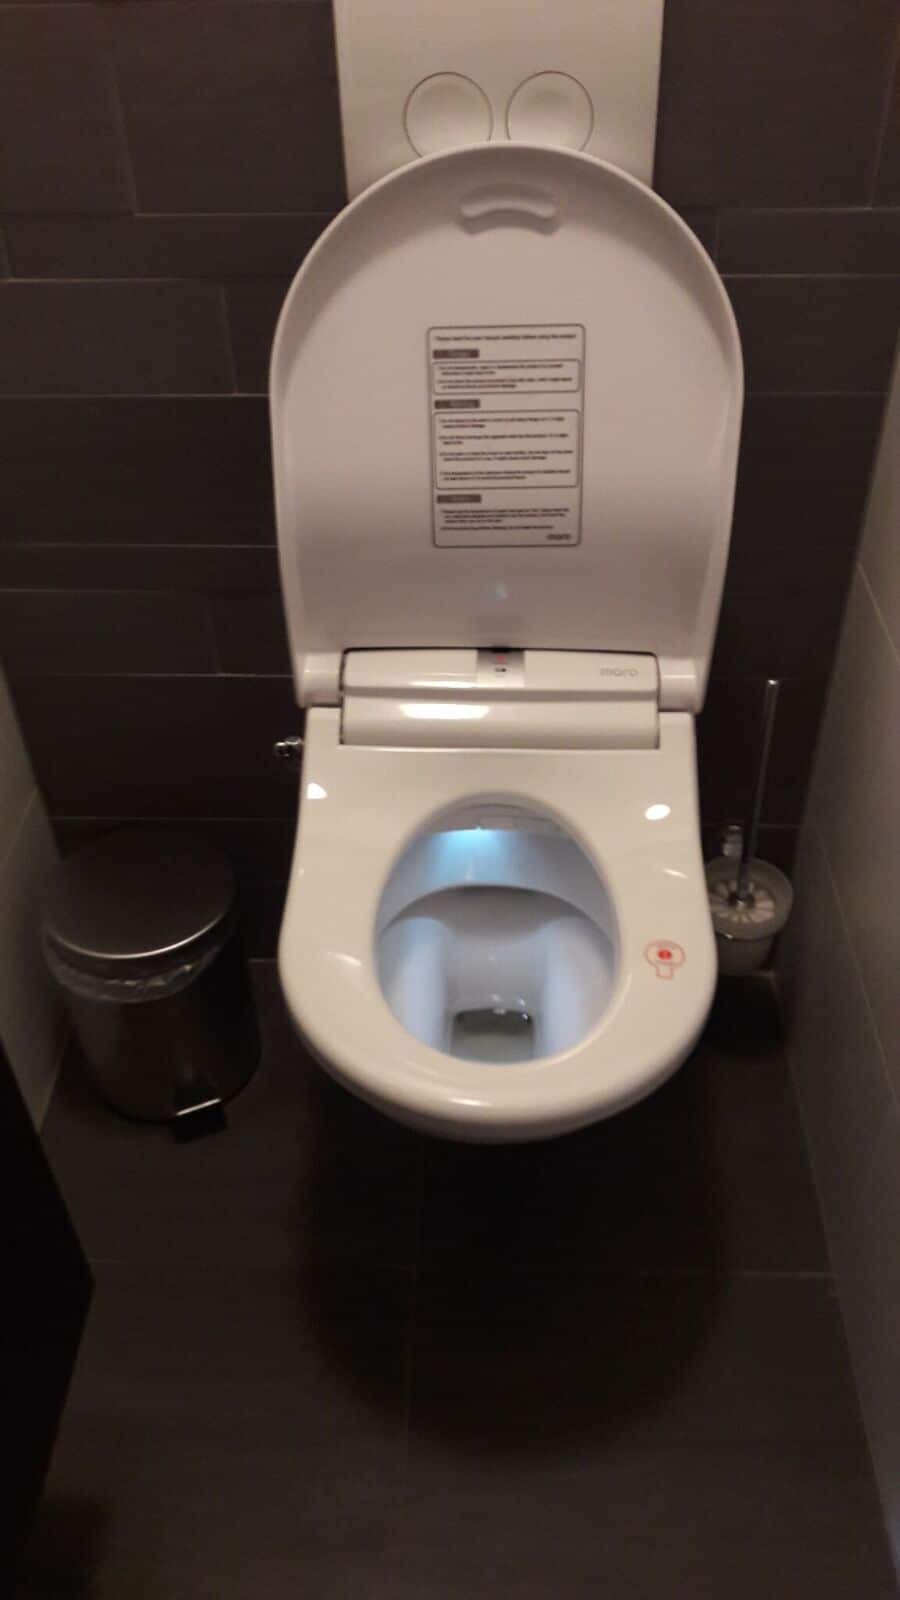
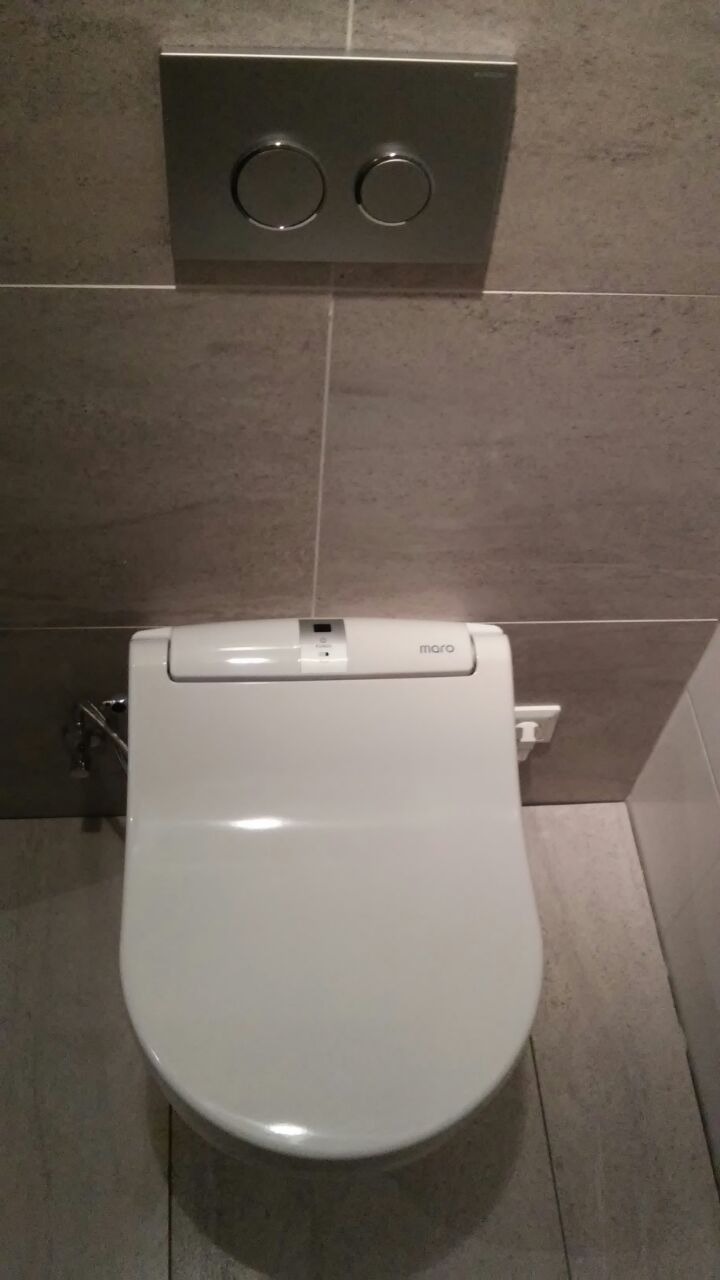
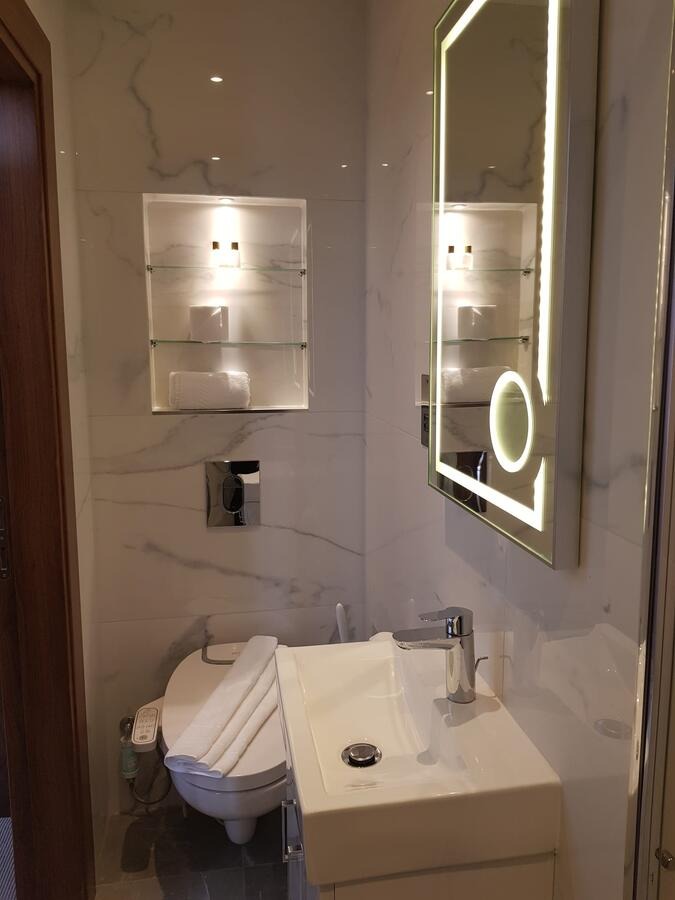
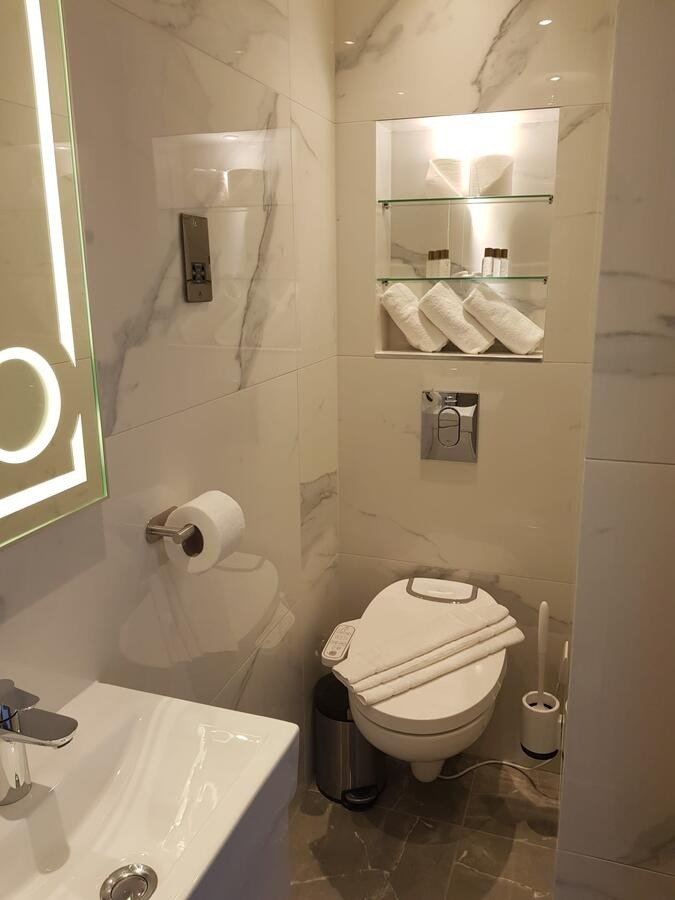
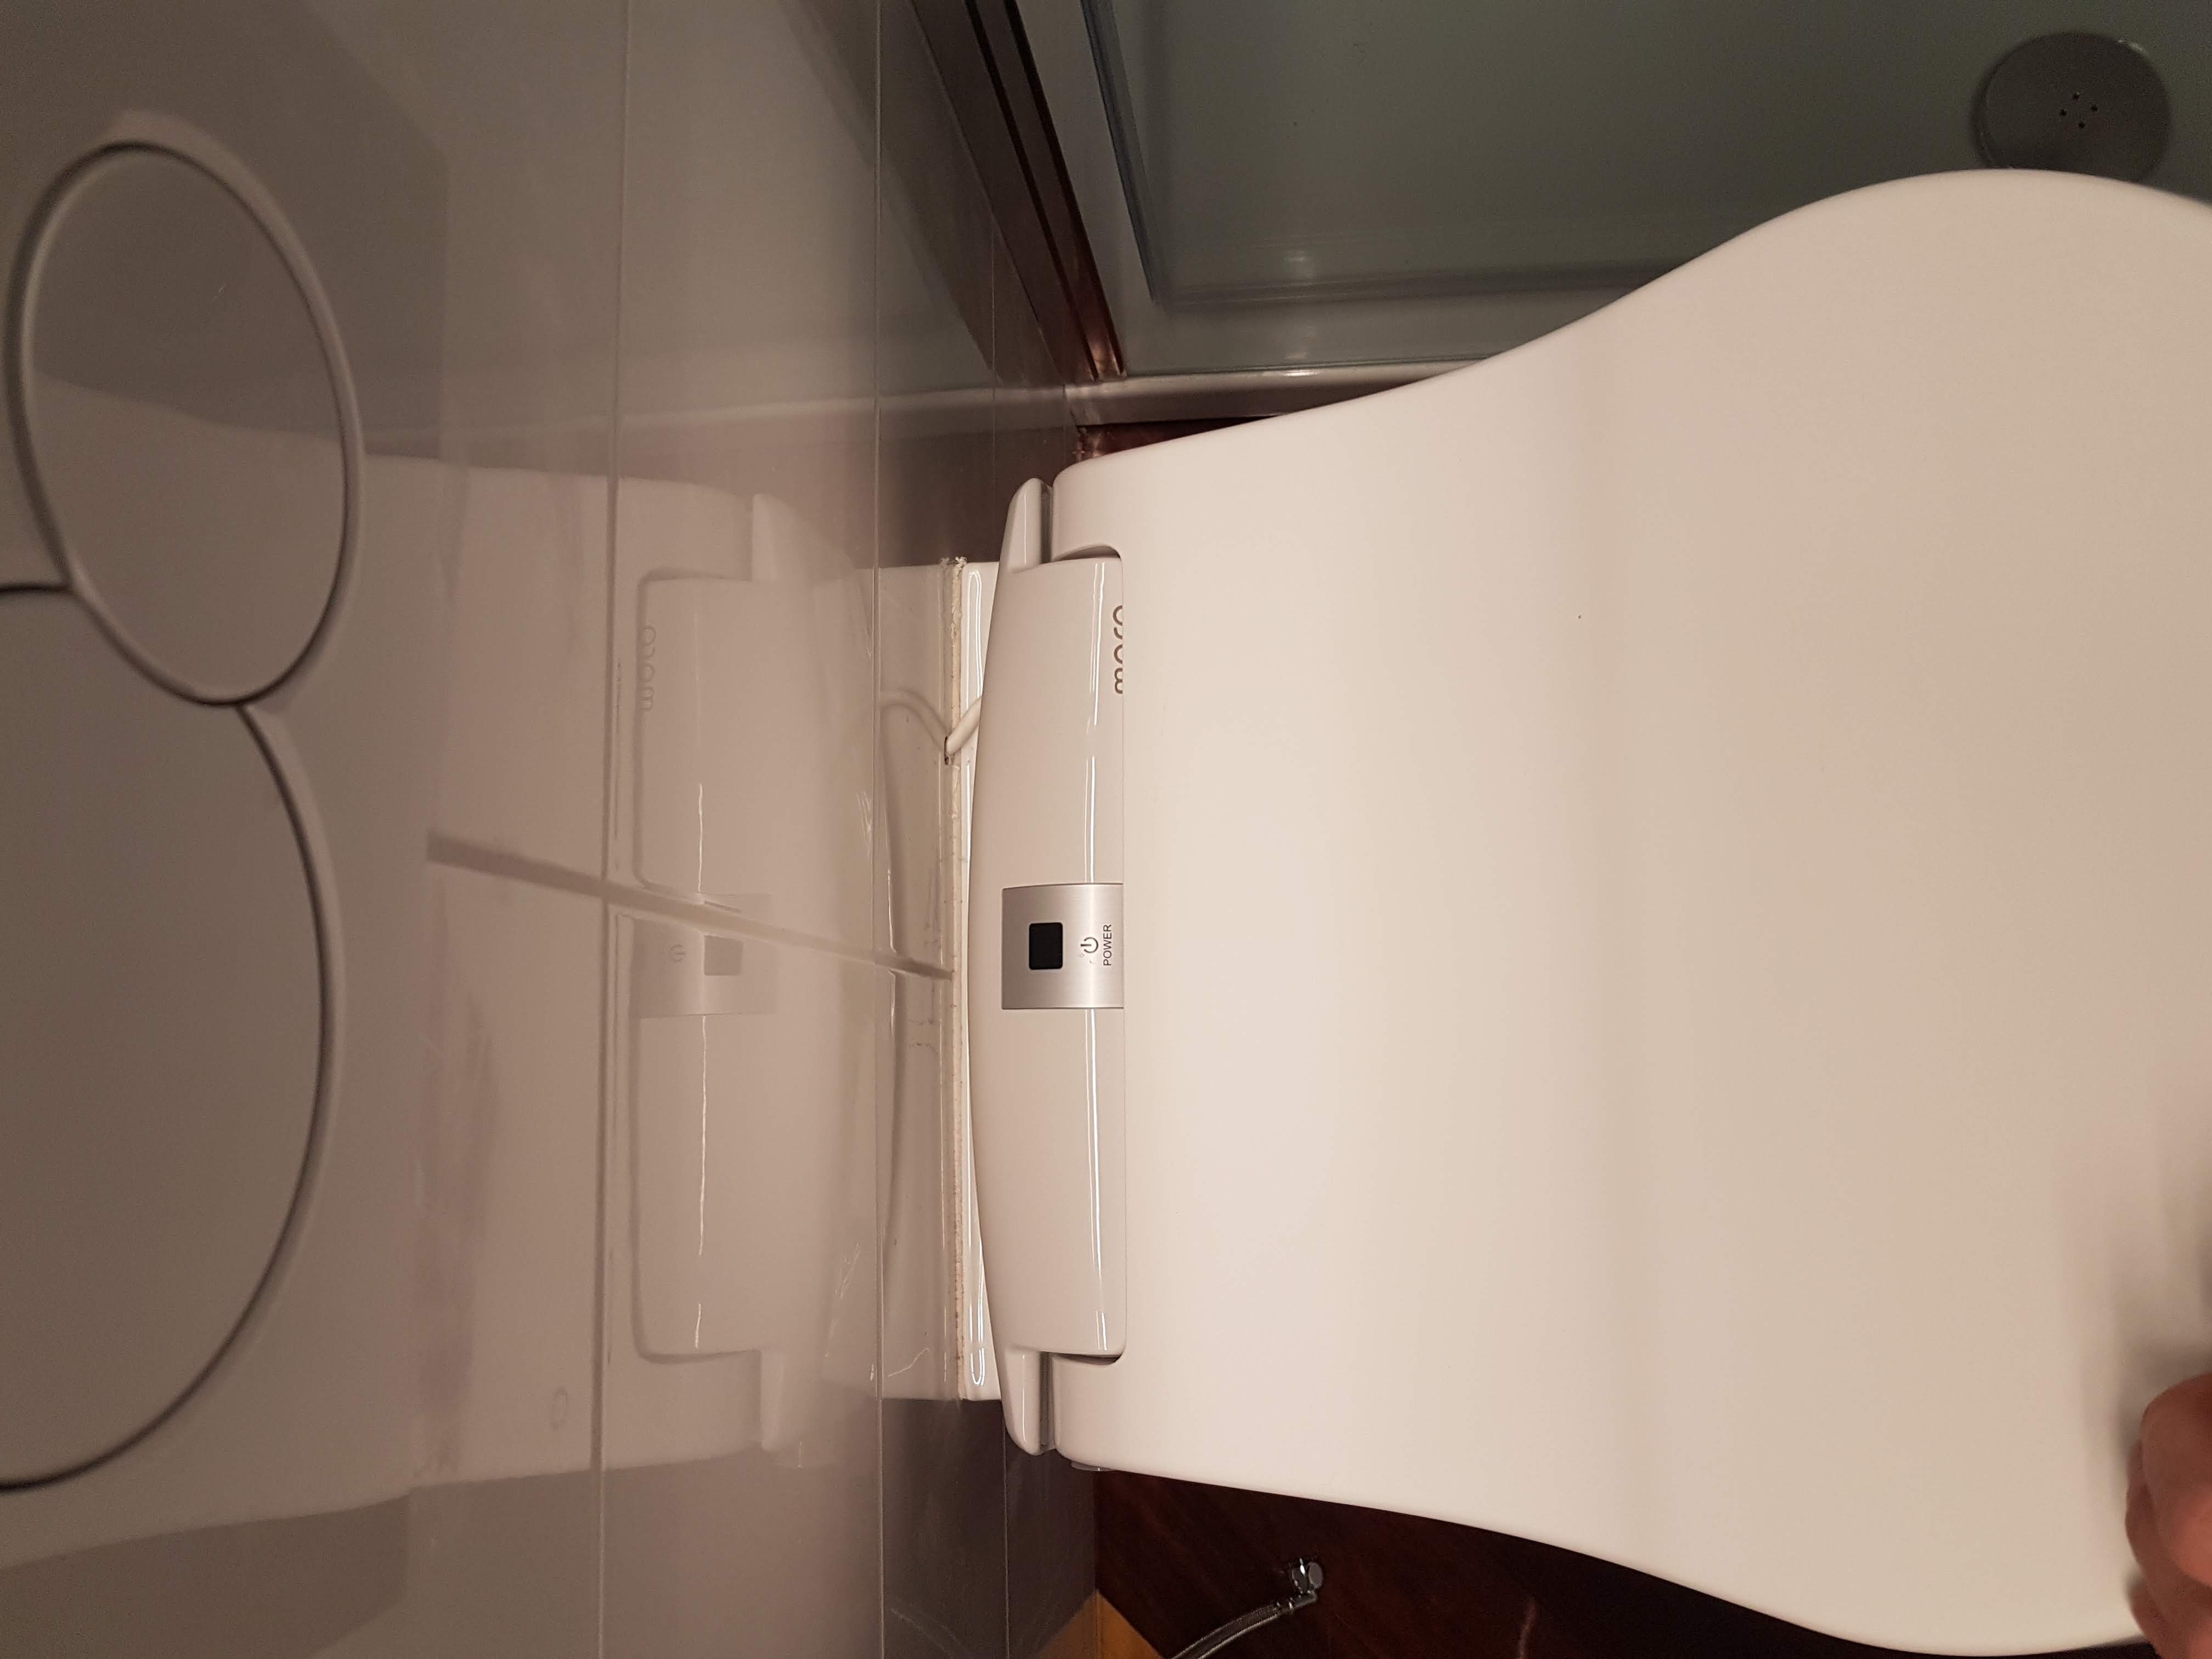
maro-italia-di800-piave-daphne-apartments.jpg
Maro DI800 featured in the newly renovated "Jasmine" apartment at Daphne's Club Hotel Apartments
Learning to install a bidet is a straightforward process that requires no specialized skills. Bidet seats are specifically designed for Do-It-Yourself (DIY) installation, with each owner's manual providing clear and uncomplicated instructions. For visual guidance, a How to Install a Bidet video is available below, showcasing the simplicity of the installation process. Experience firsthand how effortlessly bidet installation can be – you'll be up and running in no time.
Bidet toilet seats are engineered for DIY installation, a task easily accomplished by any capable individual. Over 90% of our customers successfully install their bidet seats without external assistance, with the entire process taking approximately 20 minutes. The simplicity of our bidet seats lies in the fact that no additional plumbing is necessary. The bidet connects to the existing cold water supply behind the toilet, eliminating the need for a separate hot water line. Additionally, there's no need for separate drainage, as everything is directed into the toilet and flushed down the existing drain.
It's important to note that bidet seats require electricity, so ensure there's a nearby outlet to power the seat.
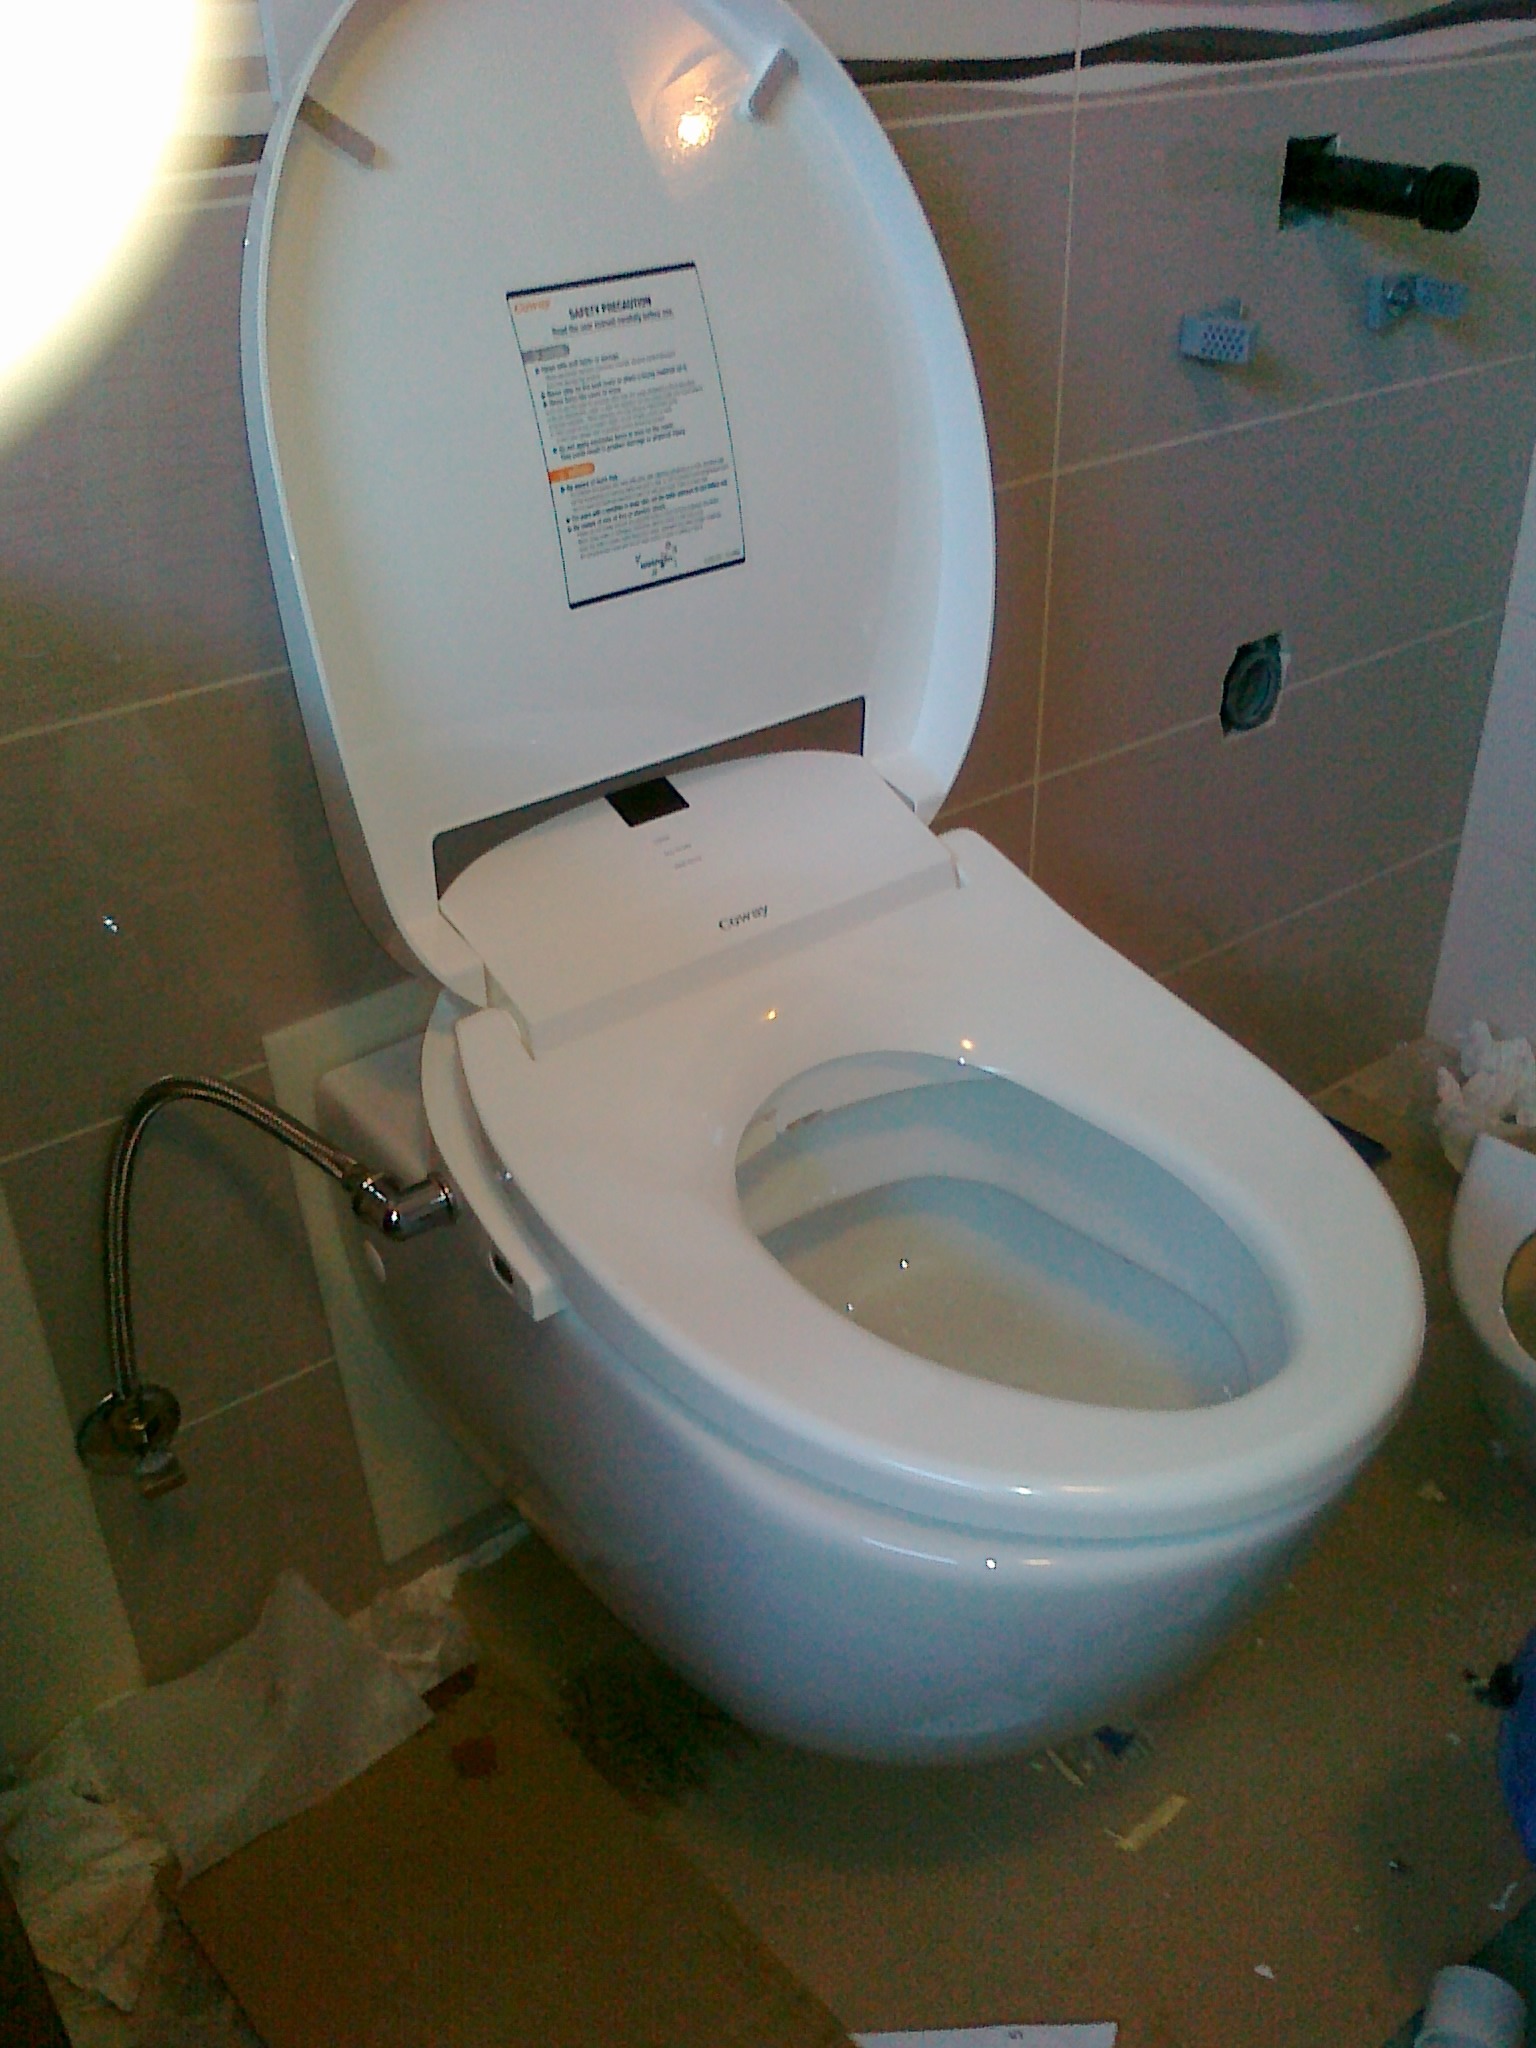
The installation of a bidet toilet seat involves three basic steps: (1) removing the existing toilet seat, (2) mounting the new bidet seat, and (3) connecting to the water supply. Each step will be detailed below, and all necessary parts for installation are included in your shipment.
Removing Your Existing Toilet Seat:
- Close the seat and lid to locate two caps behind the seat, covering the toilet's mounting holes.
- Use a flathead screwdriver to open the caps, revealing the bolt heads underneath.
- Unscrew the bolts with the screwdriver and lift the toilet seat off, exposing the two mounting holes behind the bowl.
Mounting Your New Bidet Seat:
- Install the mounting bracket onto your toilet, placing it over the two mounting holes behind the bowl.
- Insert rectangular guide rails on the left and right sides of the bracket, dropping bolts through the guide rails and toilet's mounting holes.
- Secure the bolts by fastening nuts underneath.
- Slide the bidet onto the bracket until it locks into place, producing a distinct "click" sound.
Connecting to the Water Supply:
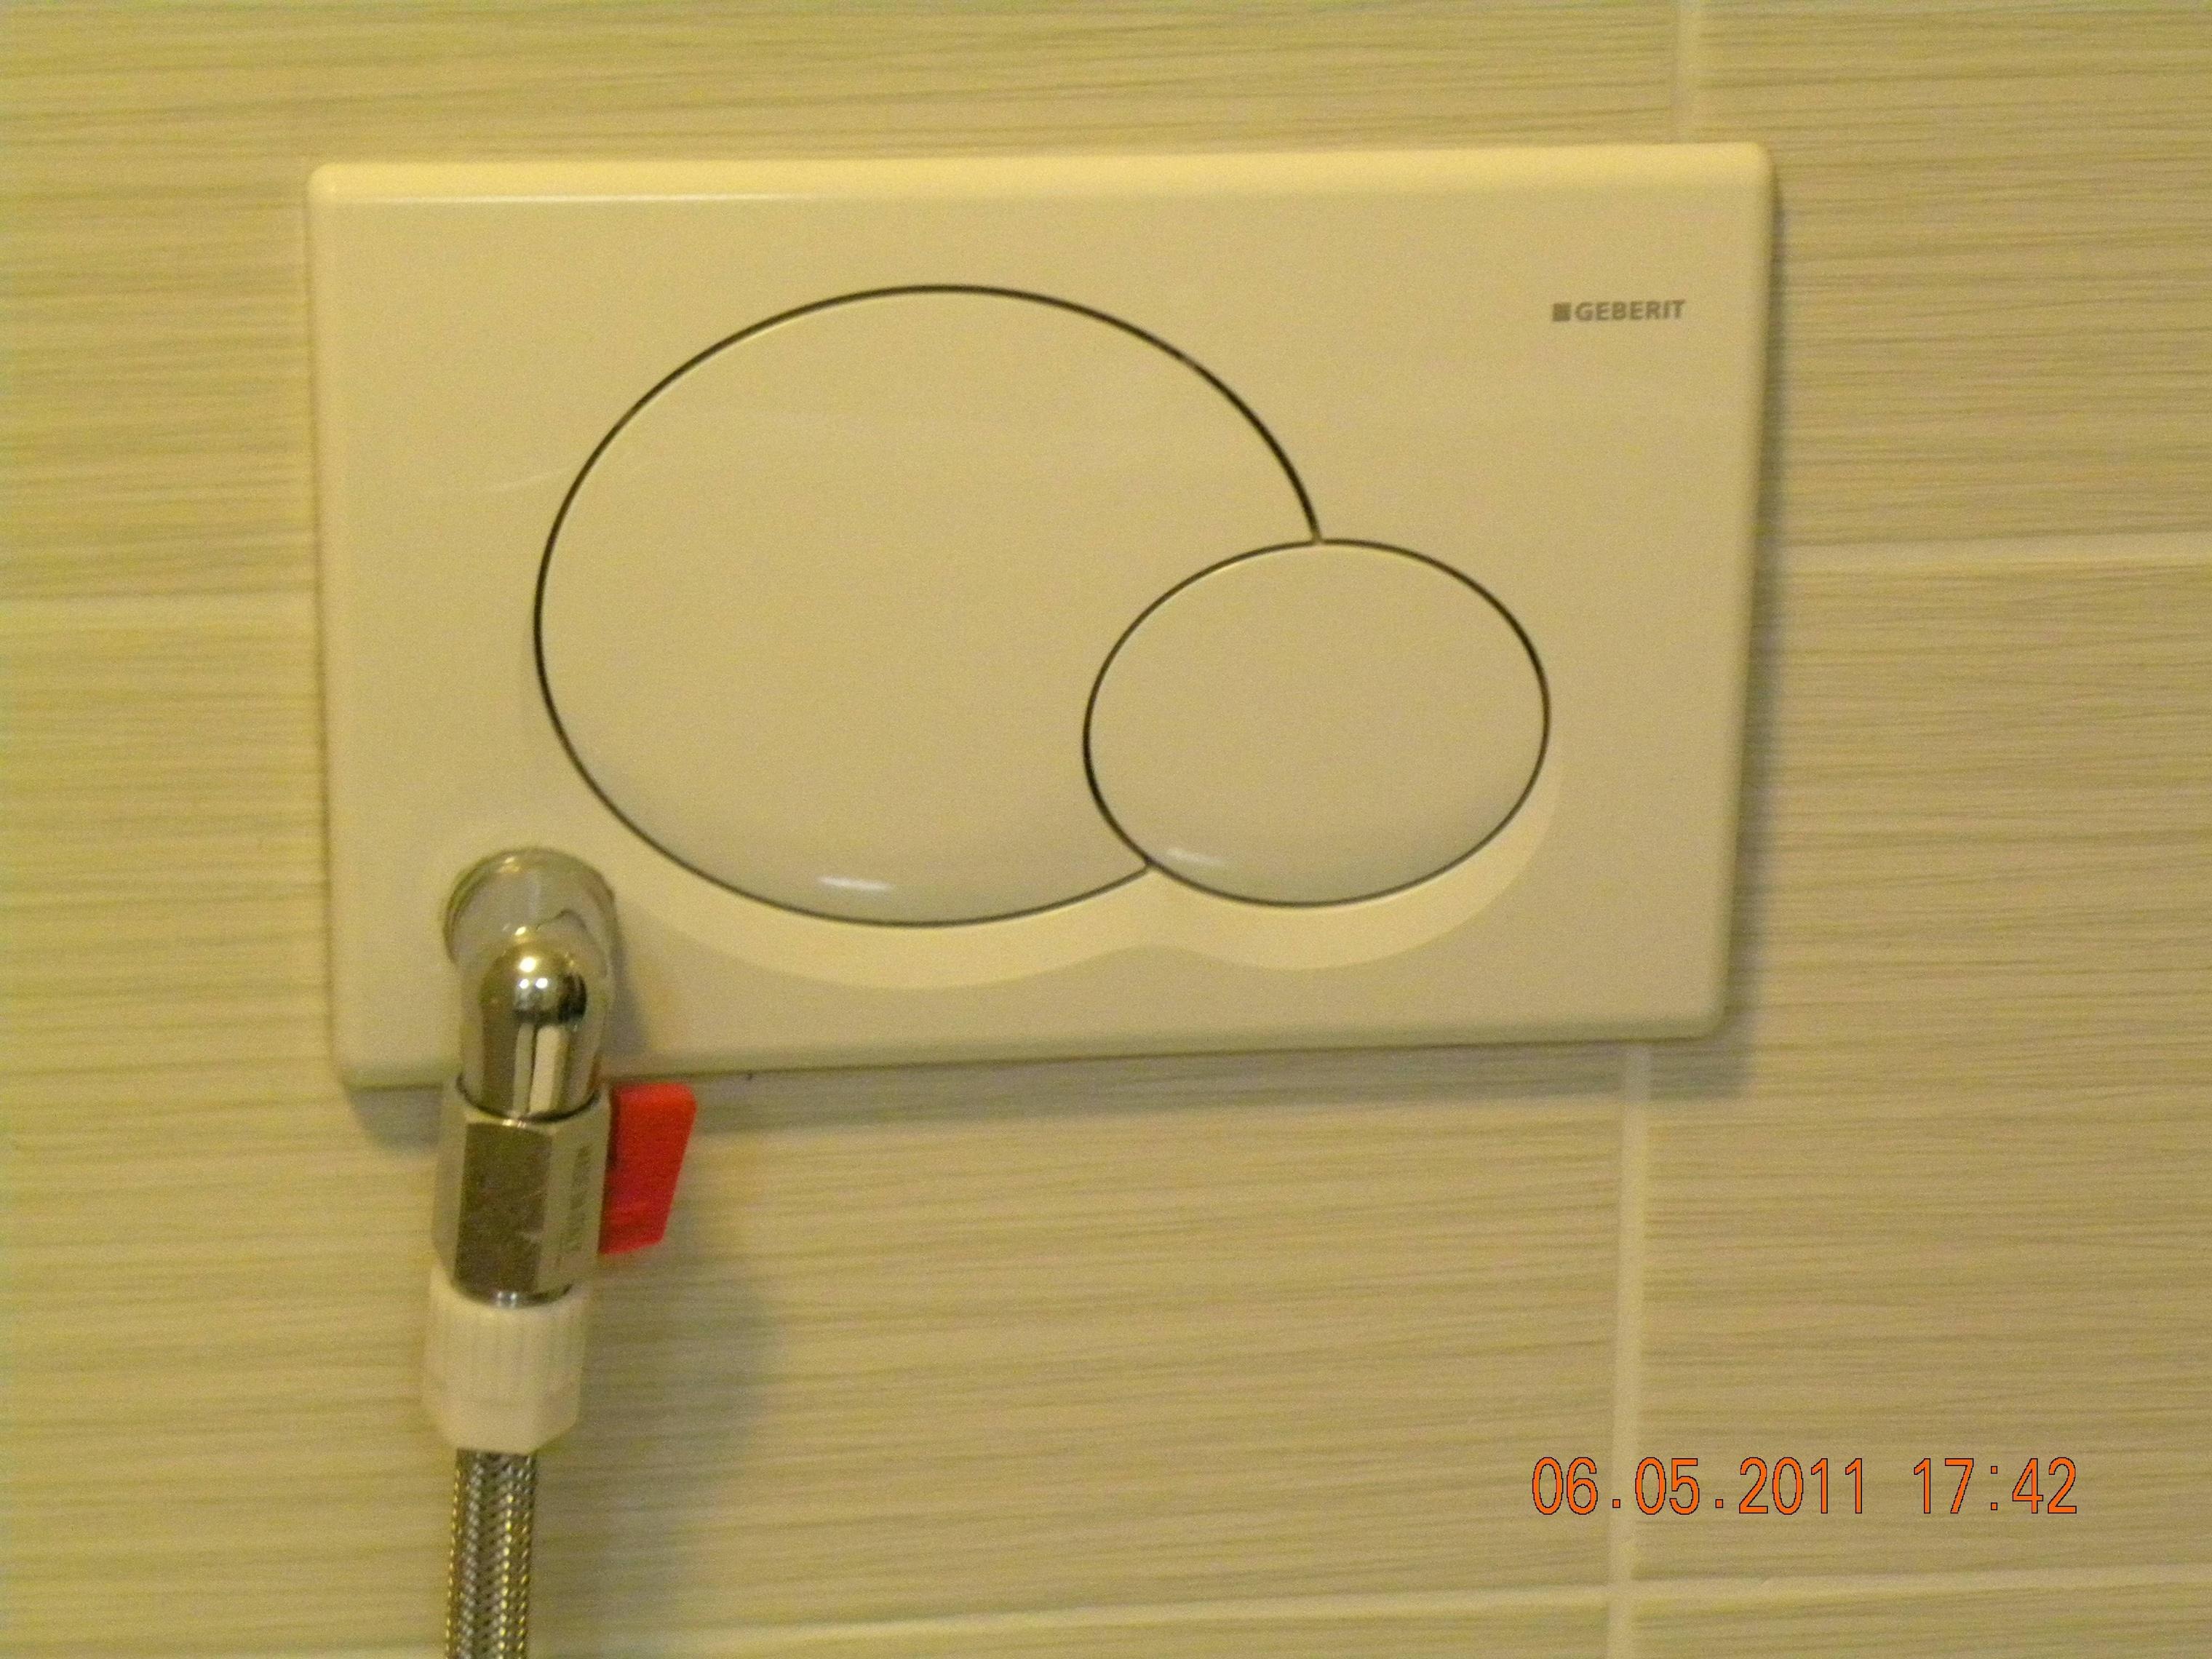
Water connection options can be viewed here.
- Attach the T-Connection or "splitter" included in your shipment to your toilet's water tank and bidet.
- Identify the hose running from your floorboard to the bottom of your water tank, which serves as the toilet's water supply.
- Shut off the water supply by turning the knob clockwise, unscrew the supply hose, and attach the T-Connection to the angle-stop.
- Reconnect the supply hose to the top-end of the T-Connection.
- Attach the bidet hose to the side opening of the T-Connection and then connect the other end to your bidet.
- Ensure all connections are secure, turn on the water supply by turning the knob counterclockwise, and check for leaks.
Congratulations! You've completed the installation and are ready to enjoy the benefits of your new bidet.
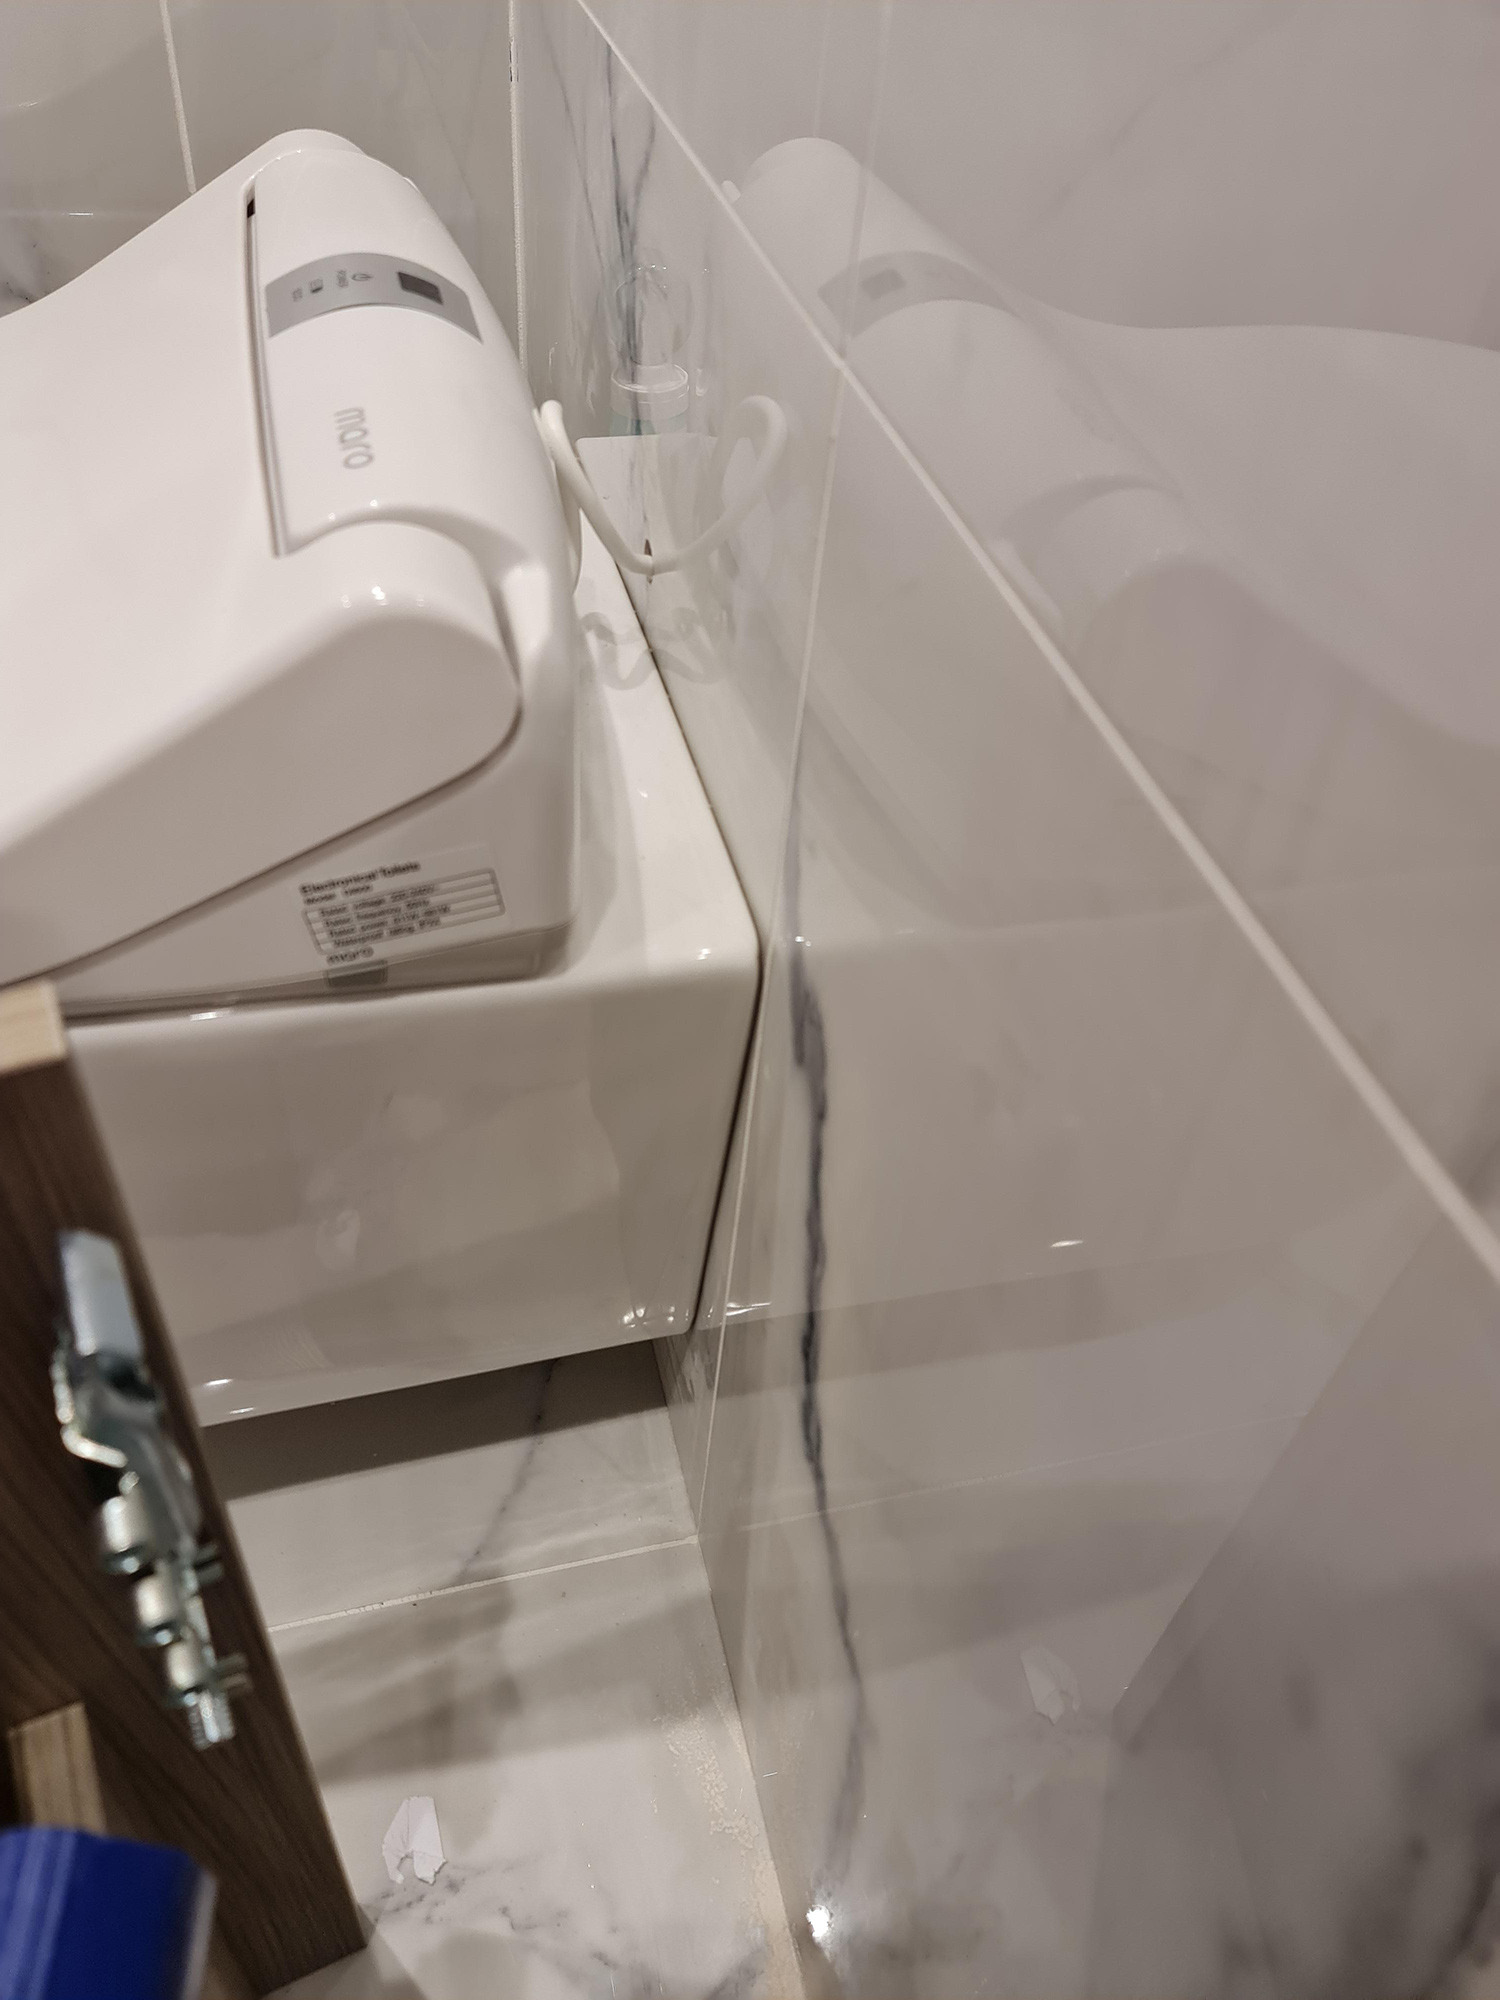
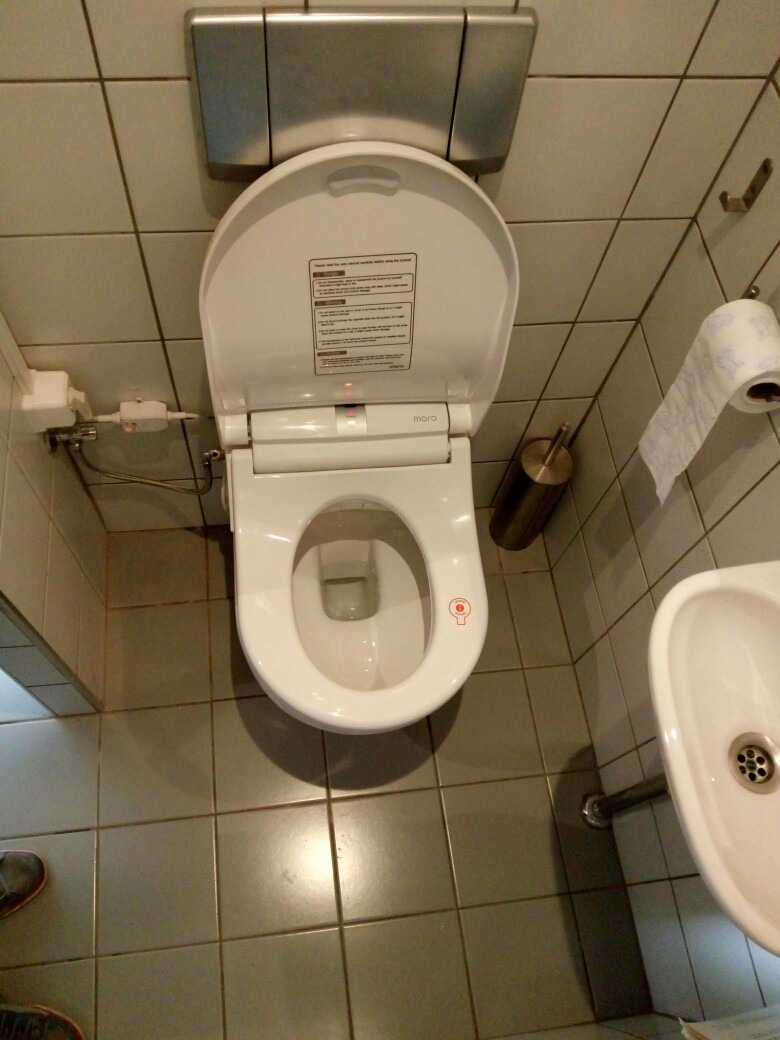
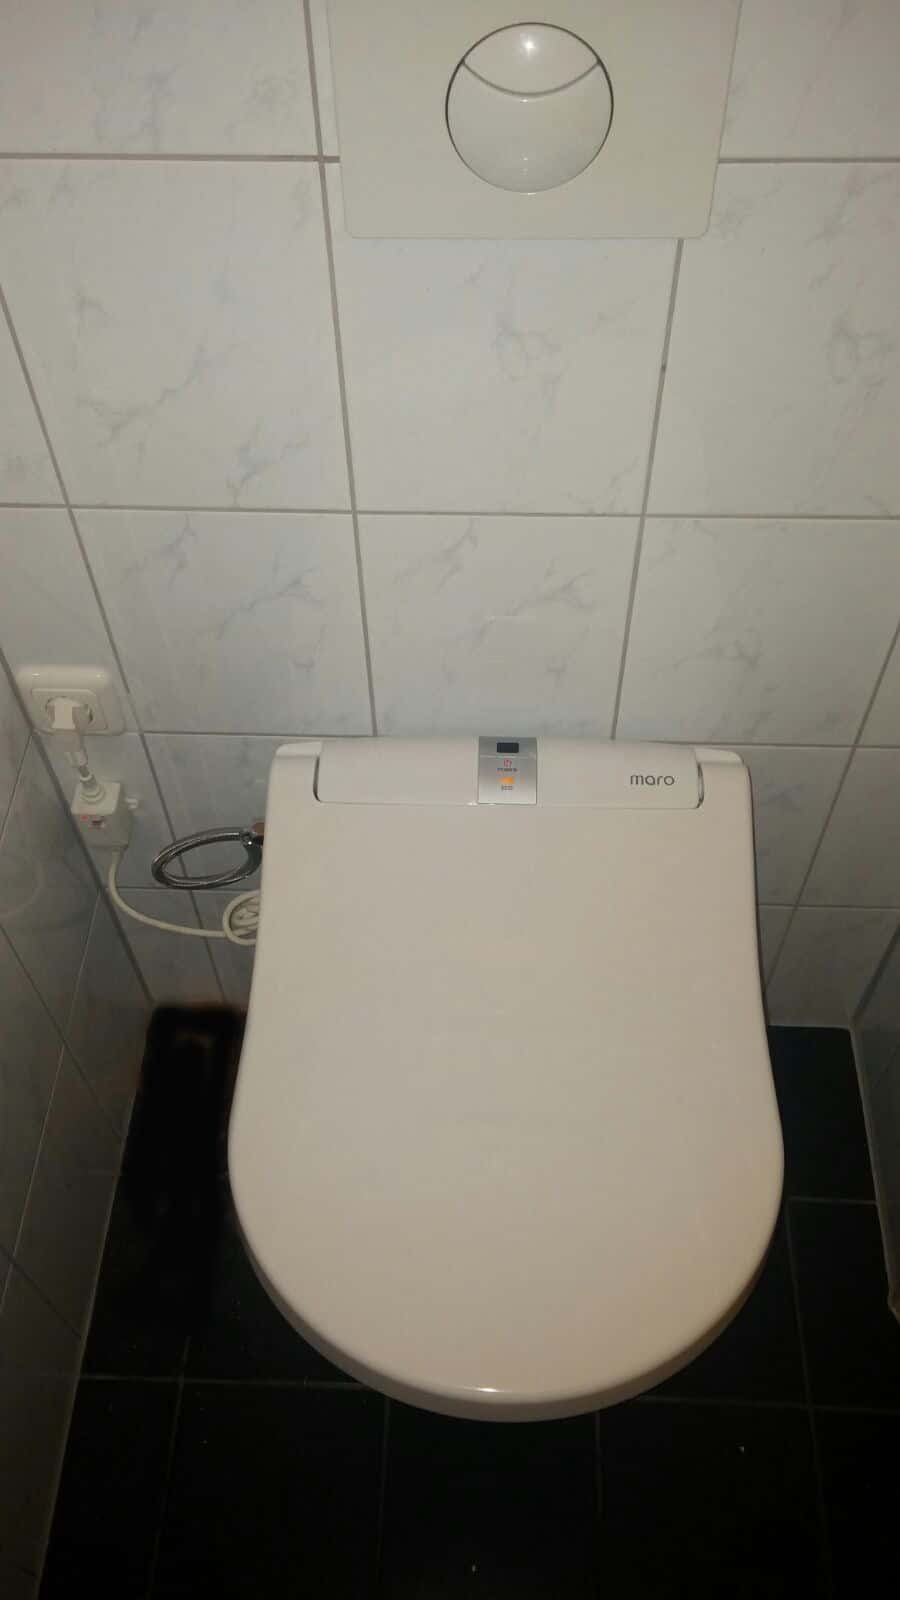
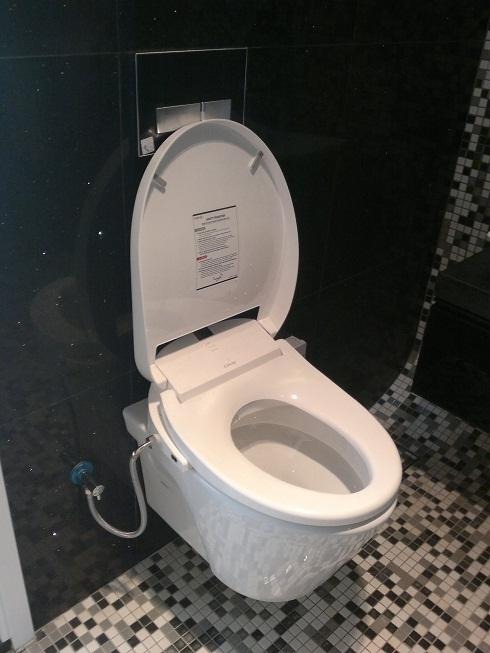
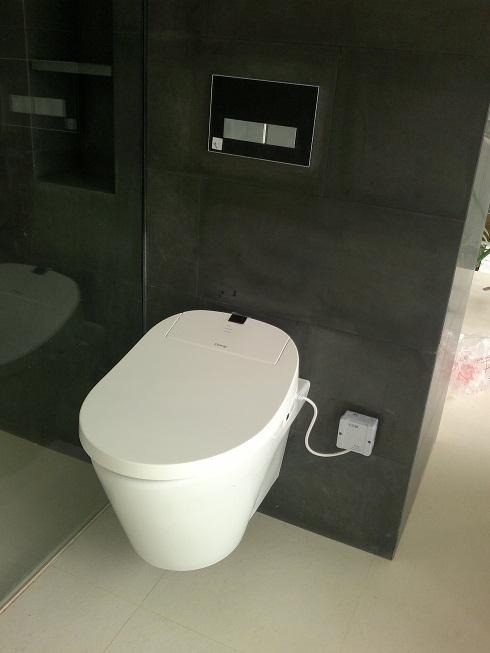
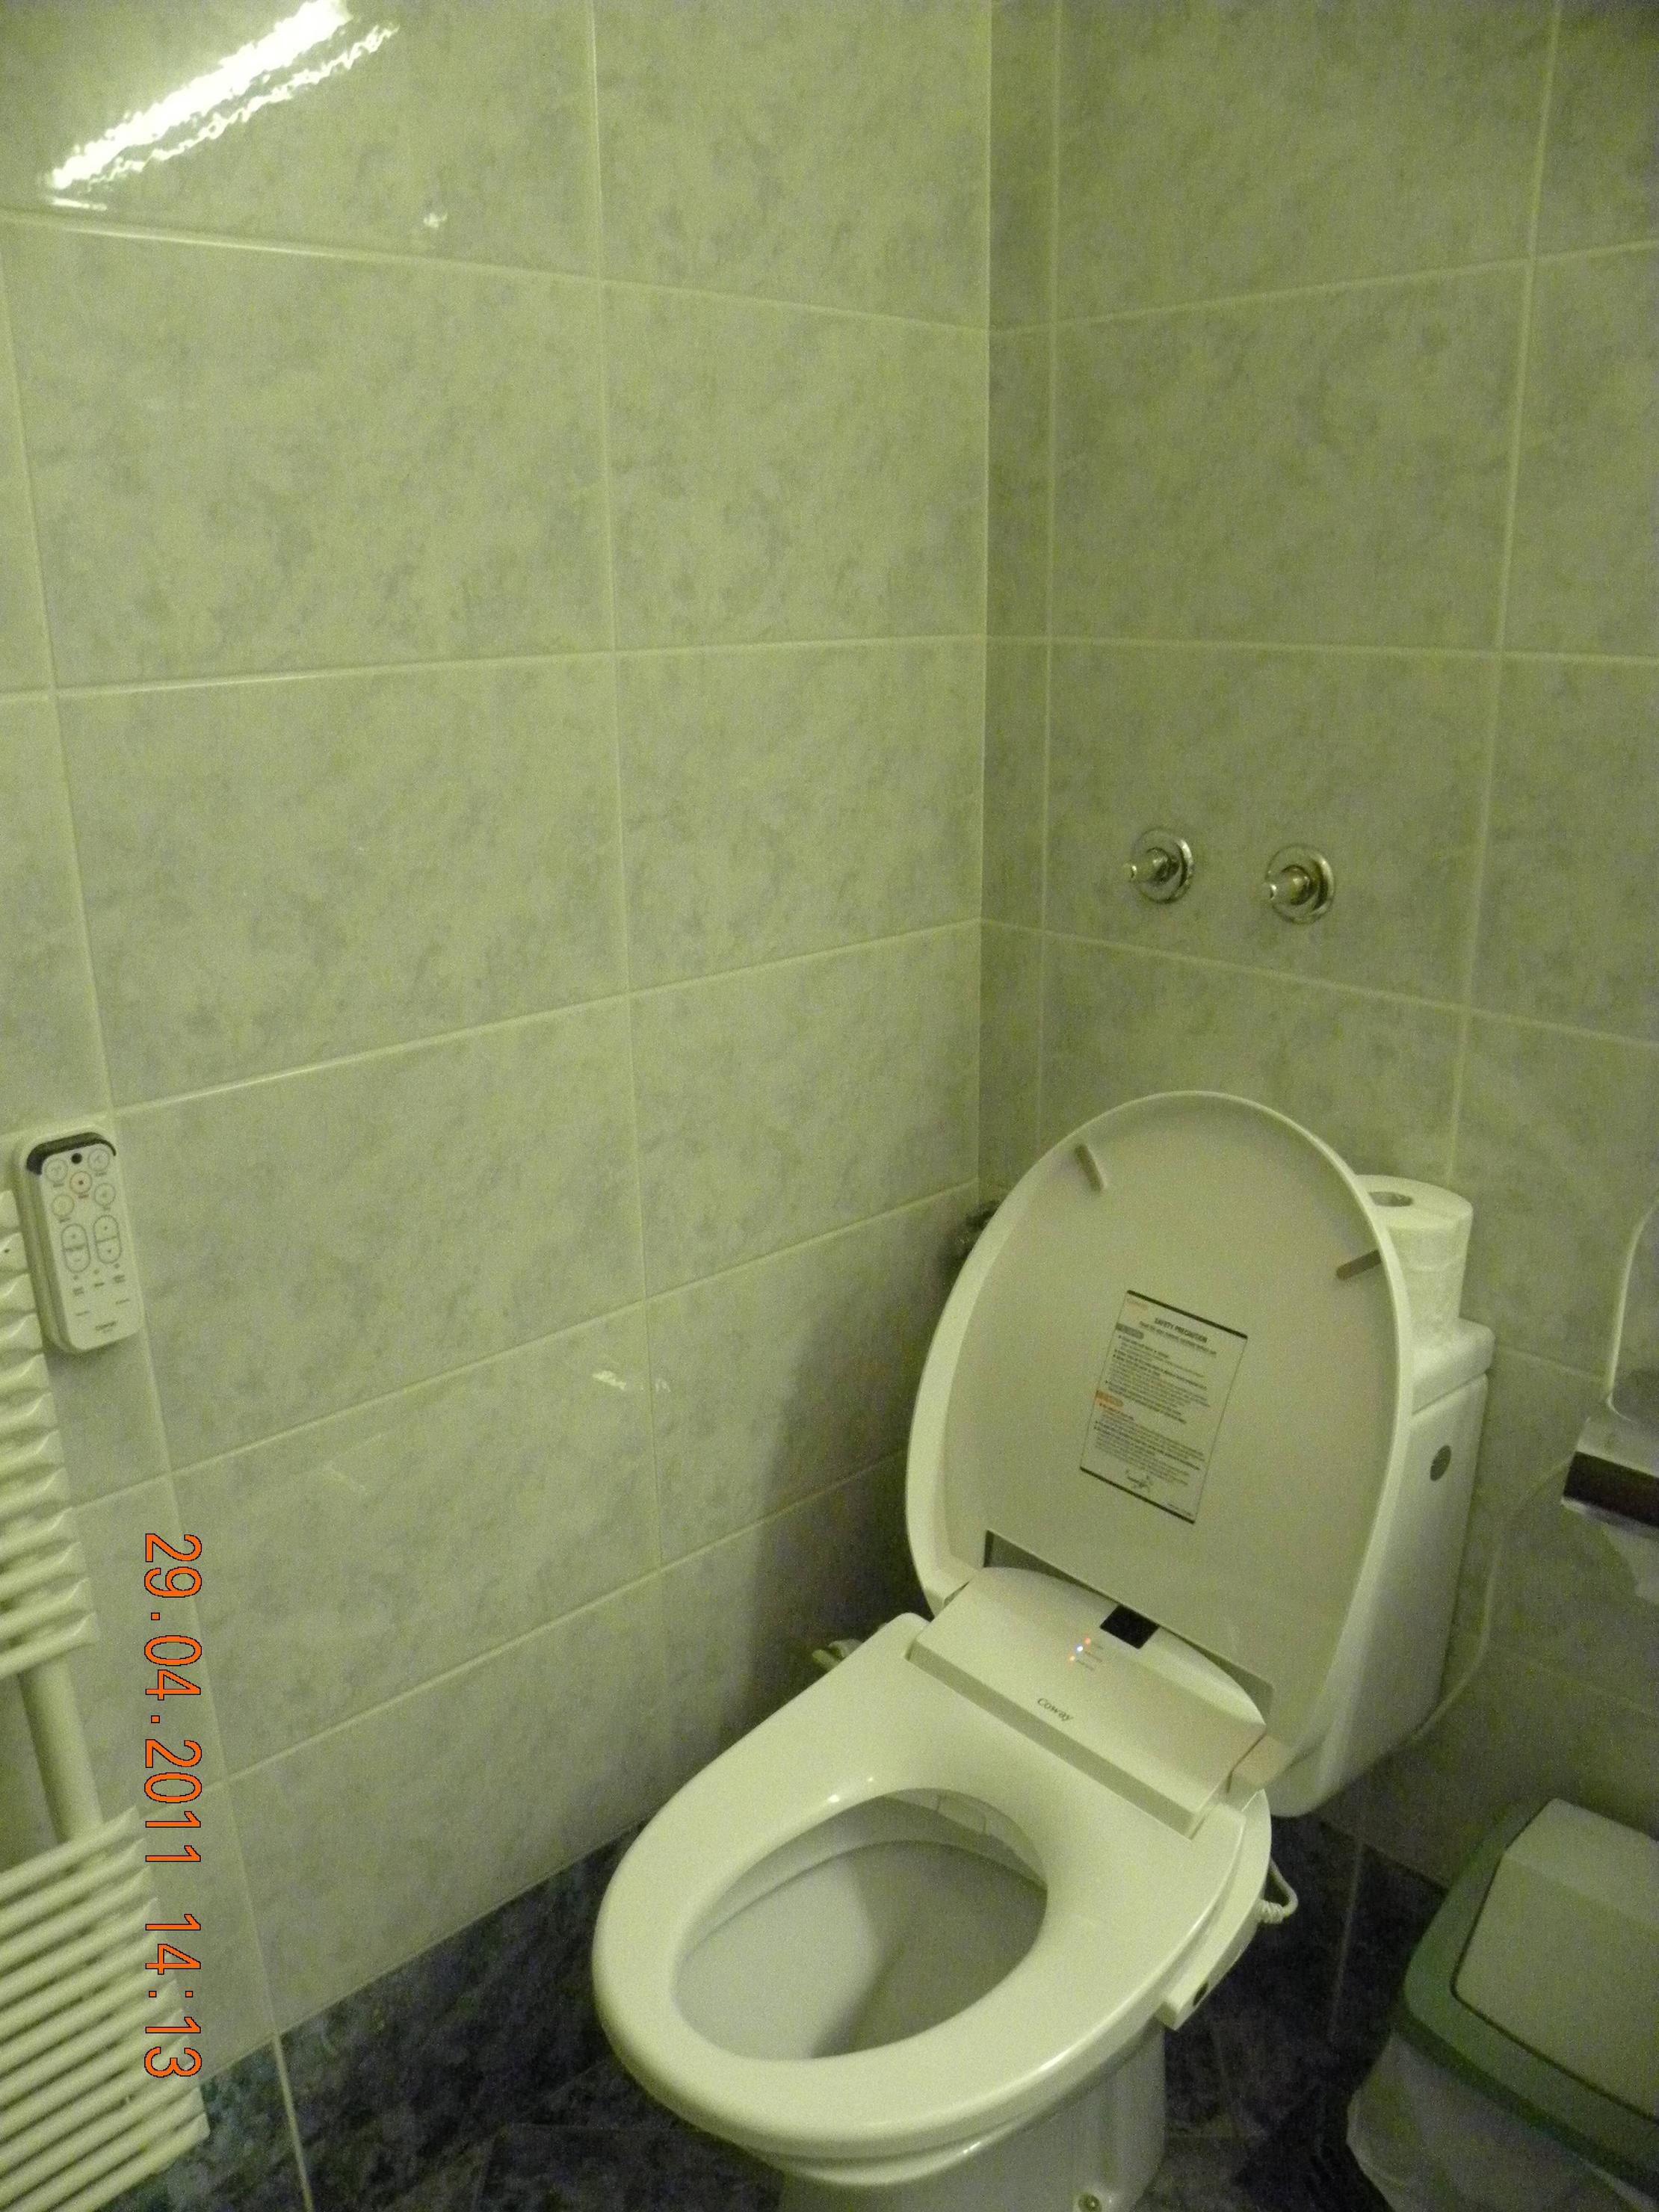
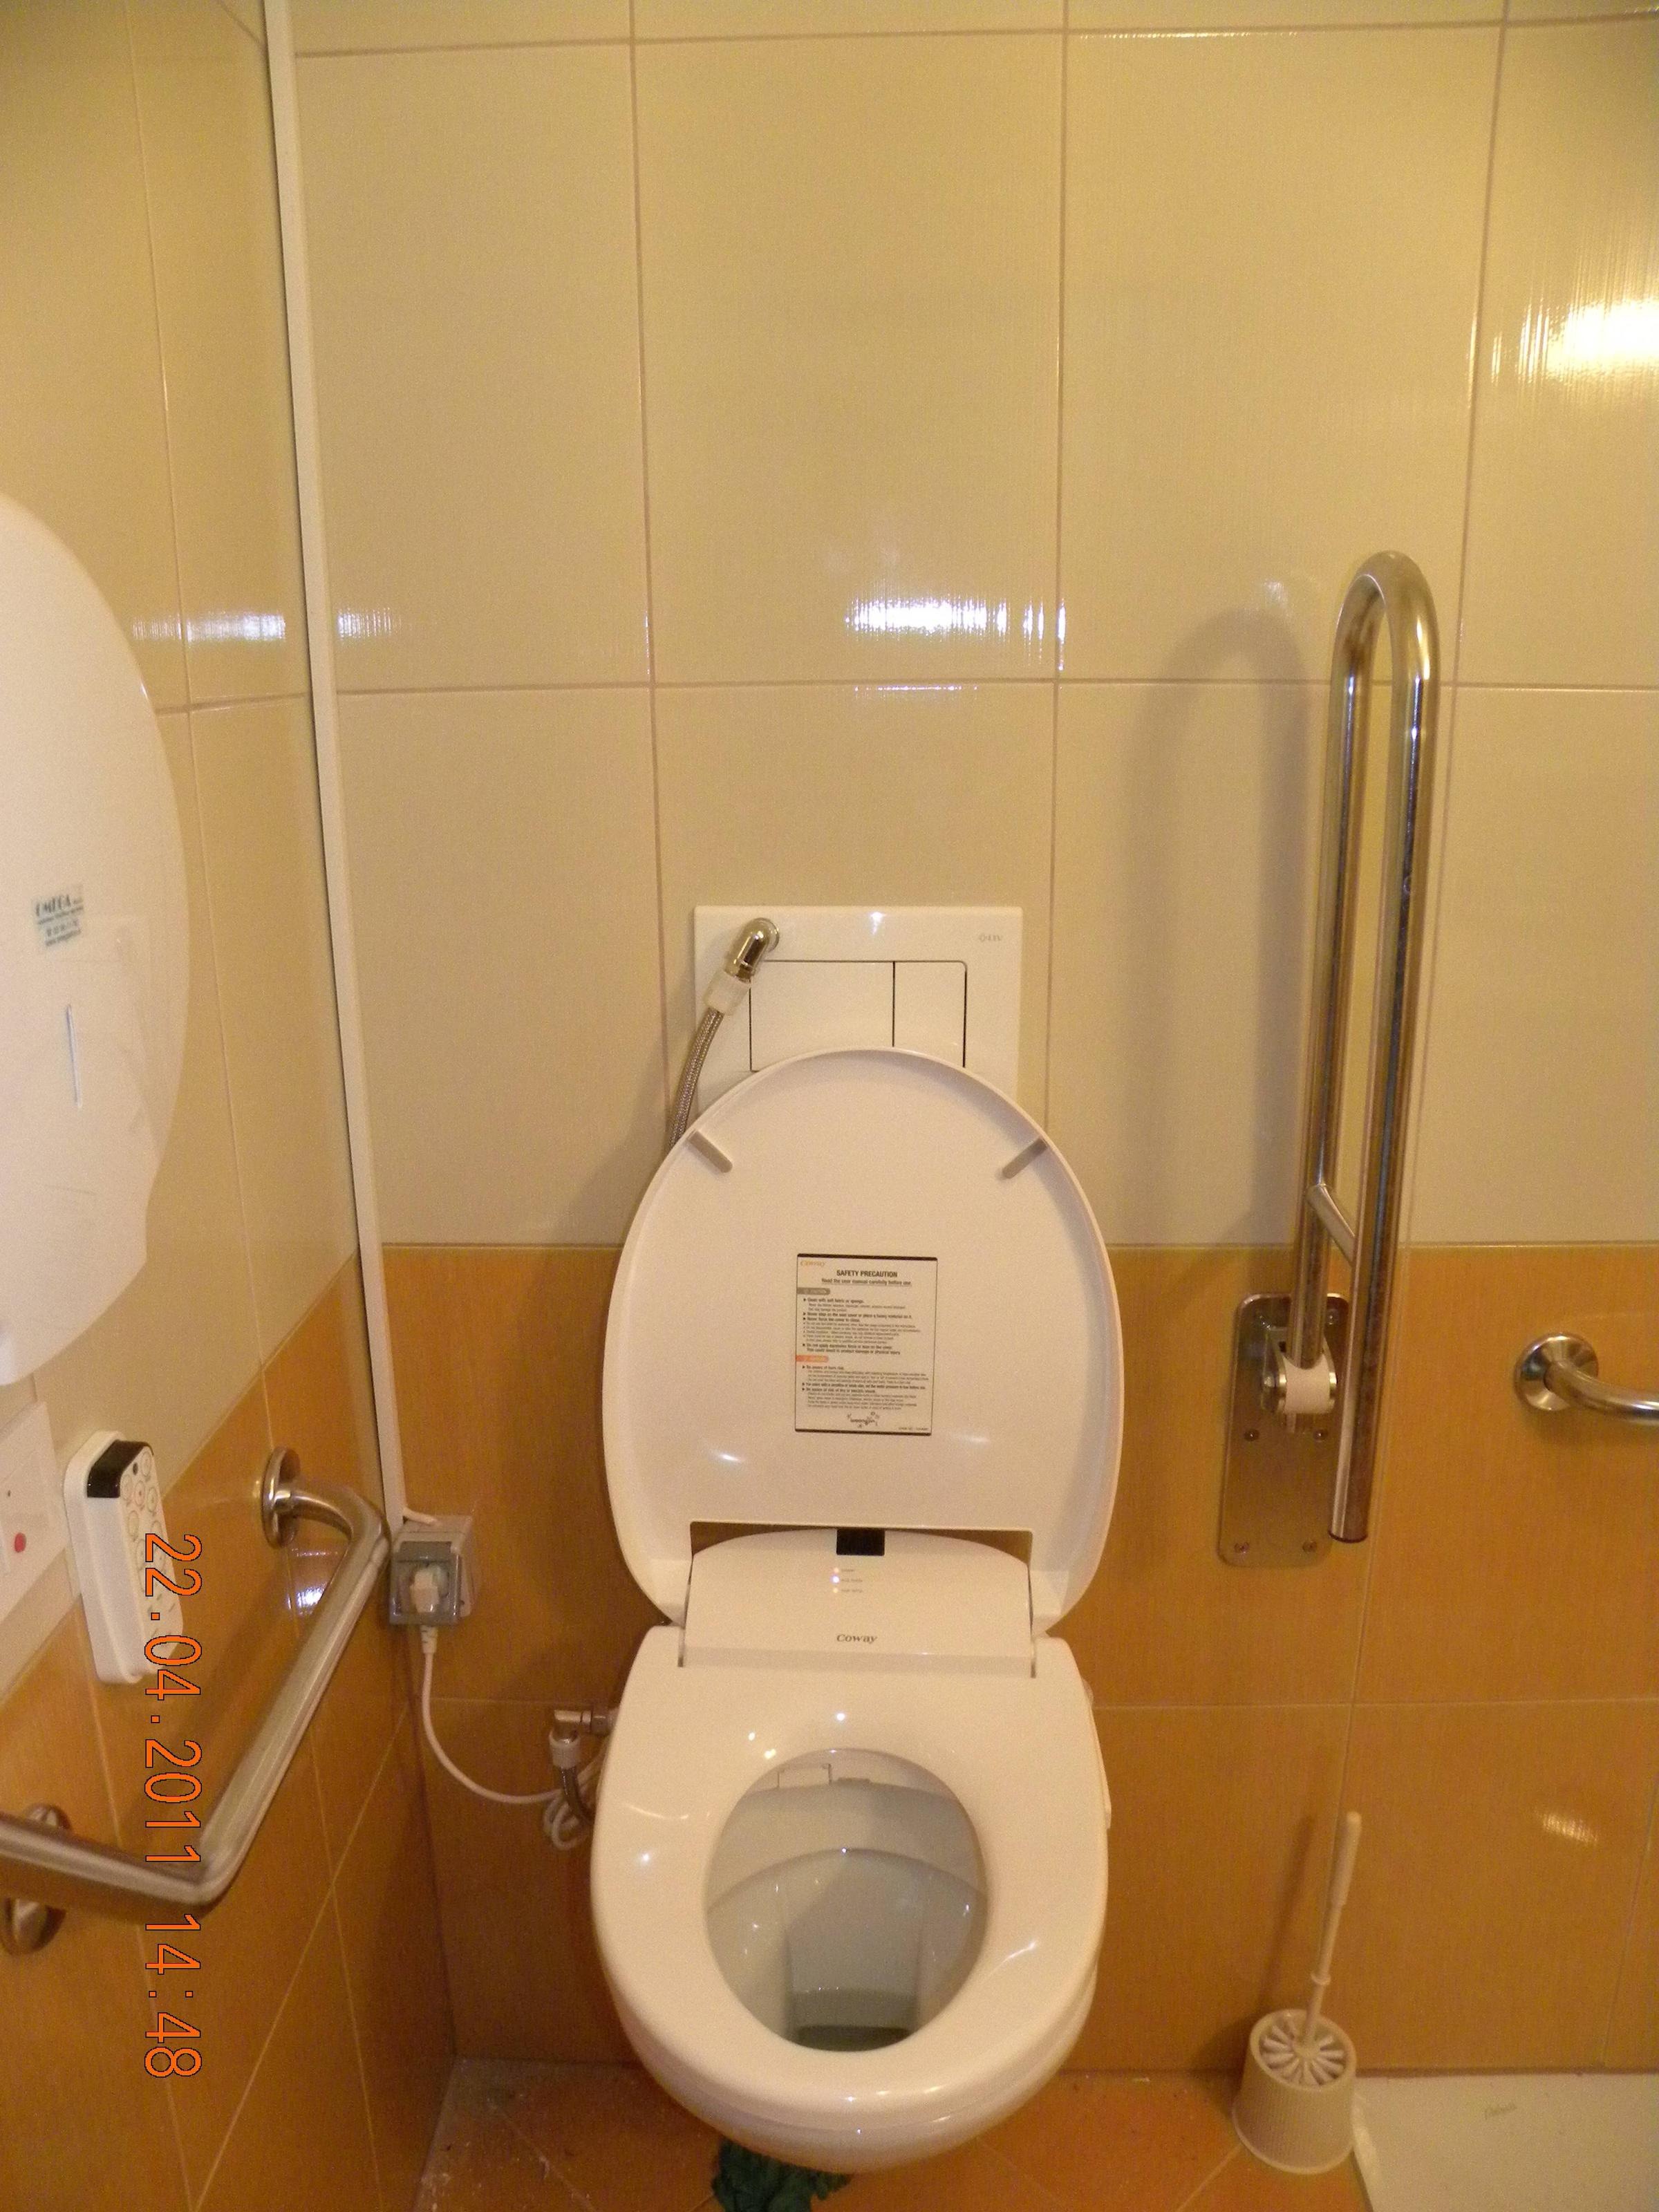
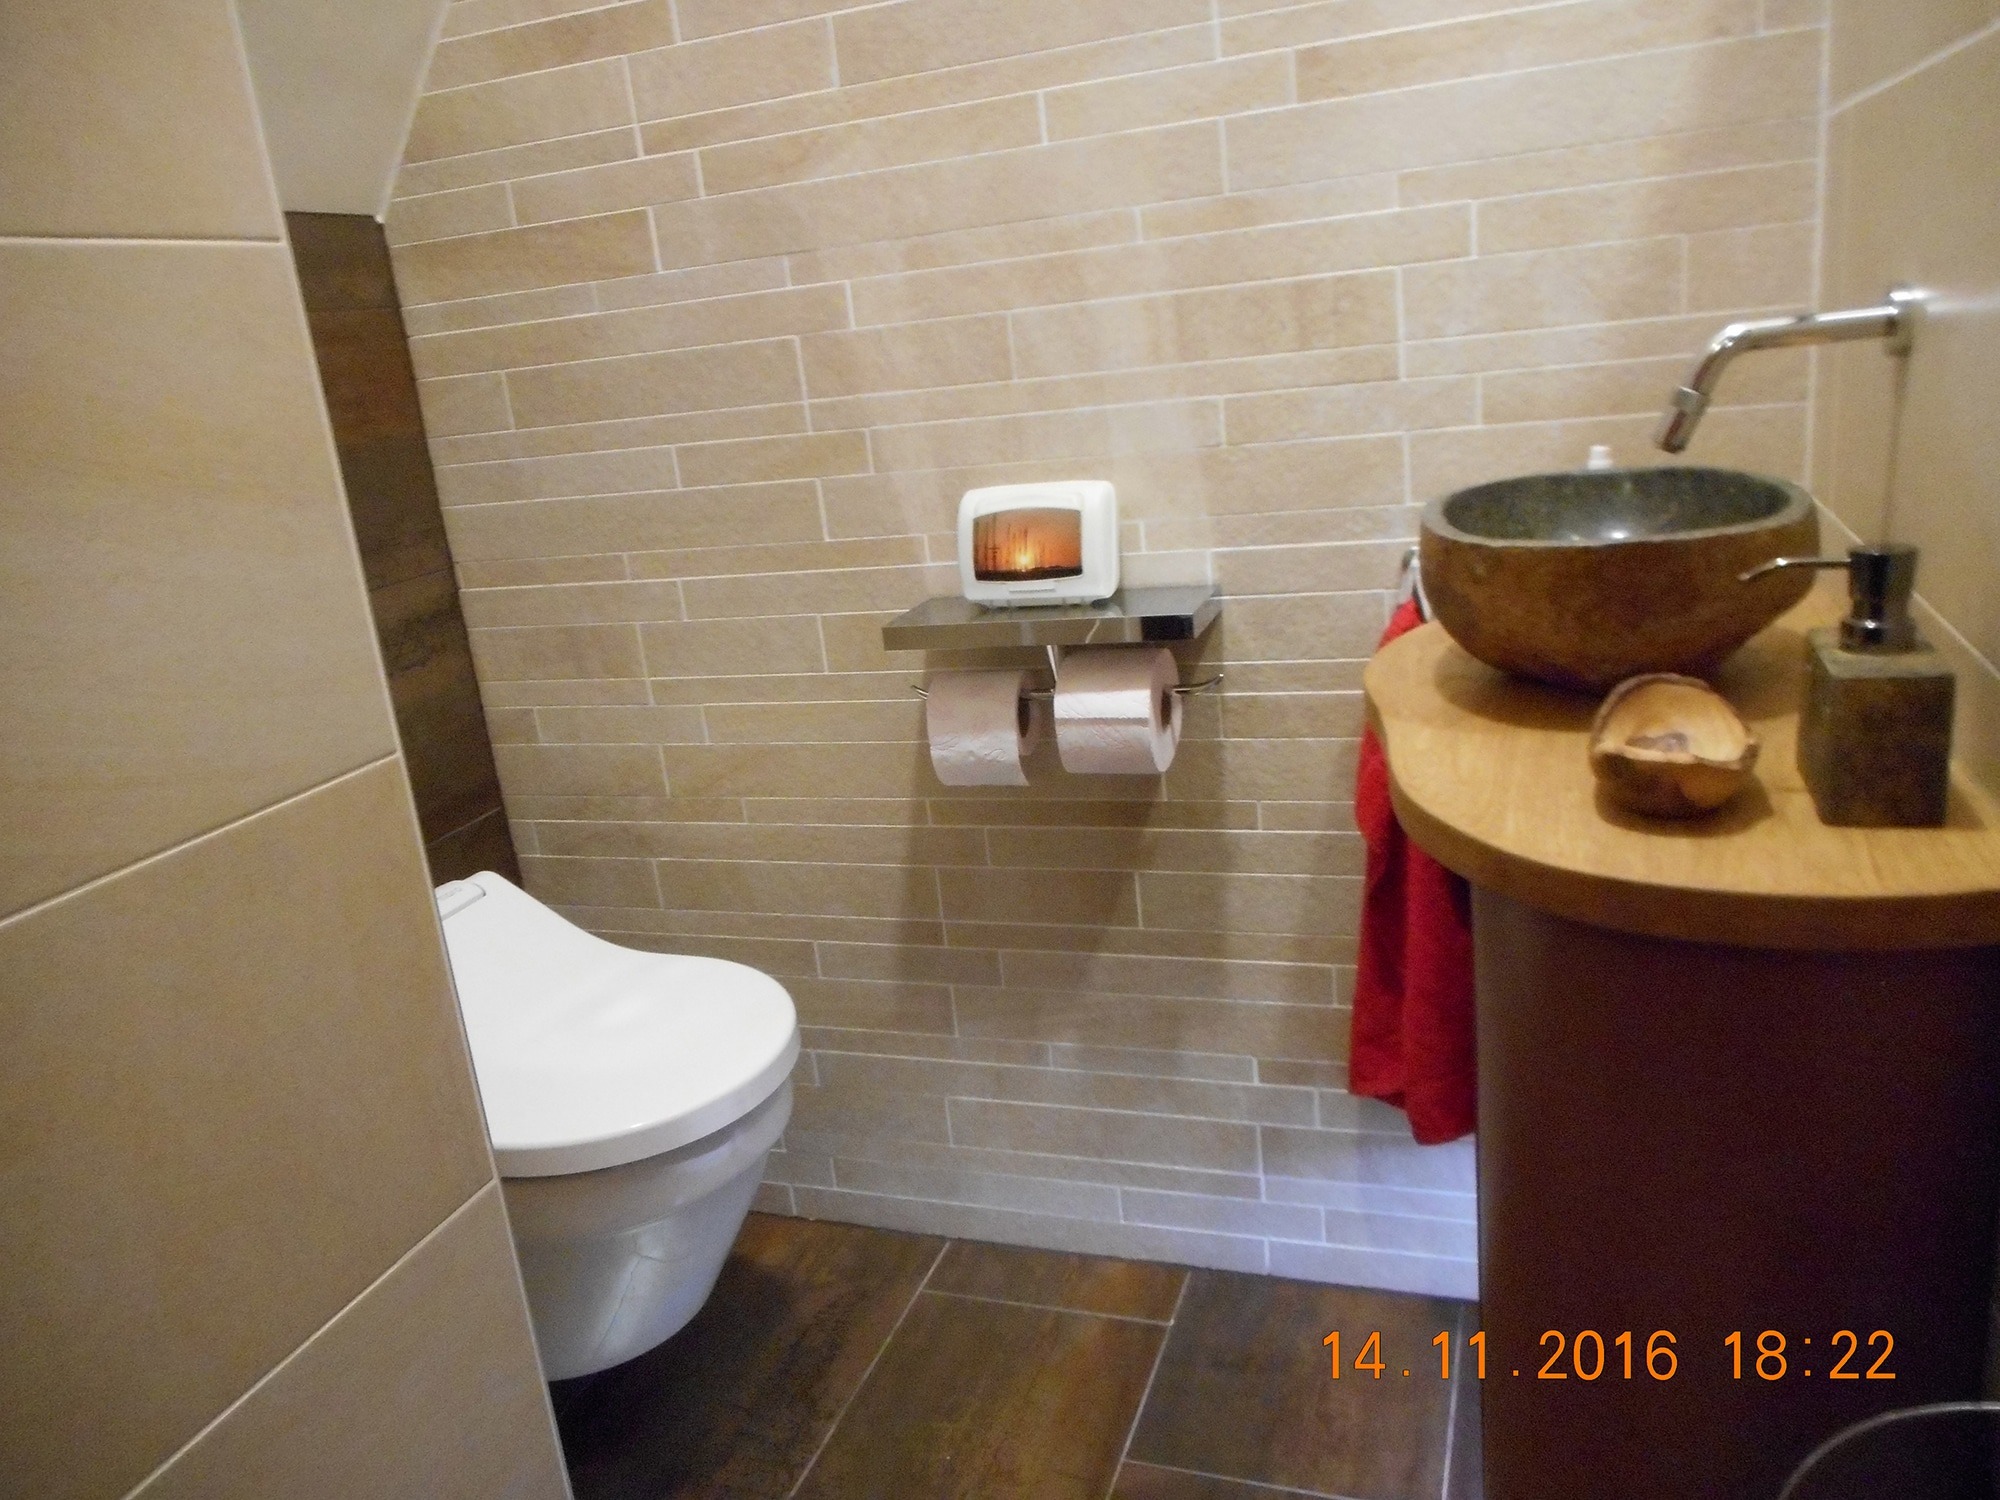
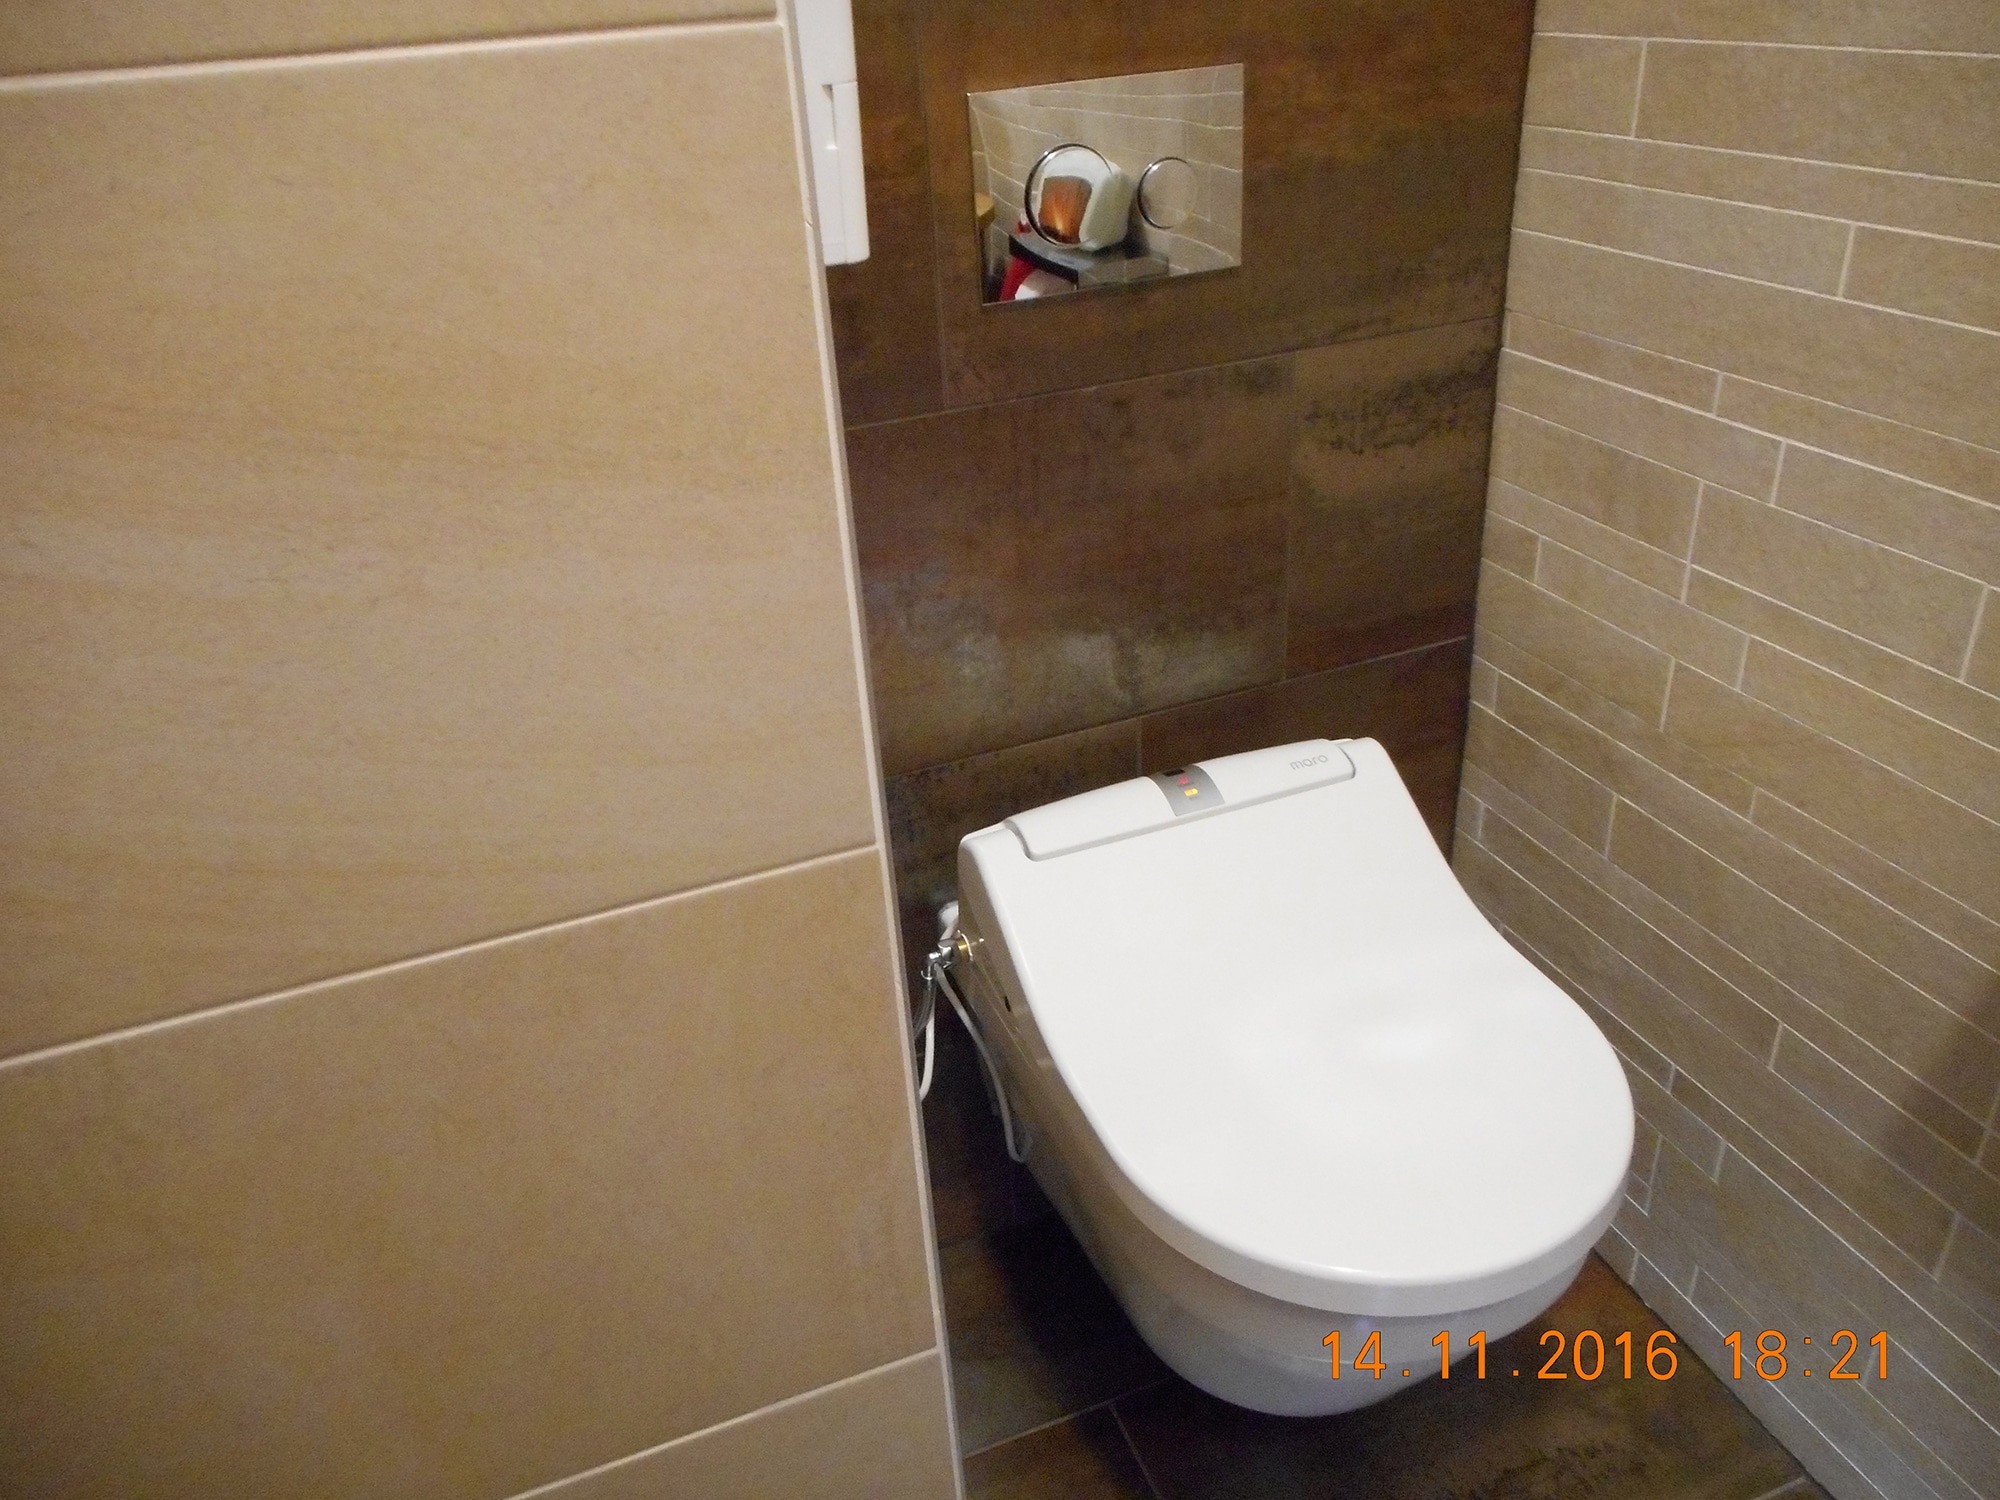
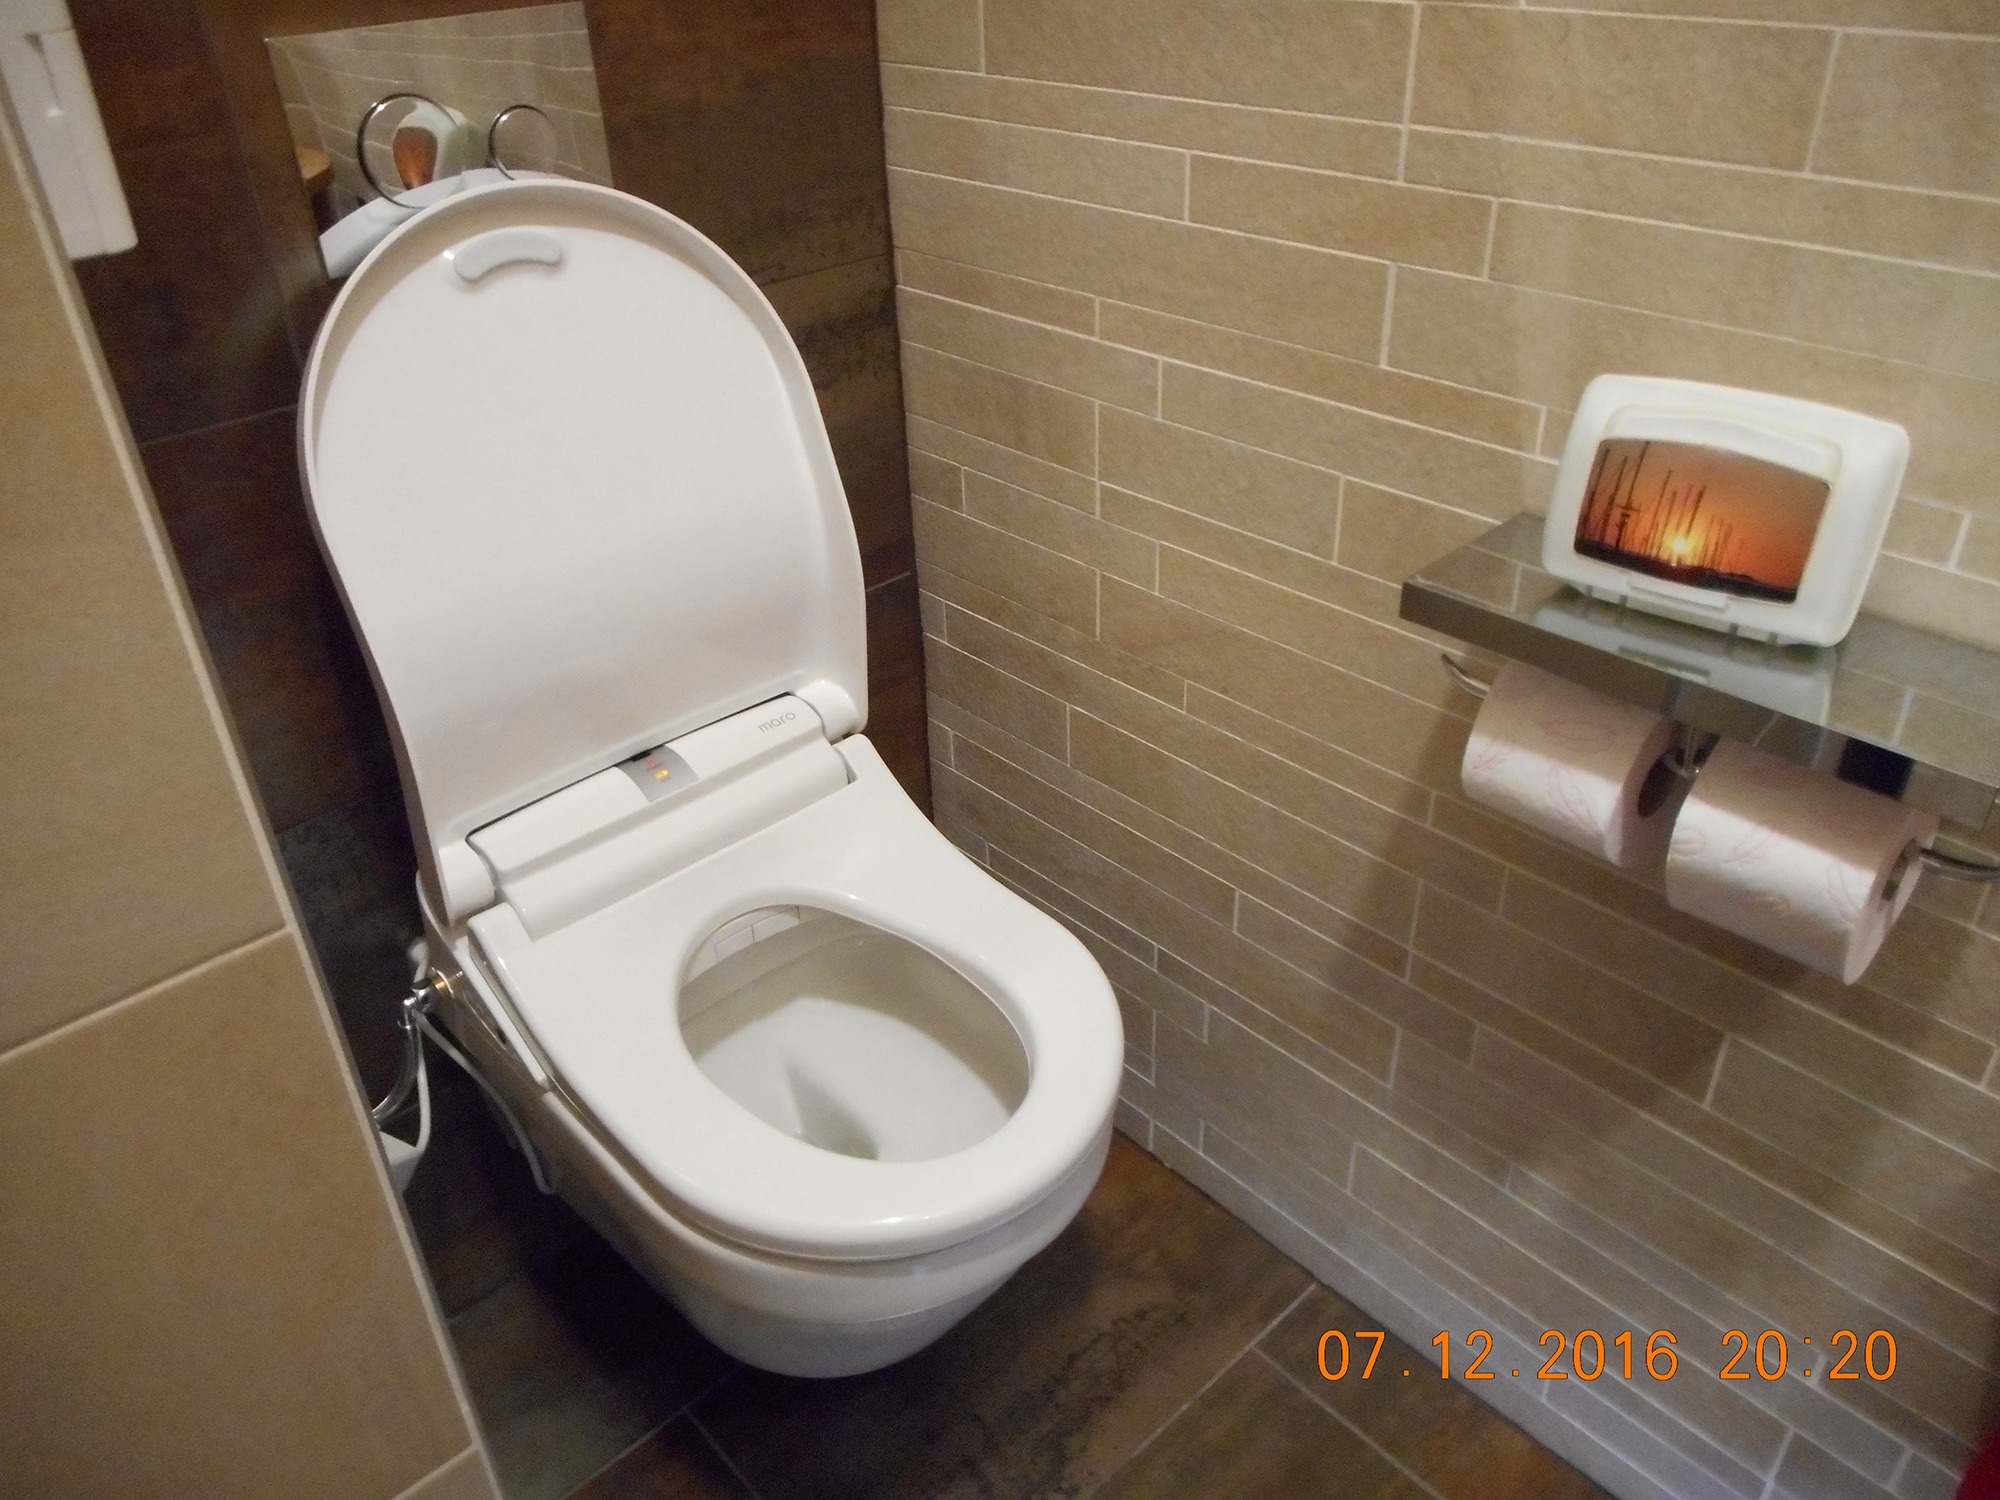
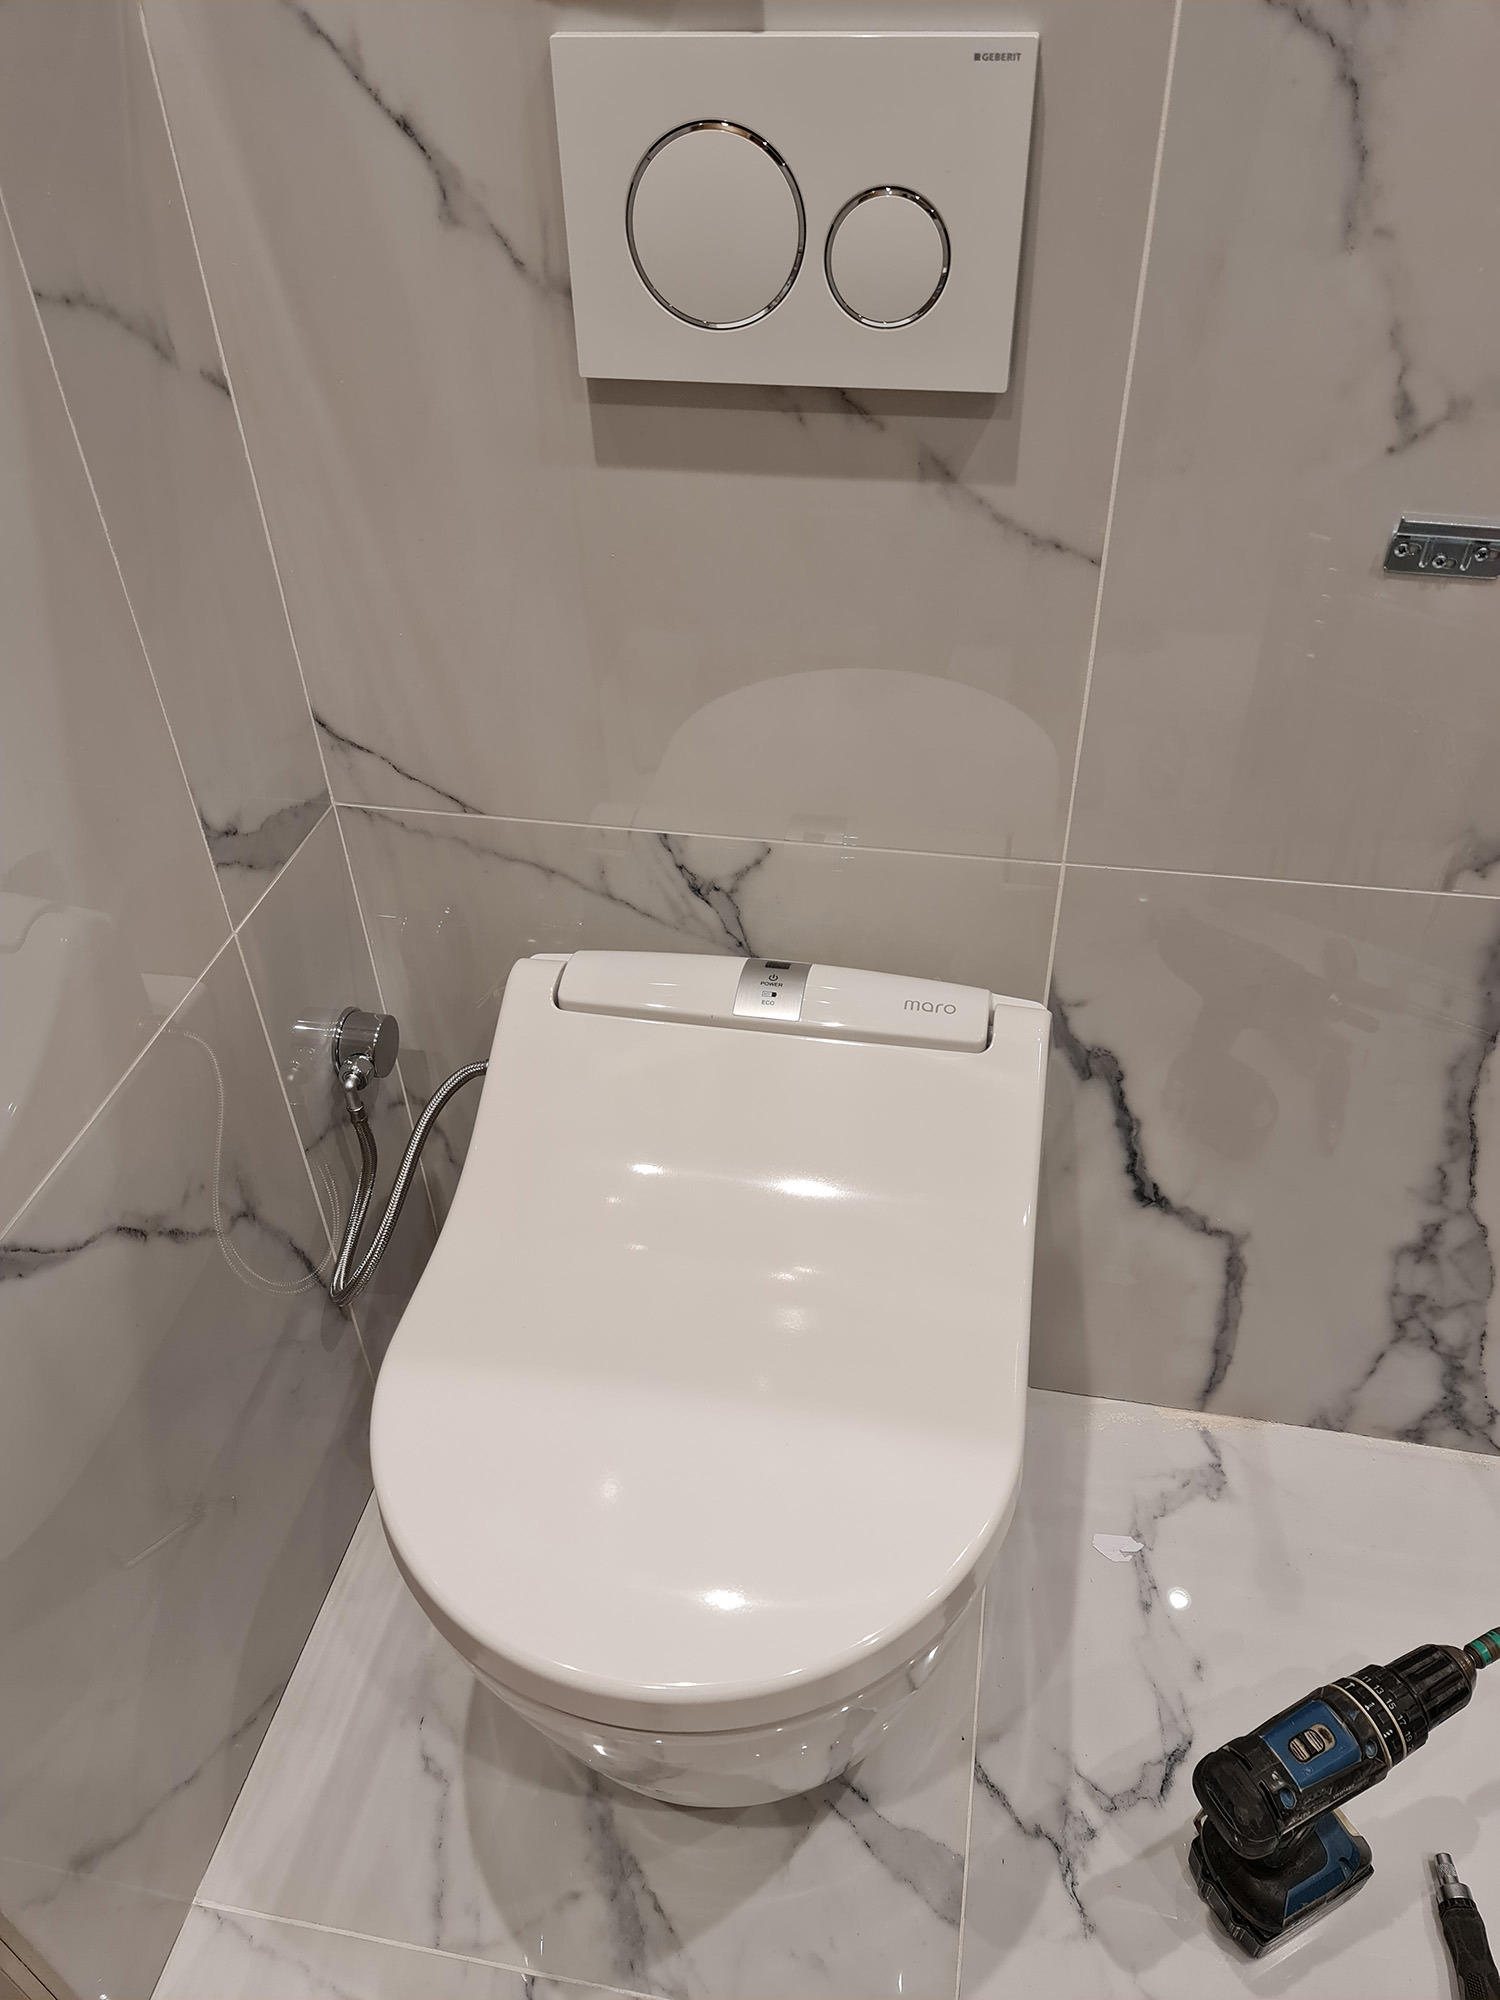
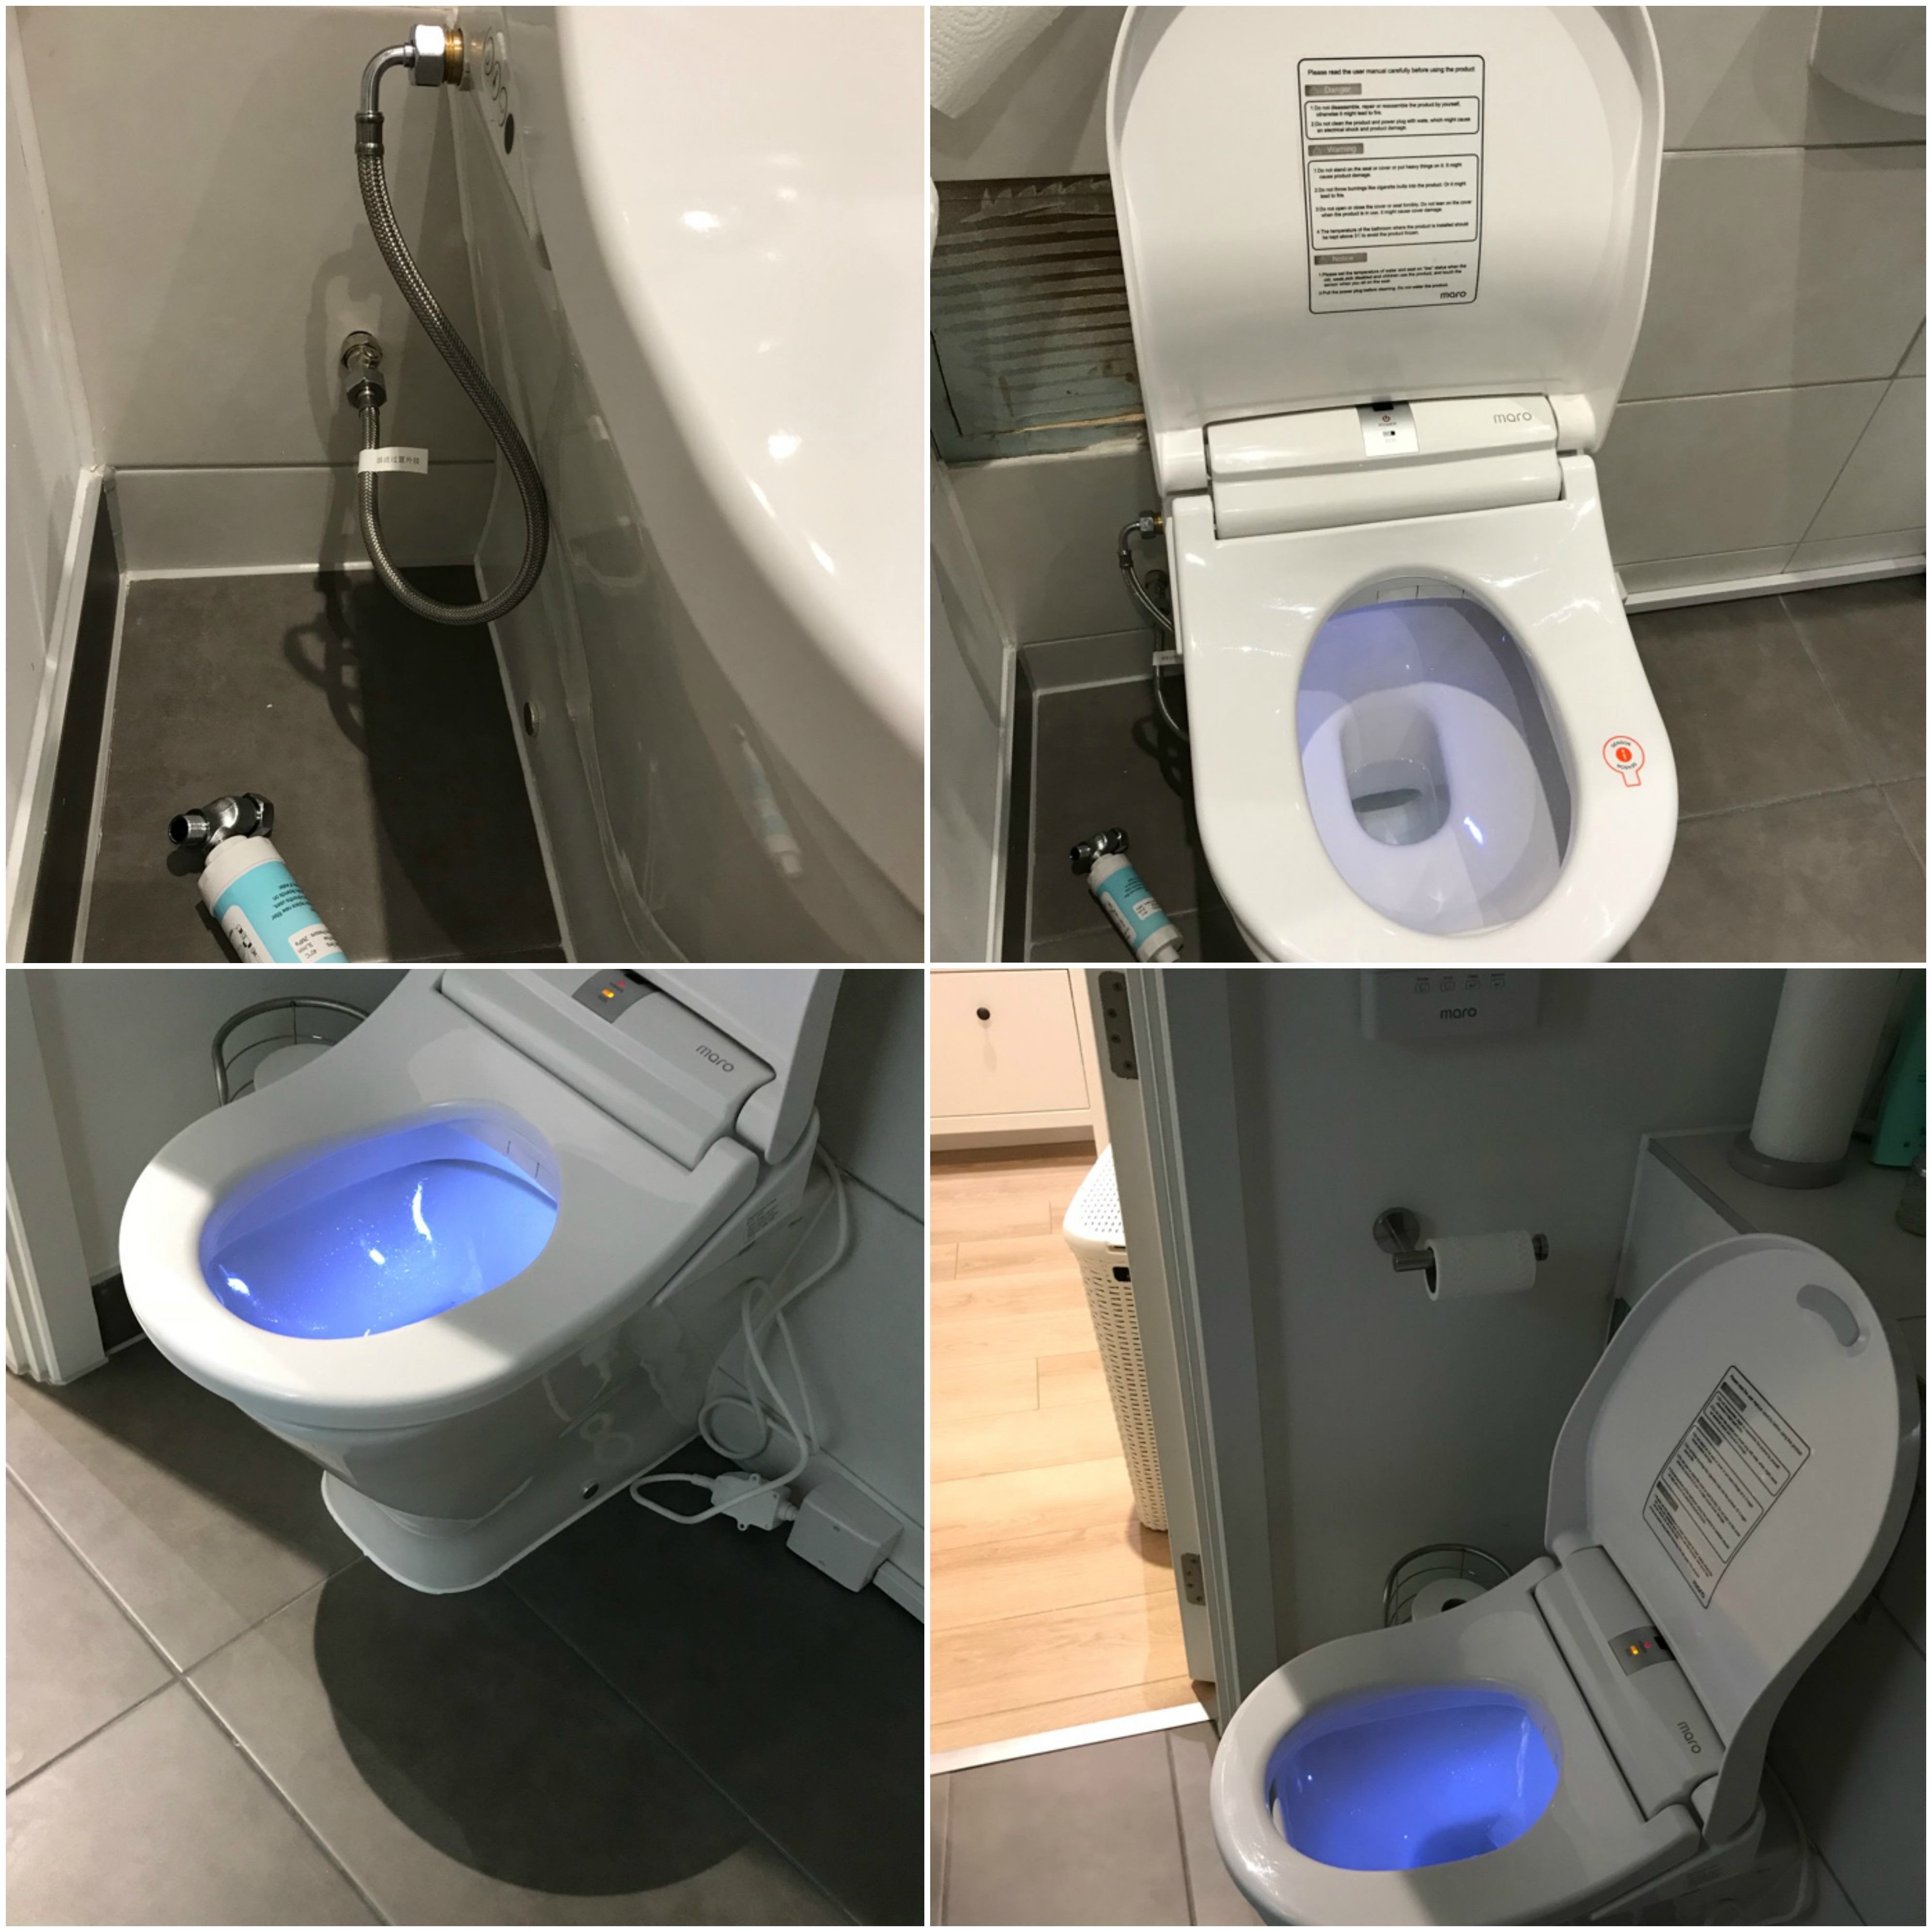
A select gallery of satisfied customers who installed our products:
maro-italia-di800-piave-daphne-apartments.jpg
Maro DI800 featured in the newly renovated "Jasmine" apartment at Daphne's Club Hotel Apartments
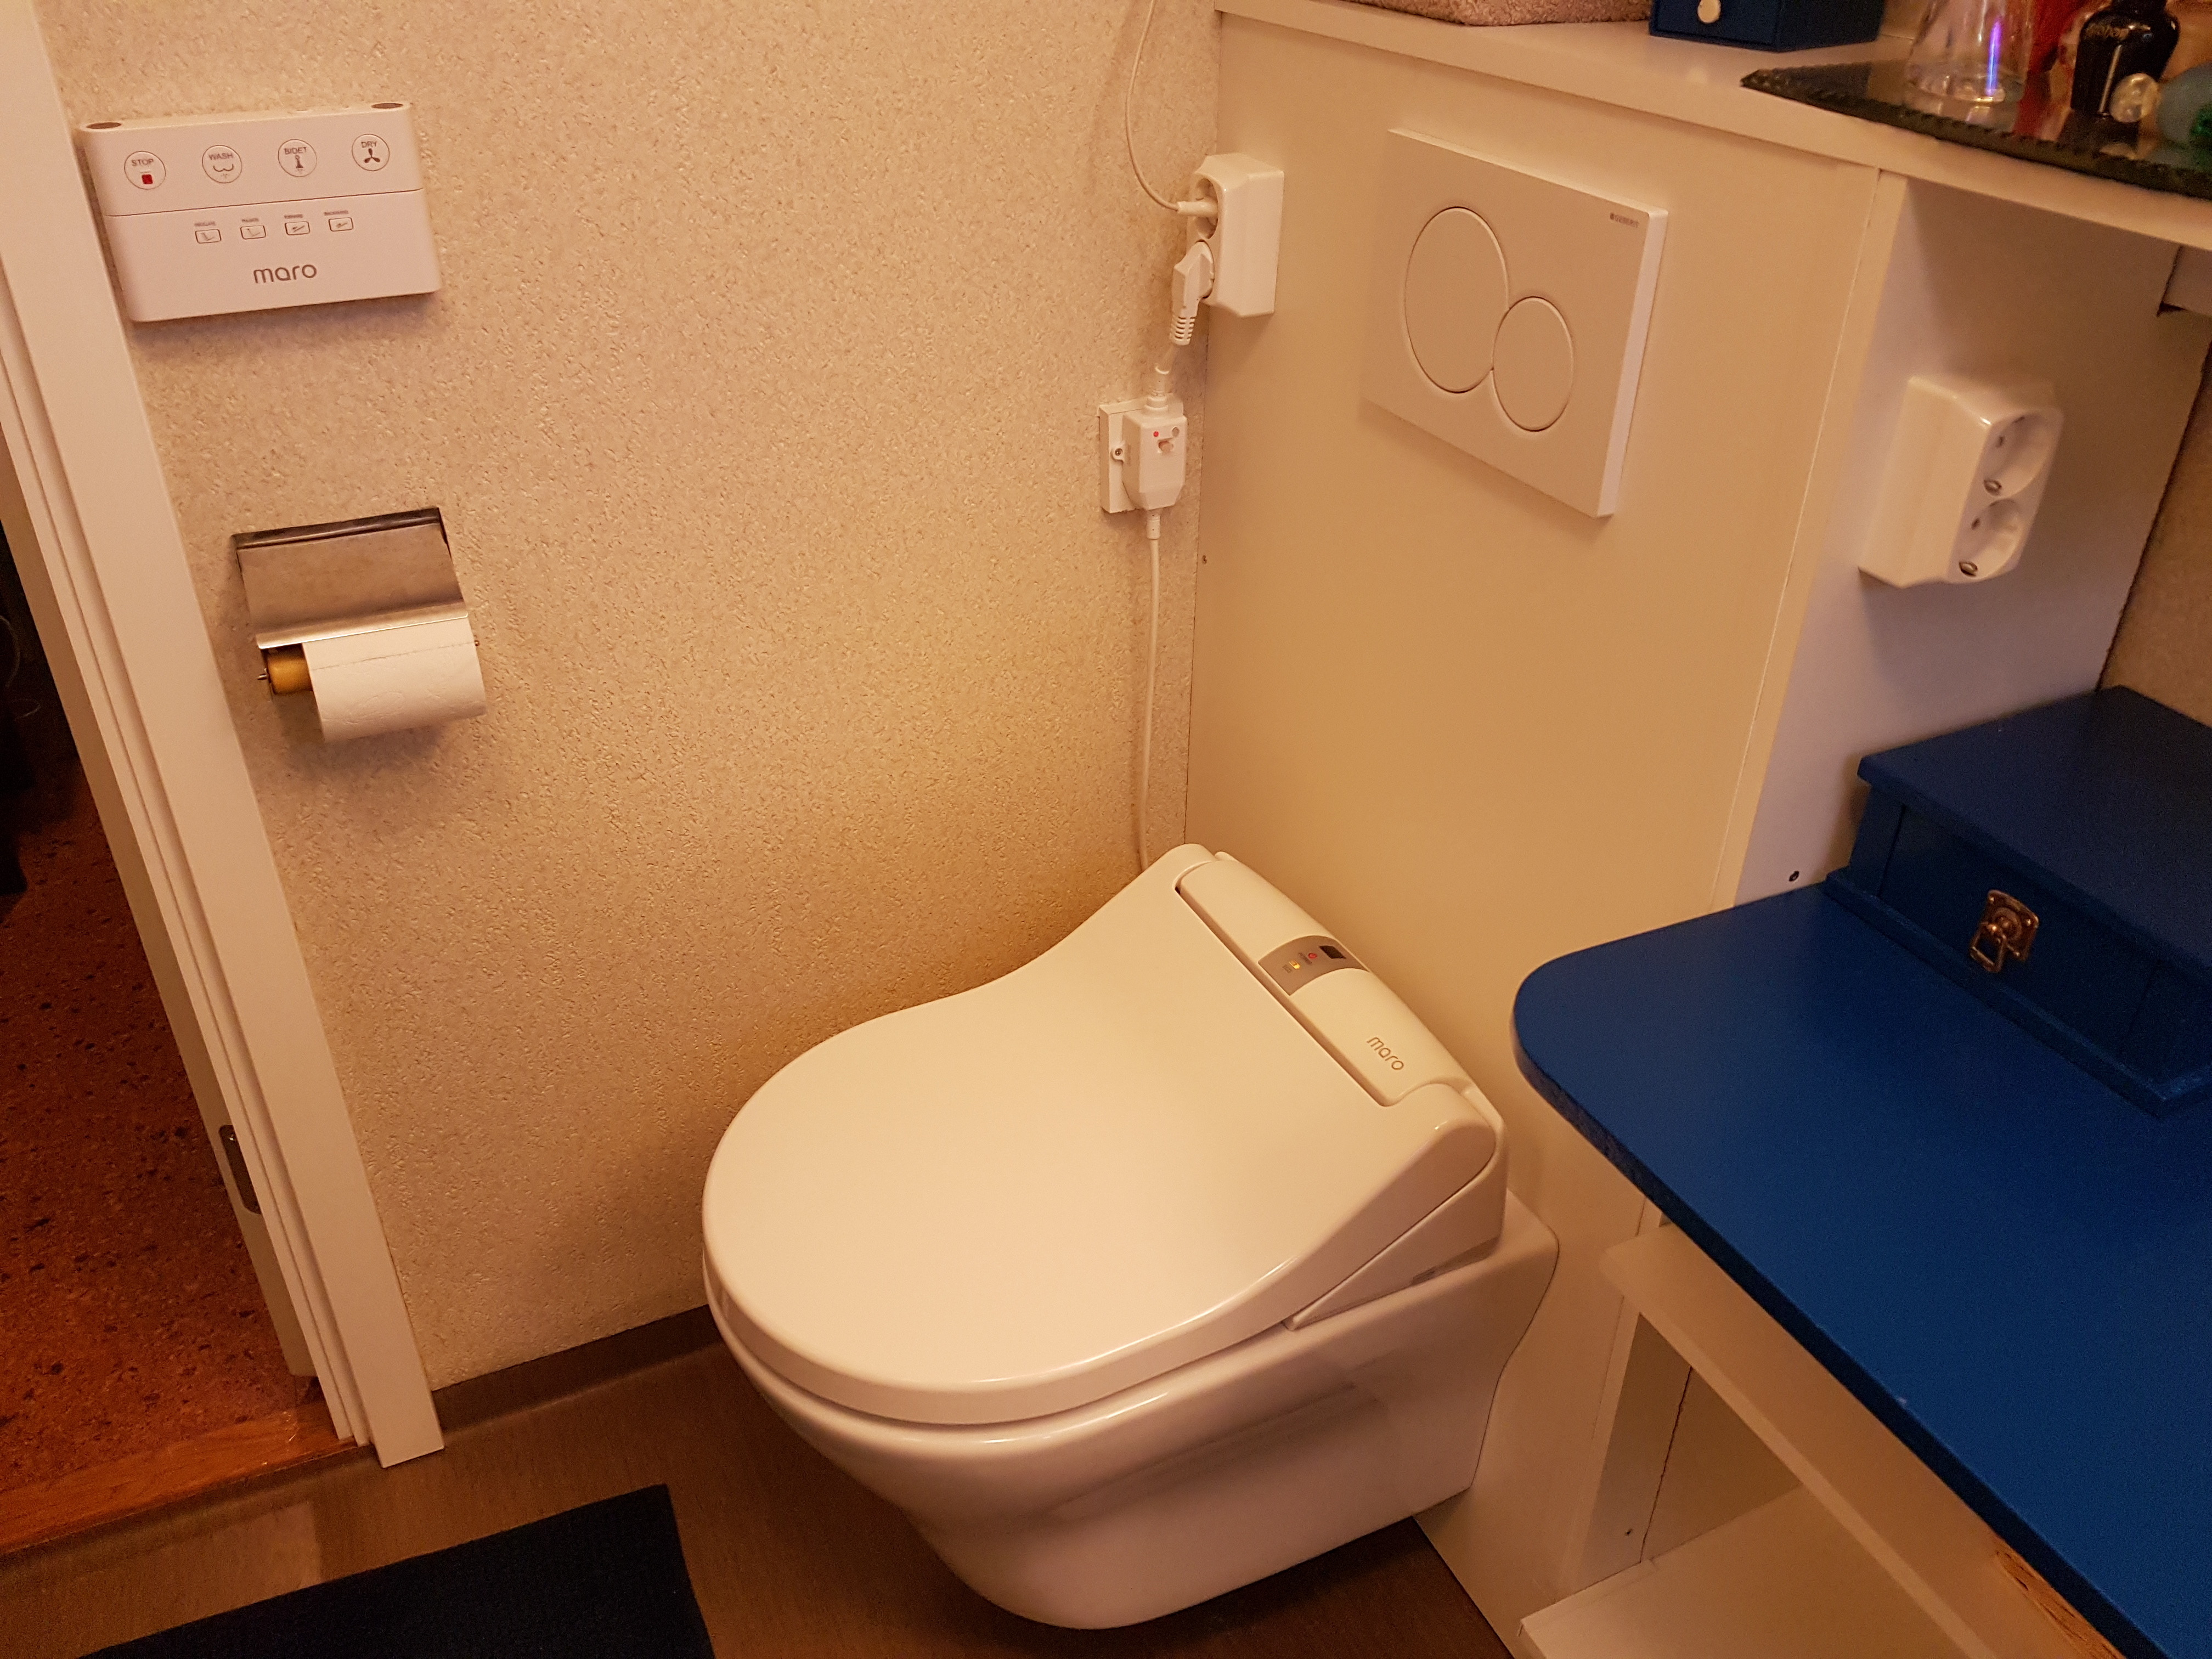
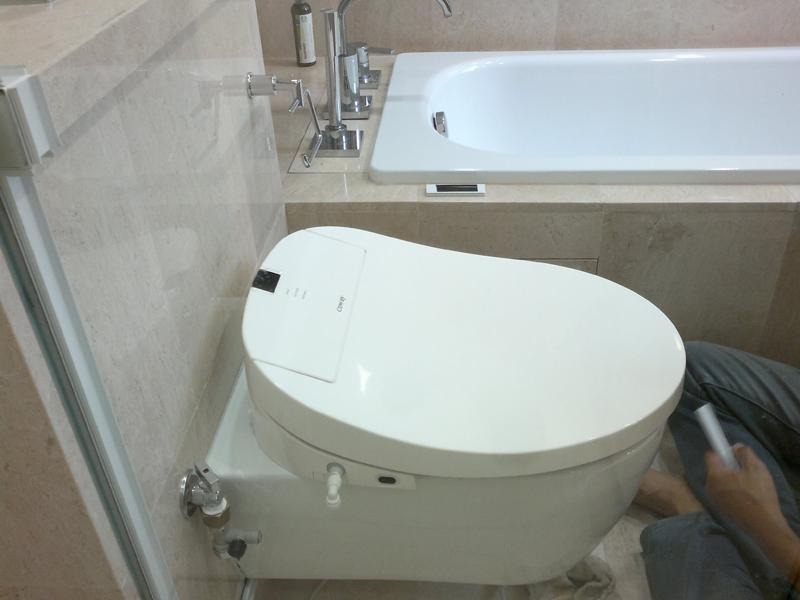
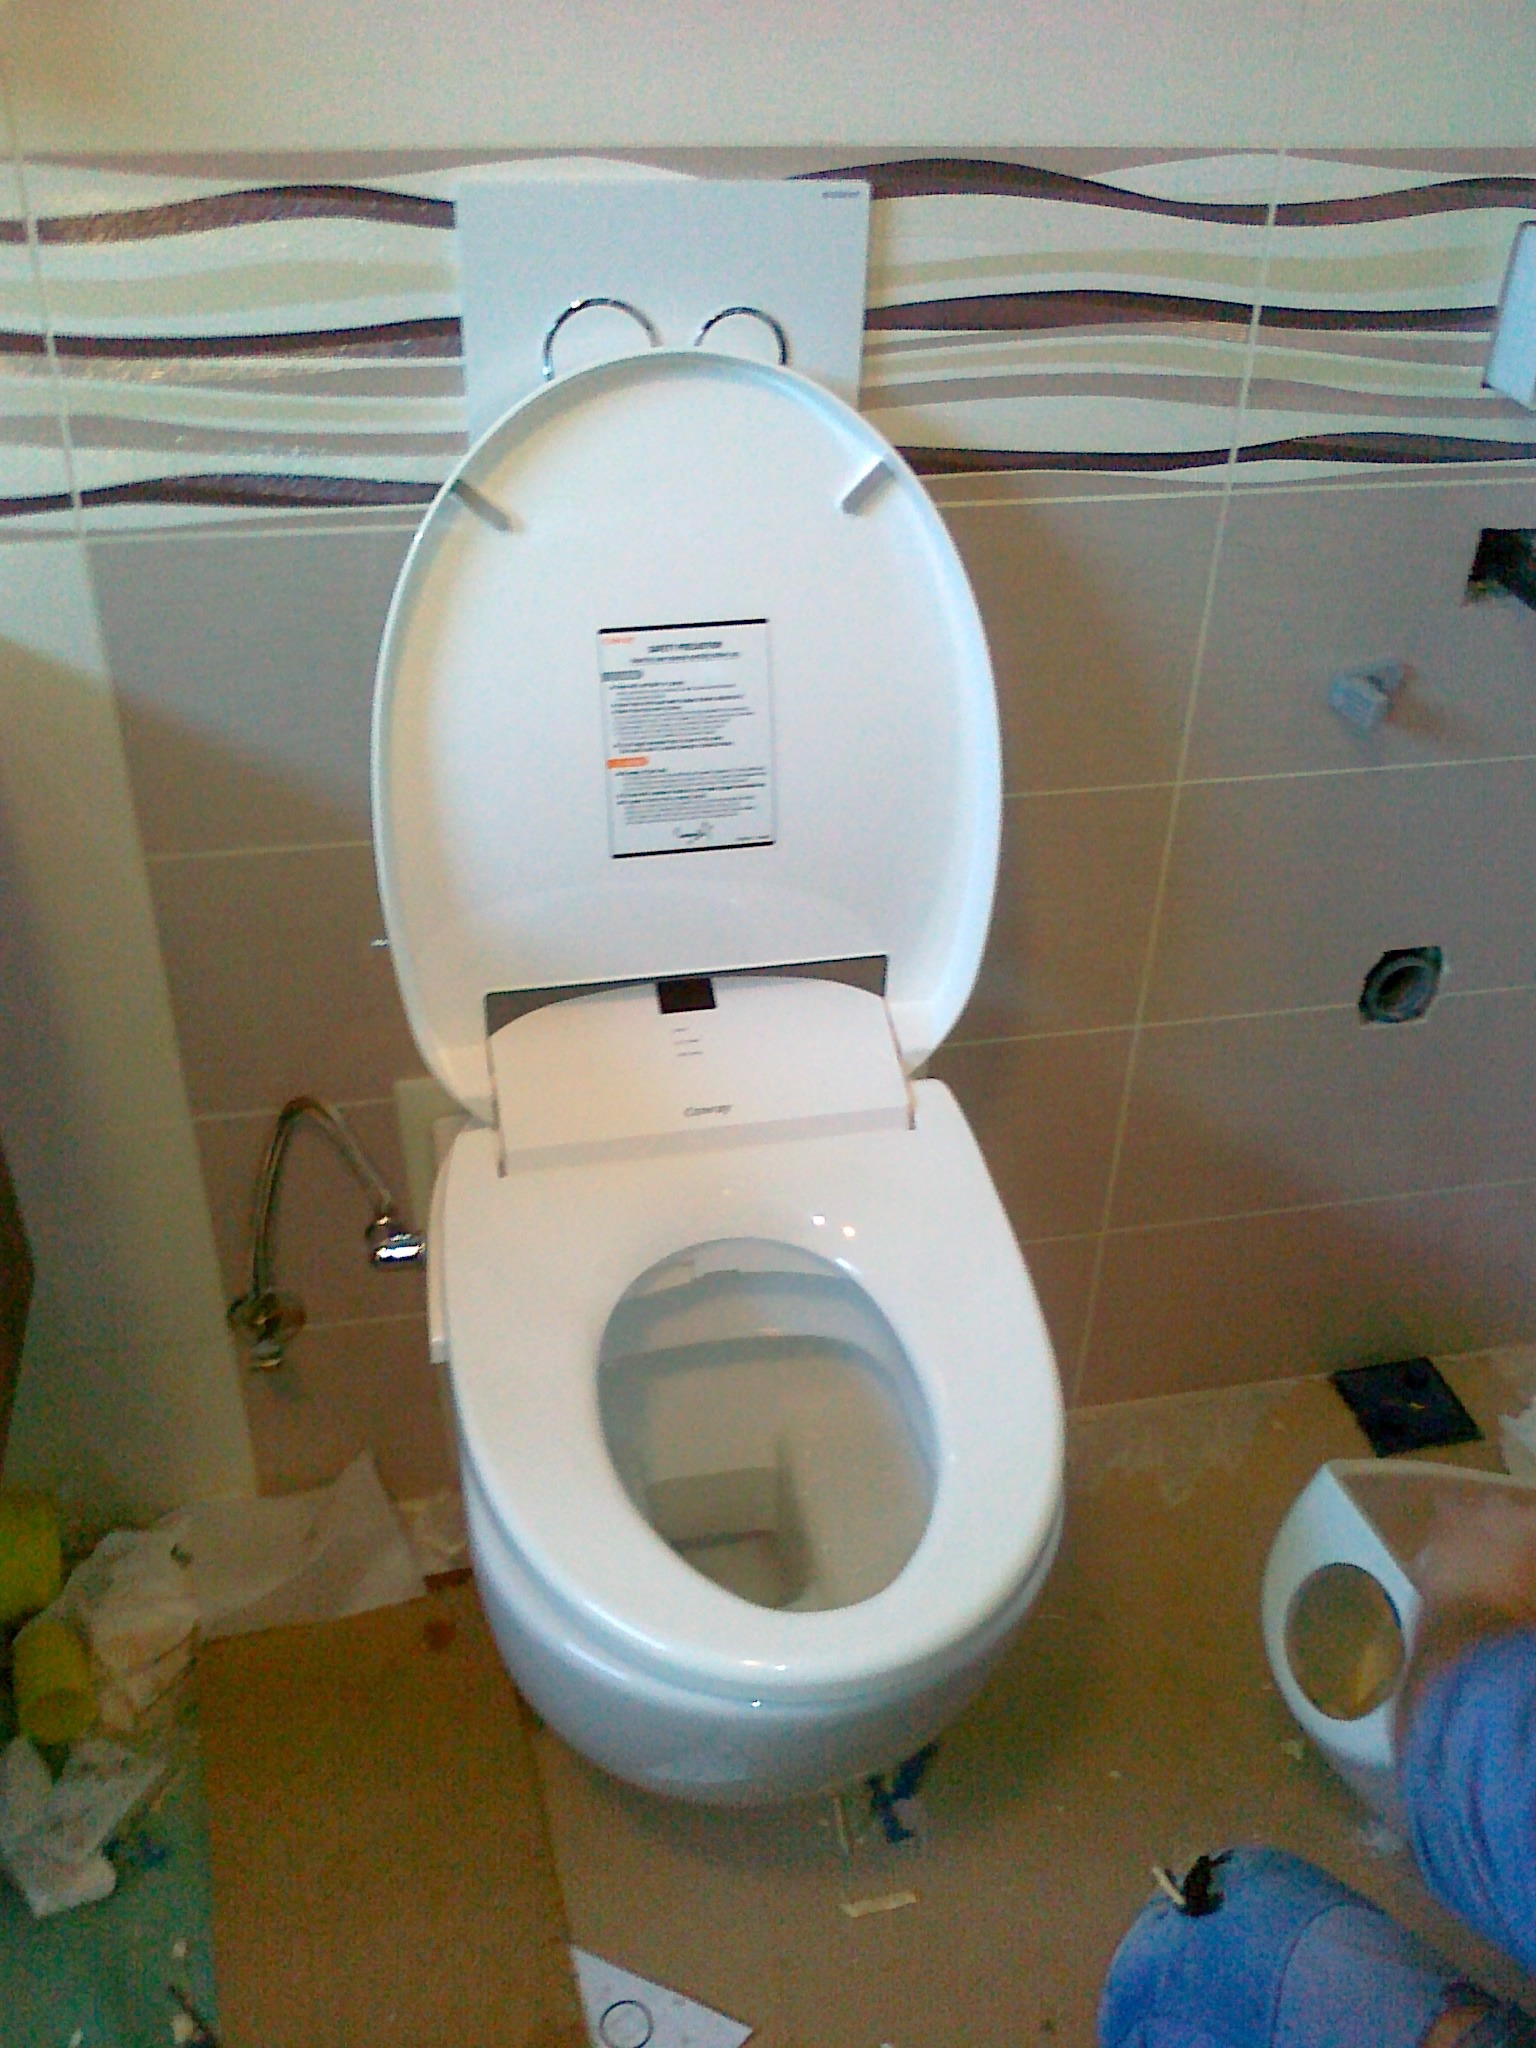
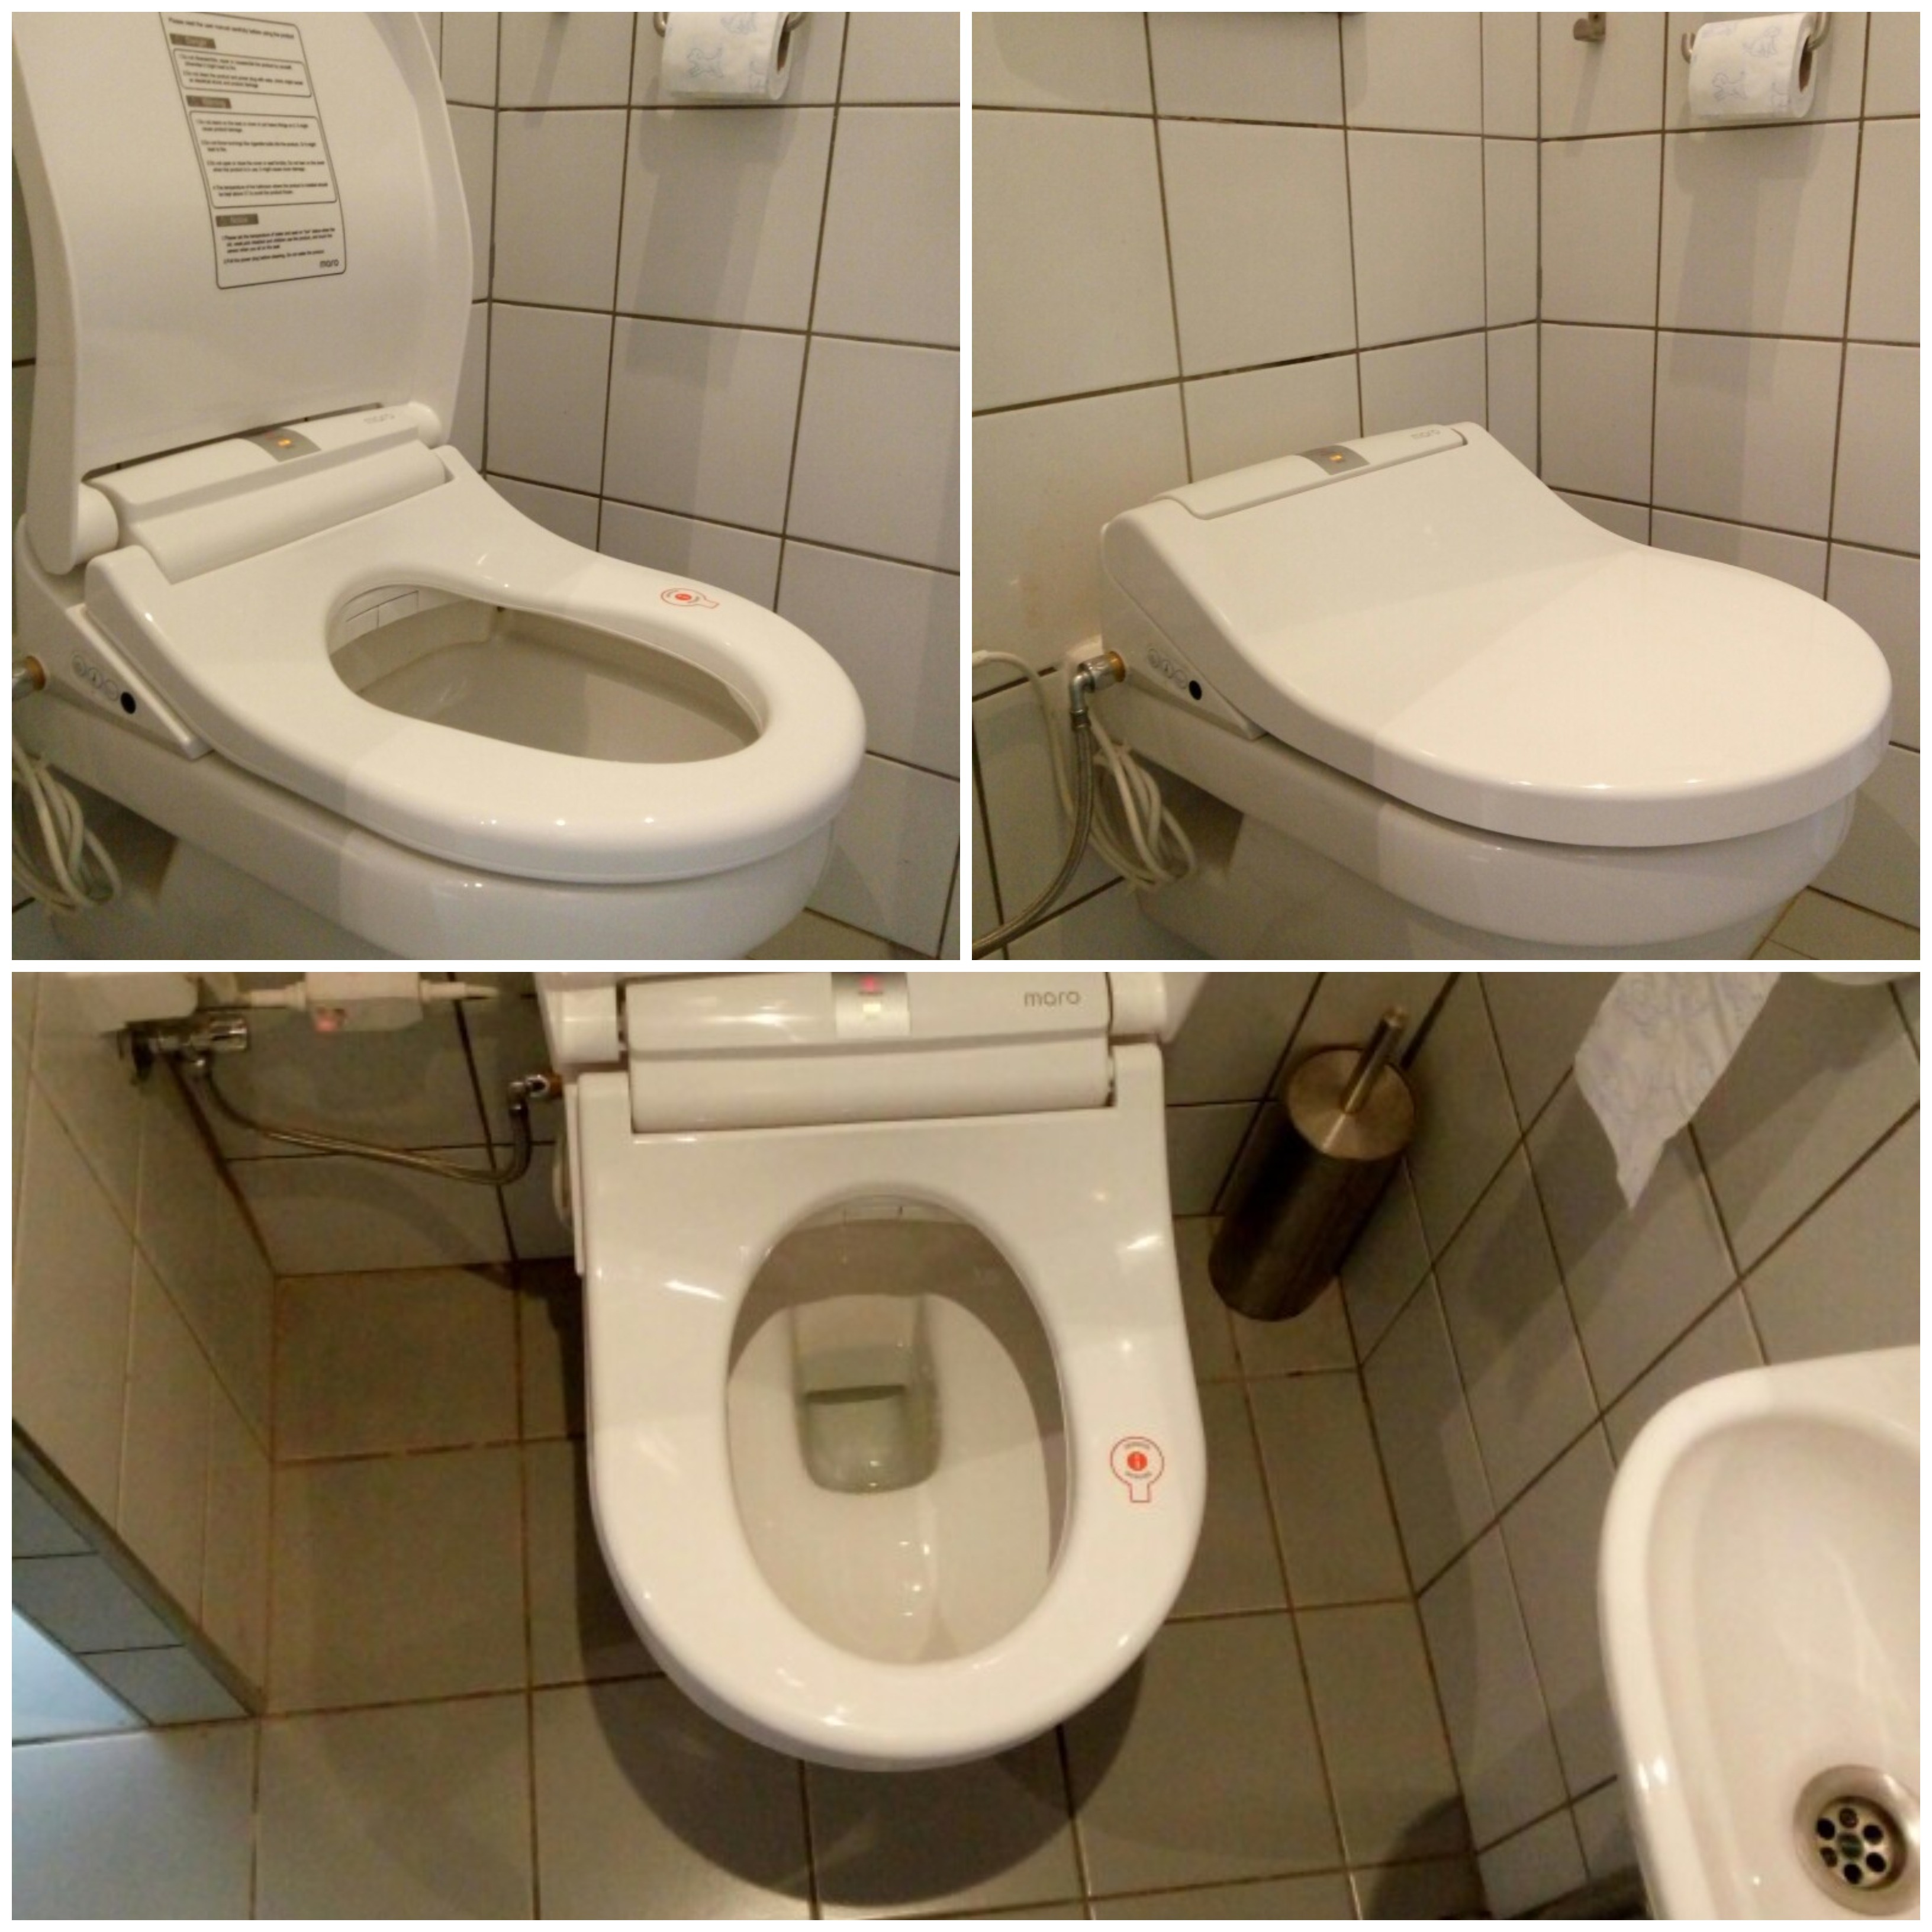
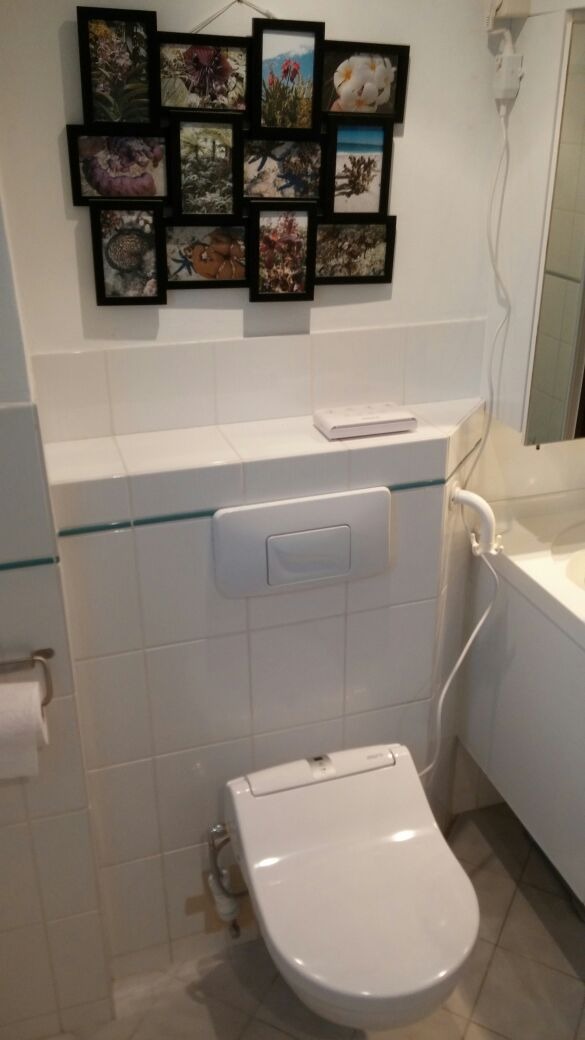
maro-d-italia-di600-bidet-seat-toto-rp-cw552y-wall-hung-rimless-toilet.jpg
Maro D Italia DI600 Washlet TOTO RP rimless toilet Customer Installatoin - Geberit Duofix
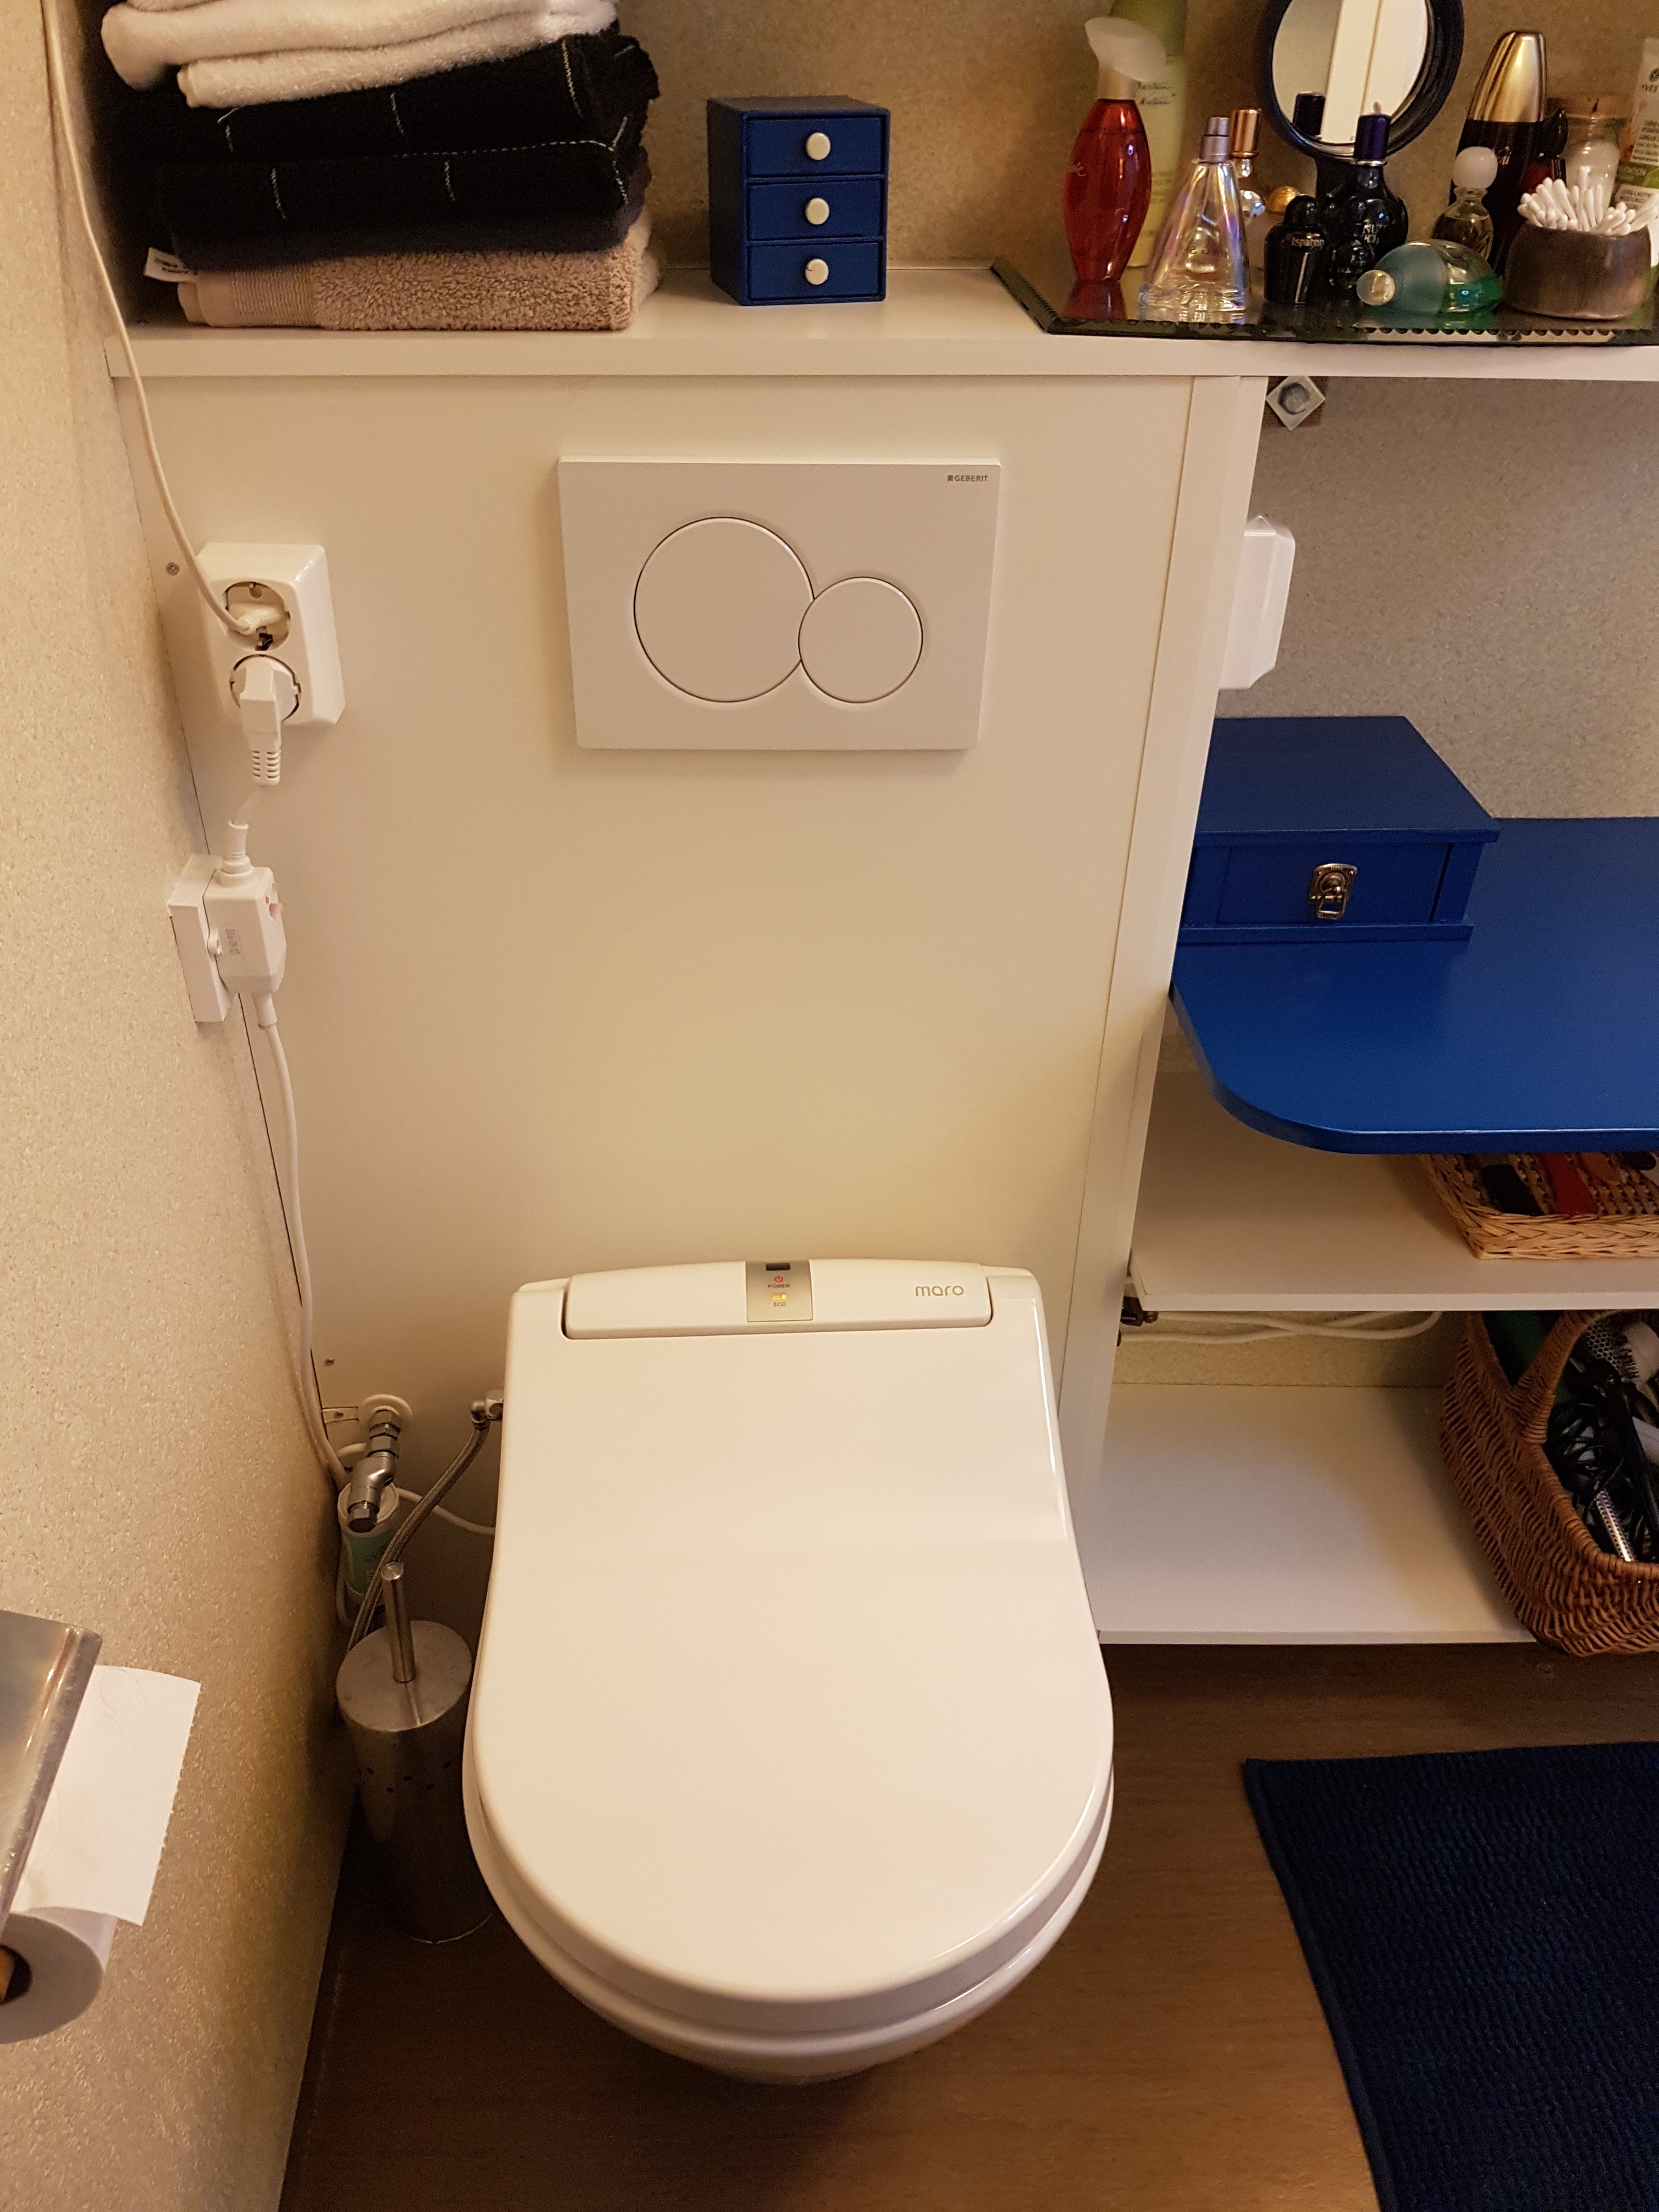
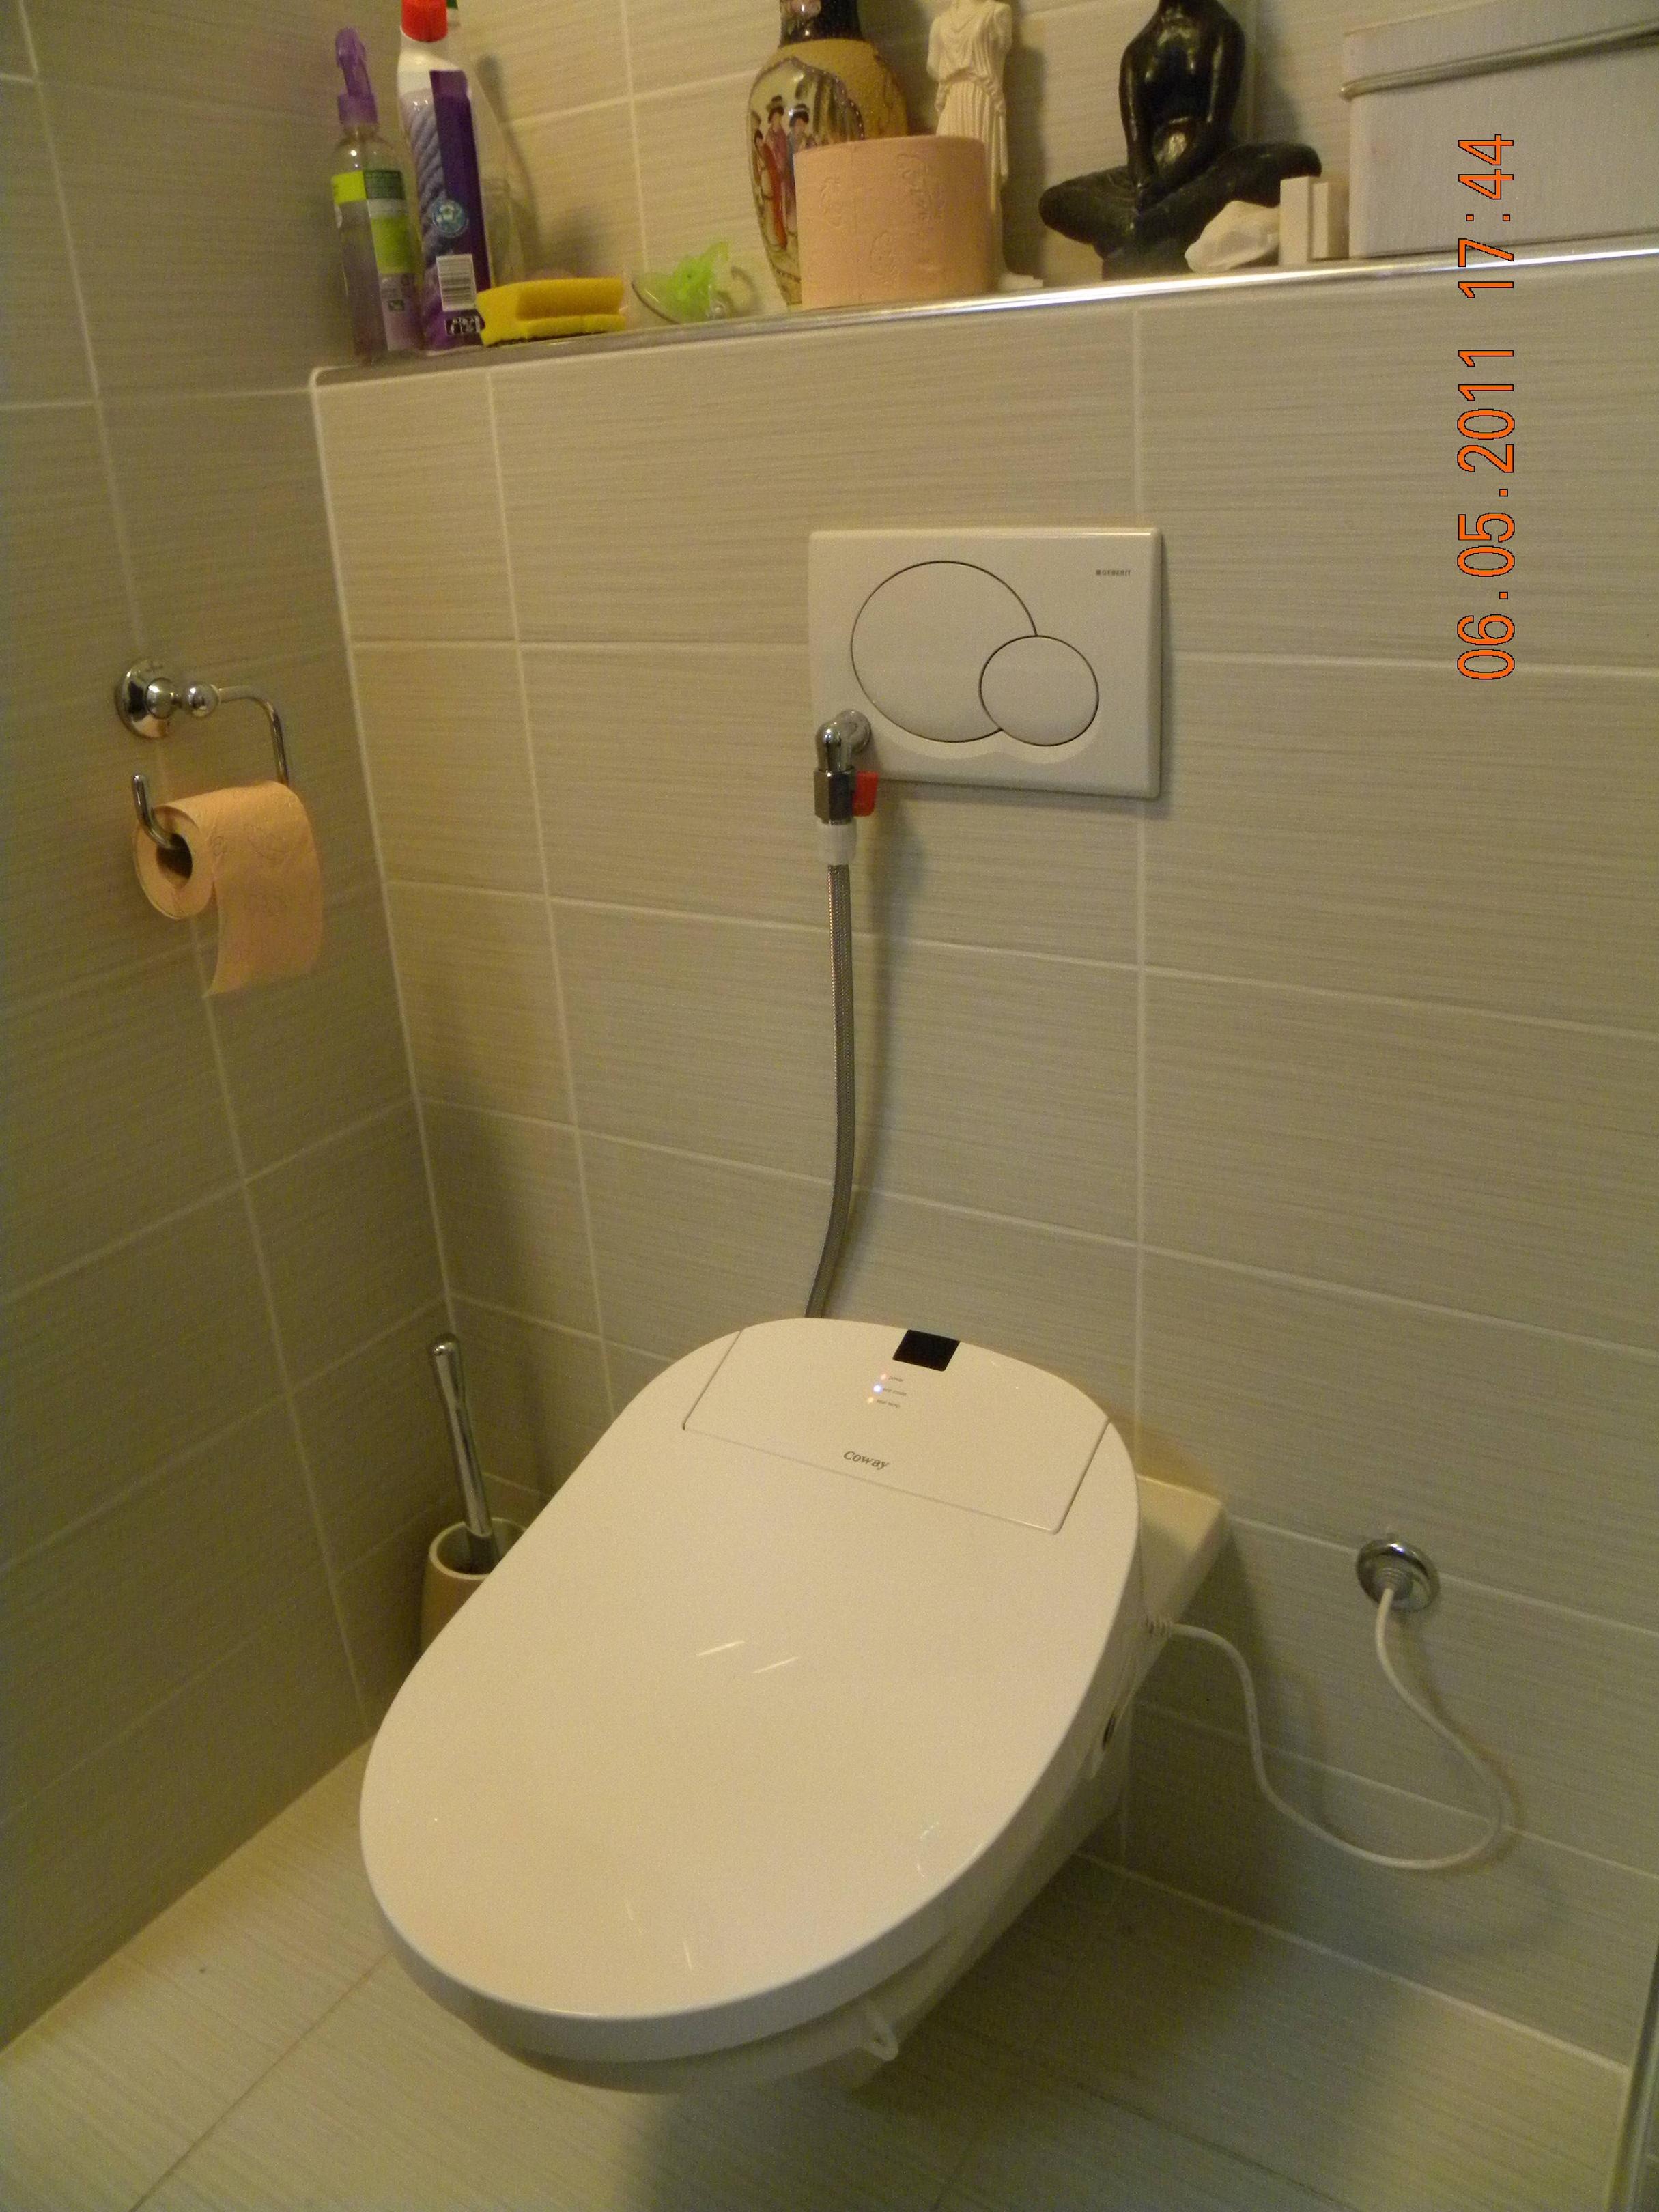
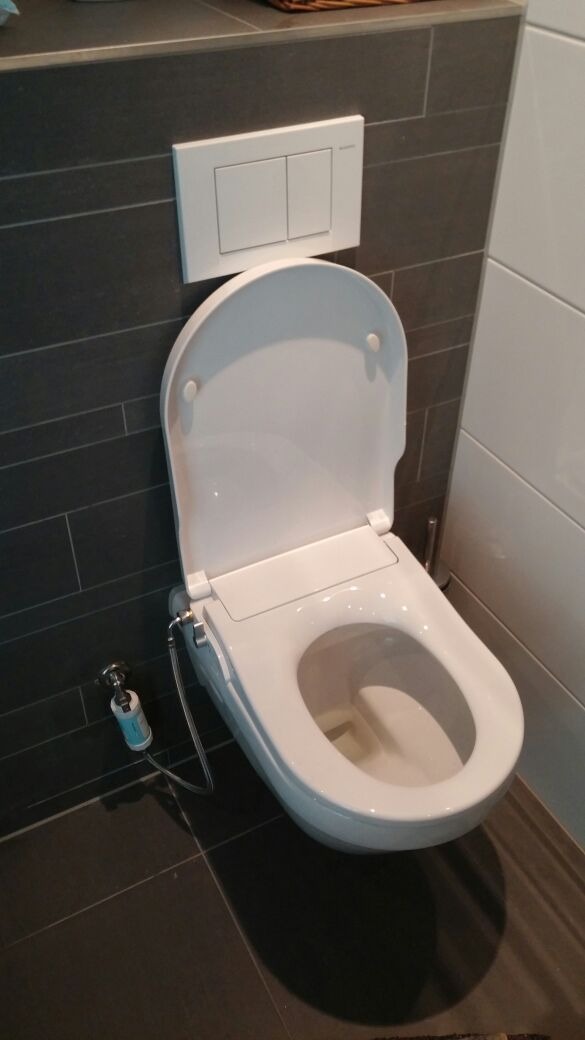
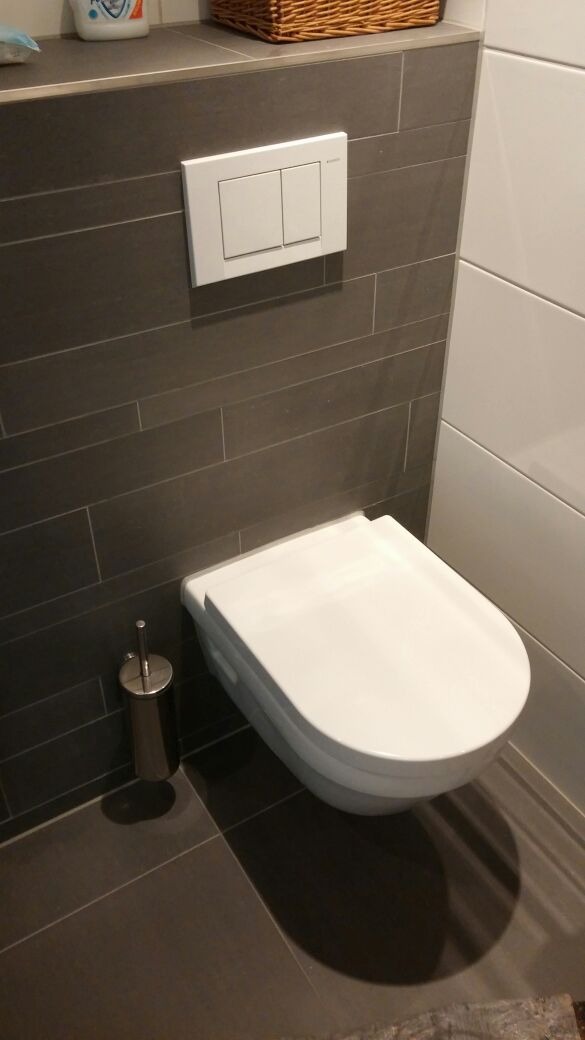
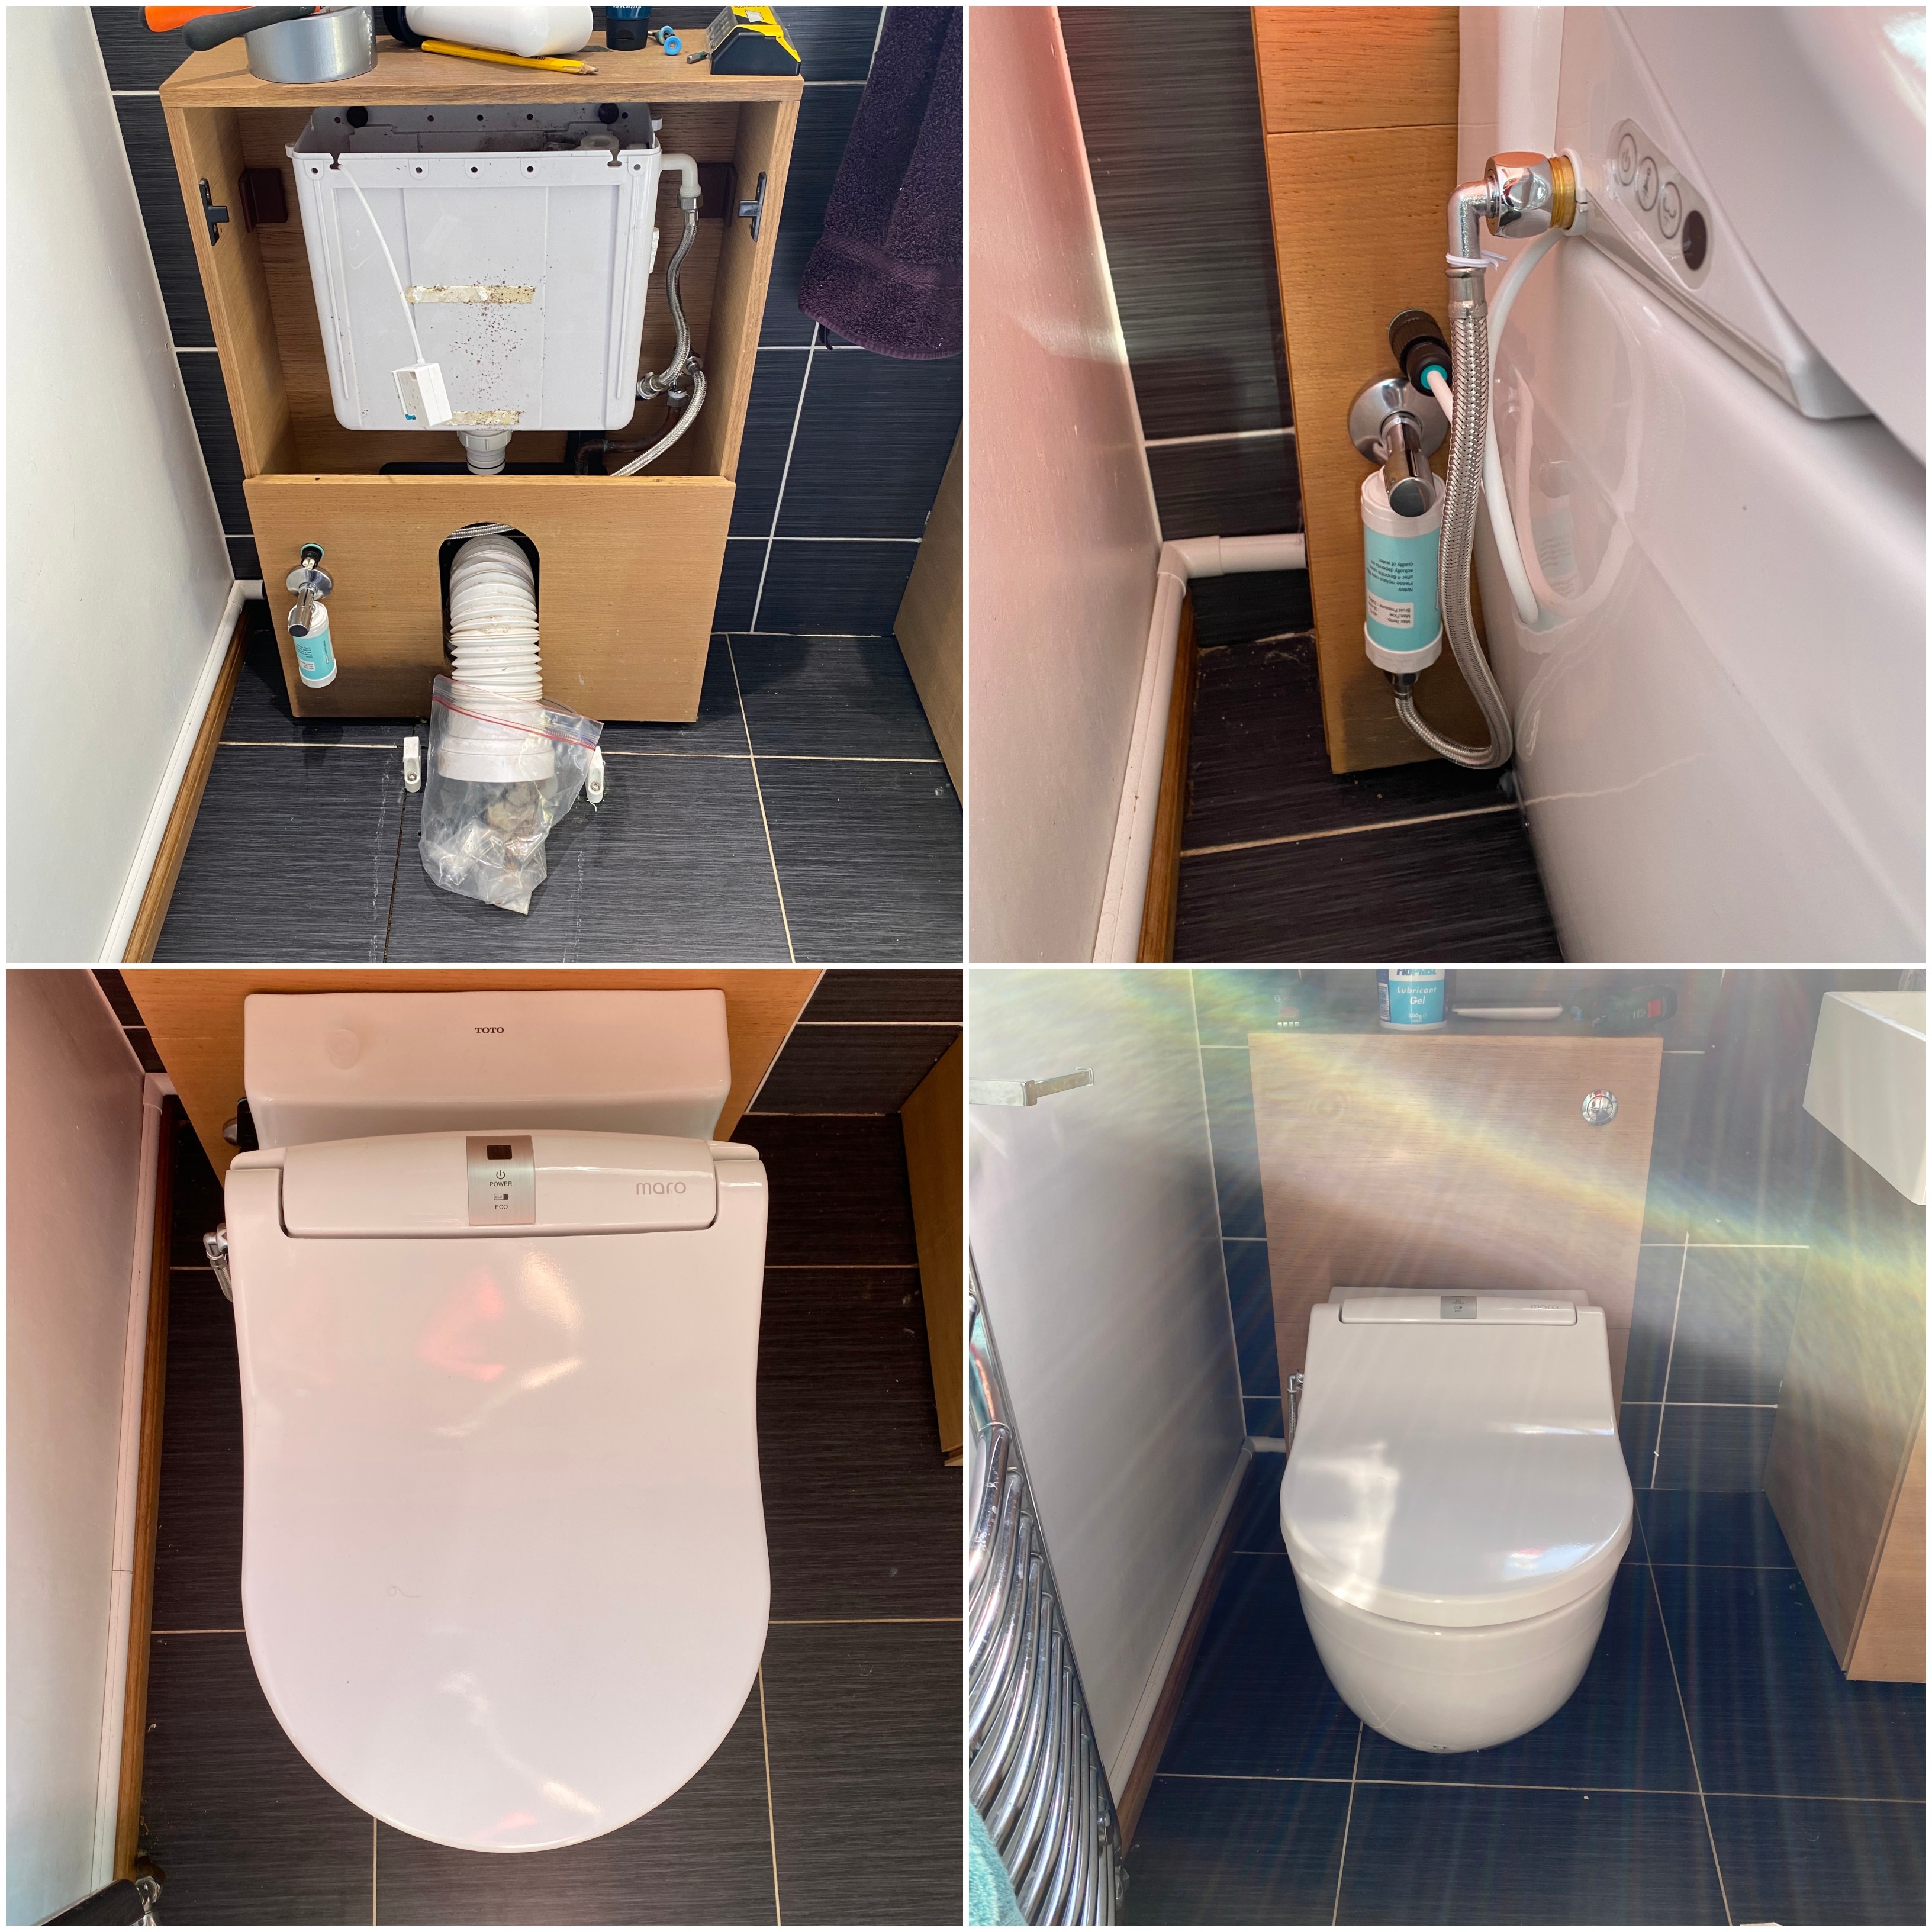
Maro-DItalia-DI600-douche-wc-6.jpg
Maro D'Italia DI600 Washlet Customer Installatoin - Geberit Duofix
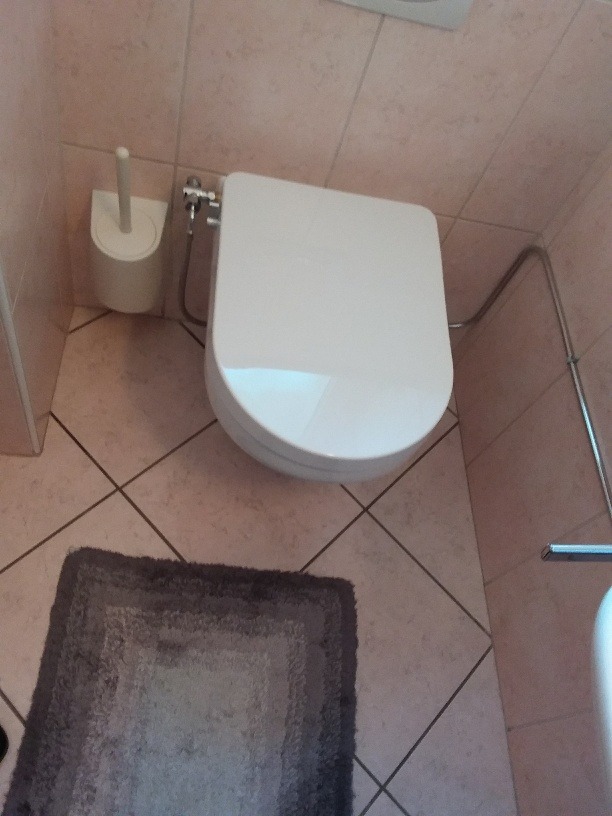
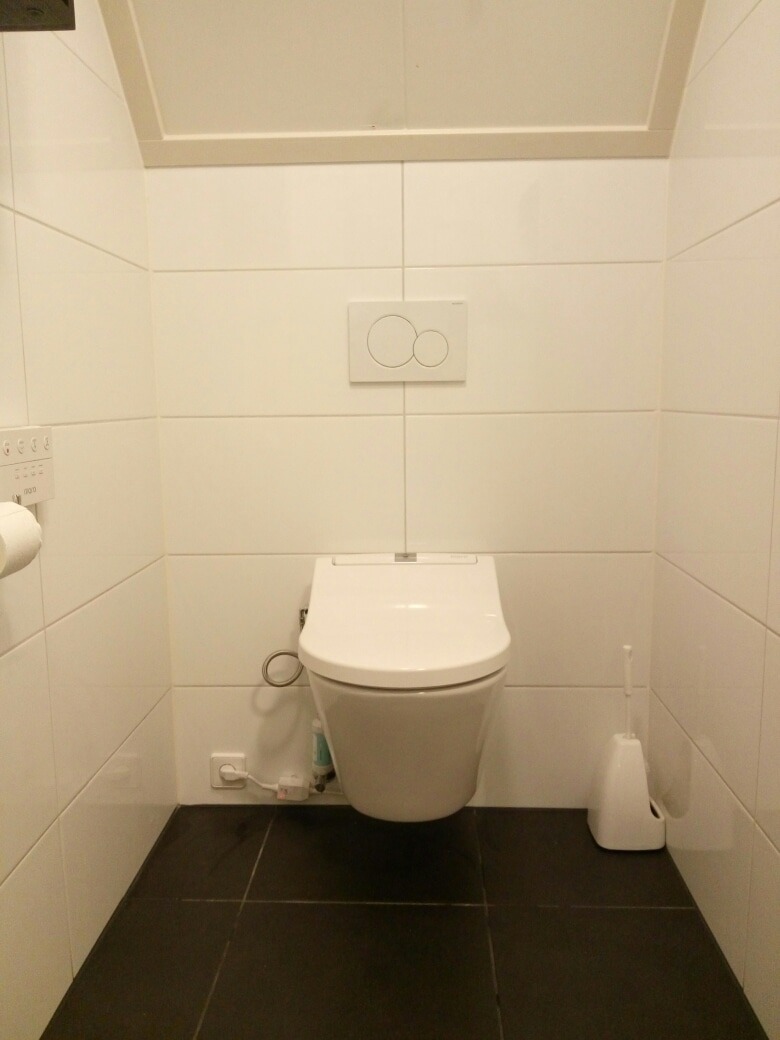
maro-di600-washlet-customer-installation-europe-germany.jpg
Maro D'Italia DI600 Washlet - Grohe Toilet installation
test1
test
jpp
Maro D'Italia DI600 and TOTO MH CW162Y Rimless toilet #3
Maro D'Italia DI600 and TOTO MH CW162Y Rimless toilet pan
Maro D'Italia DI600 and TOTO MH CW162Y Rimless toilet
xzs
xfh
wow
ugj
u0n
t5c
sxe
roj
rjh
q6d
pai
nad
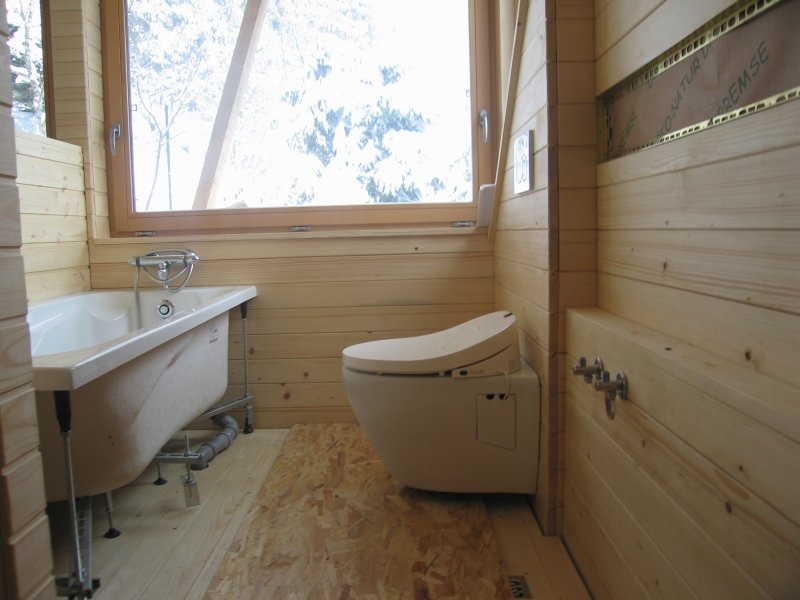
Image gallery 1
hyk
fjw
fdp
Maro-fp104-villeroy-boch-architectura-dusch-wc-shower-toilet.jpg

Maro-d-italia-di600-aqualet-bidet-seat-VB-subway-rimless-wc.jpg
maro-d-italia-fp104-cold-water-non-electric-shower-toilet-bidet-seat.jpg
Maro_DI600_shower_toilet_bidet_seat_UK.jpg
Maro-di600-washlet-villeroy-boch-rimless.jpg

Maro-fp104-villeroy-boch-architectura-dusch-wc-shower-toilet-uk.jpg
Maro-fp104-villeroy-boch-architectura-dusch-wc-bidet-seat.jpg
maro-di600-washlet-geberit-rimless-toilet.jpg
Maro-d-italia-di600-aqualet-bidet-seat-VB-subway-rimless.jpg
maro-di600-washlet-geberit-rimless-shower-toilet.jpg
Installatie_Maro_Bidet_Toilet-71.jpg
Installation-Maro-DI600-washlet-bidet-seat.jpg
Installation-Maro-DI600-washlet-bidet-seat-de-ch-at.jpg
maro-di600-aqualet-en1717-bidet-seat-installatiion.jpg
maro-di600-aqualet-en1717-bidet-seat-installatiion-dusch-wc.jpg
maro-di600-aqualet-en1717-bidet-seat-installatiion-uk.jpg
maro-di600-aqualet-en1717-washlet.jpg
maro-di600-washlet-customer-installation.jpg
maro-di600-washlet-customer-installation-europe.jpg
Maro_d_Italia_di600_aqualet_washlet_with_TOTO_NC_CW763Y_floor_standing_rimless_customer_installation.jpg
Maro-d-italia-duroplast-uk-shower-toilet-bidet-seat-electric-customer-installation-london.jpg
maro-d-italia-di800-piave-hotel-ashley-london-shower-toilet-dusch-wc.jpg
maro-d-italia-di800-piave-hotel-ashley-london-bidet-toilet-shower-installation.jpg
maro-d-italia-di600-bidet-seat-toto-rp-cw552y-wall-hung-rimless.jpg
maro-di600-floor-standing-toilet-combination-toilet-bidet-installation.jpg
Maro-di600-aqualet-washlet-shower-toilet-hidden-connection.jpg